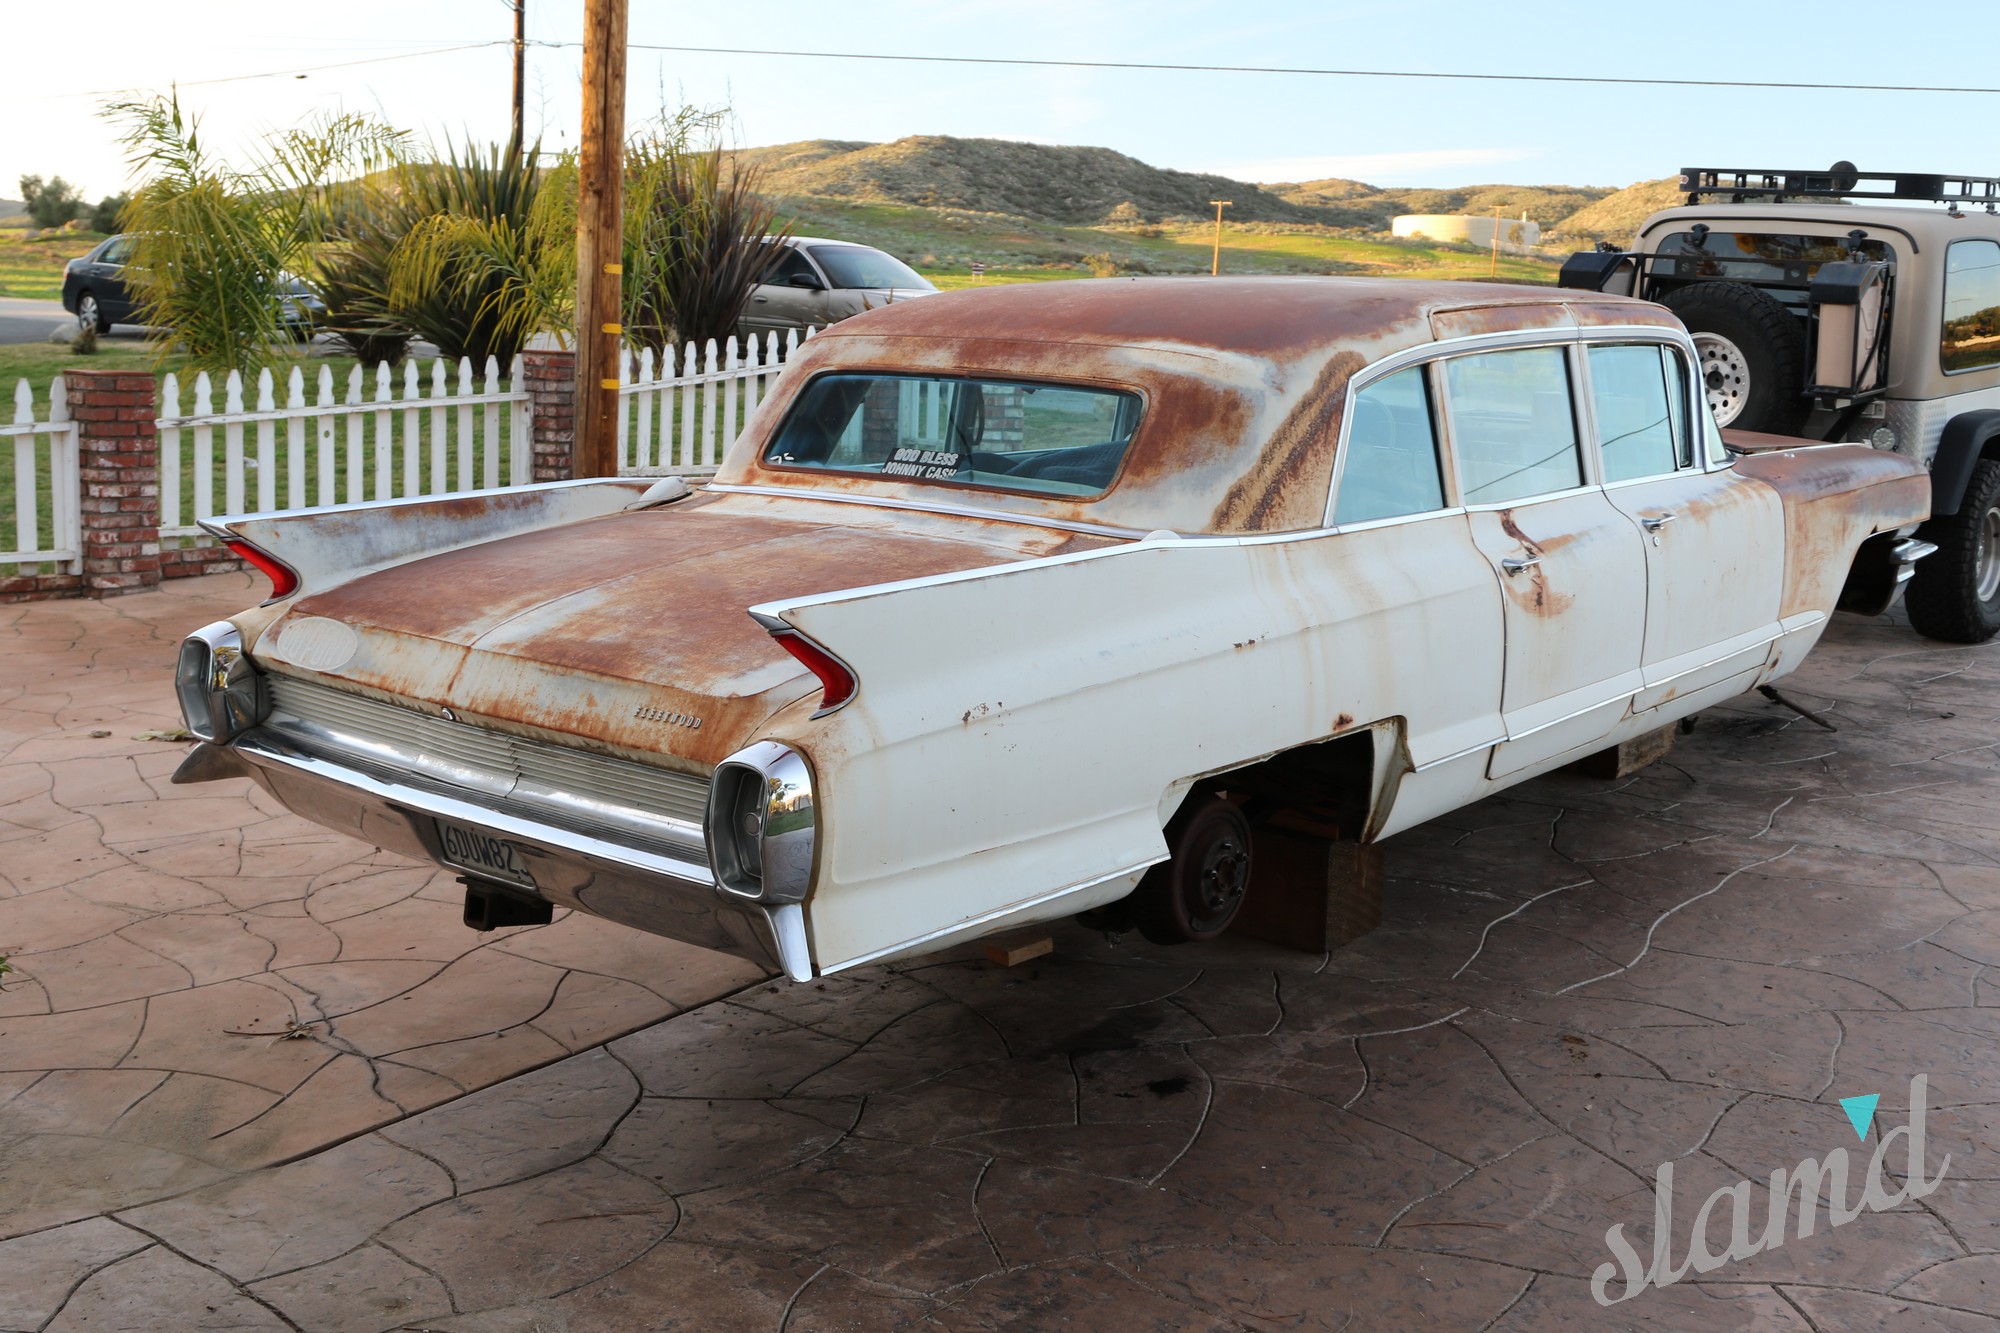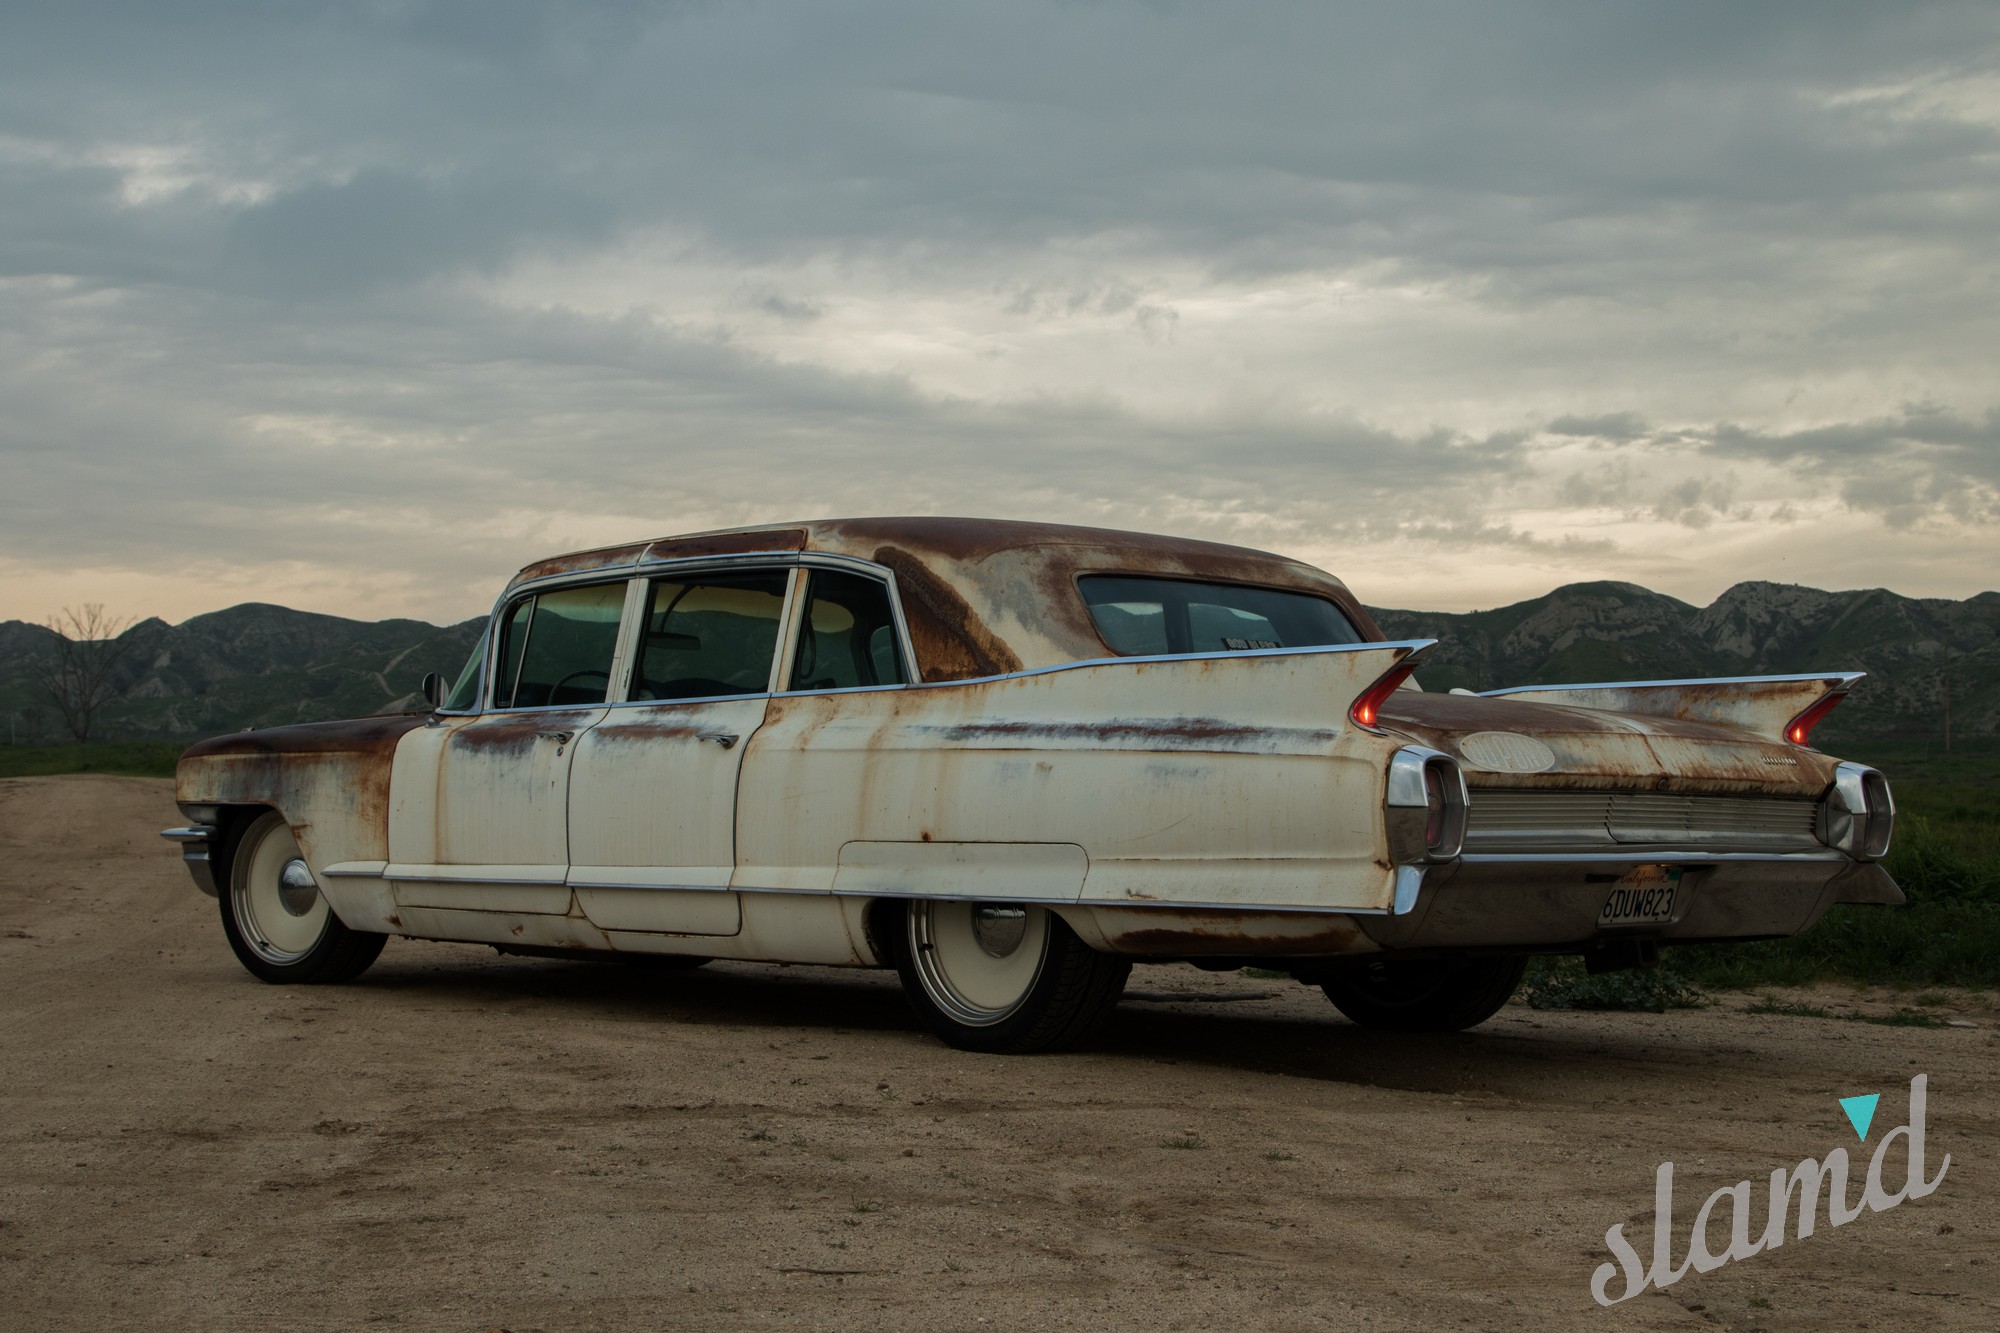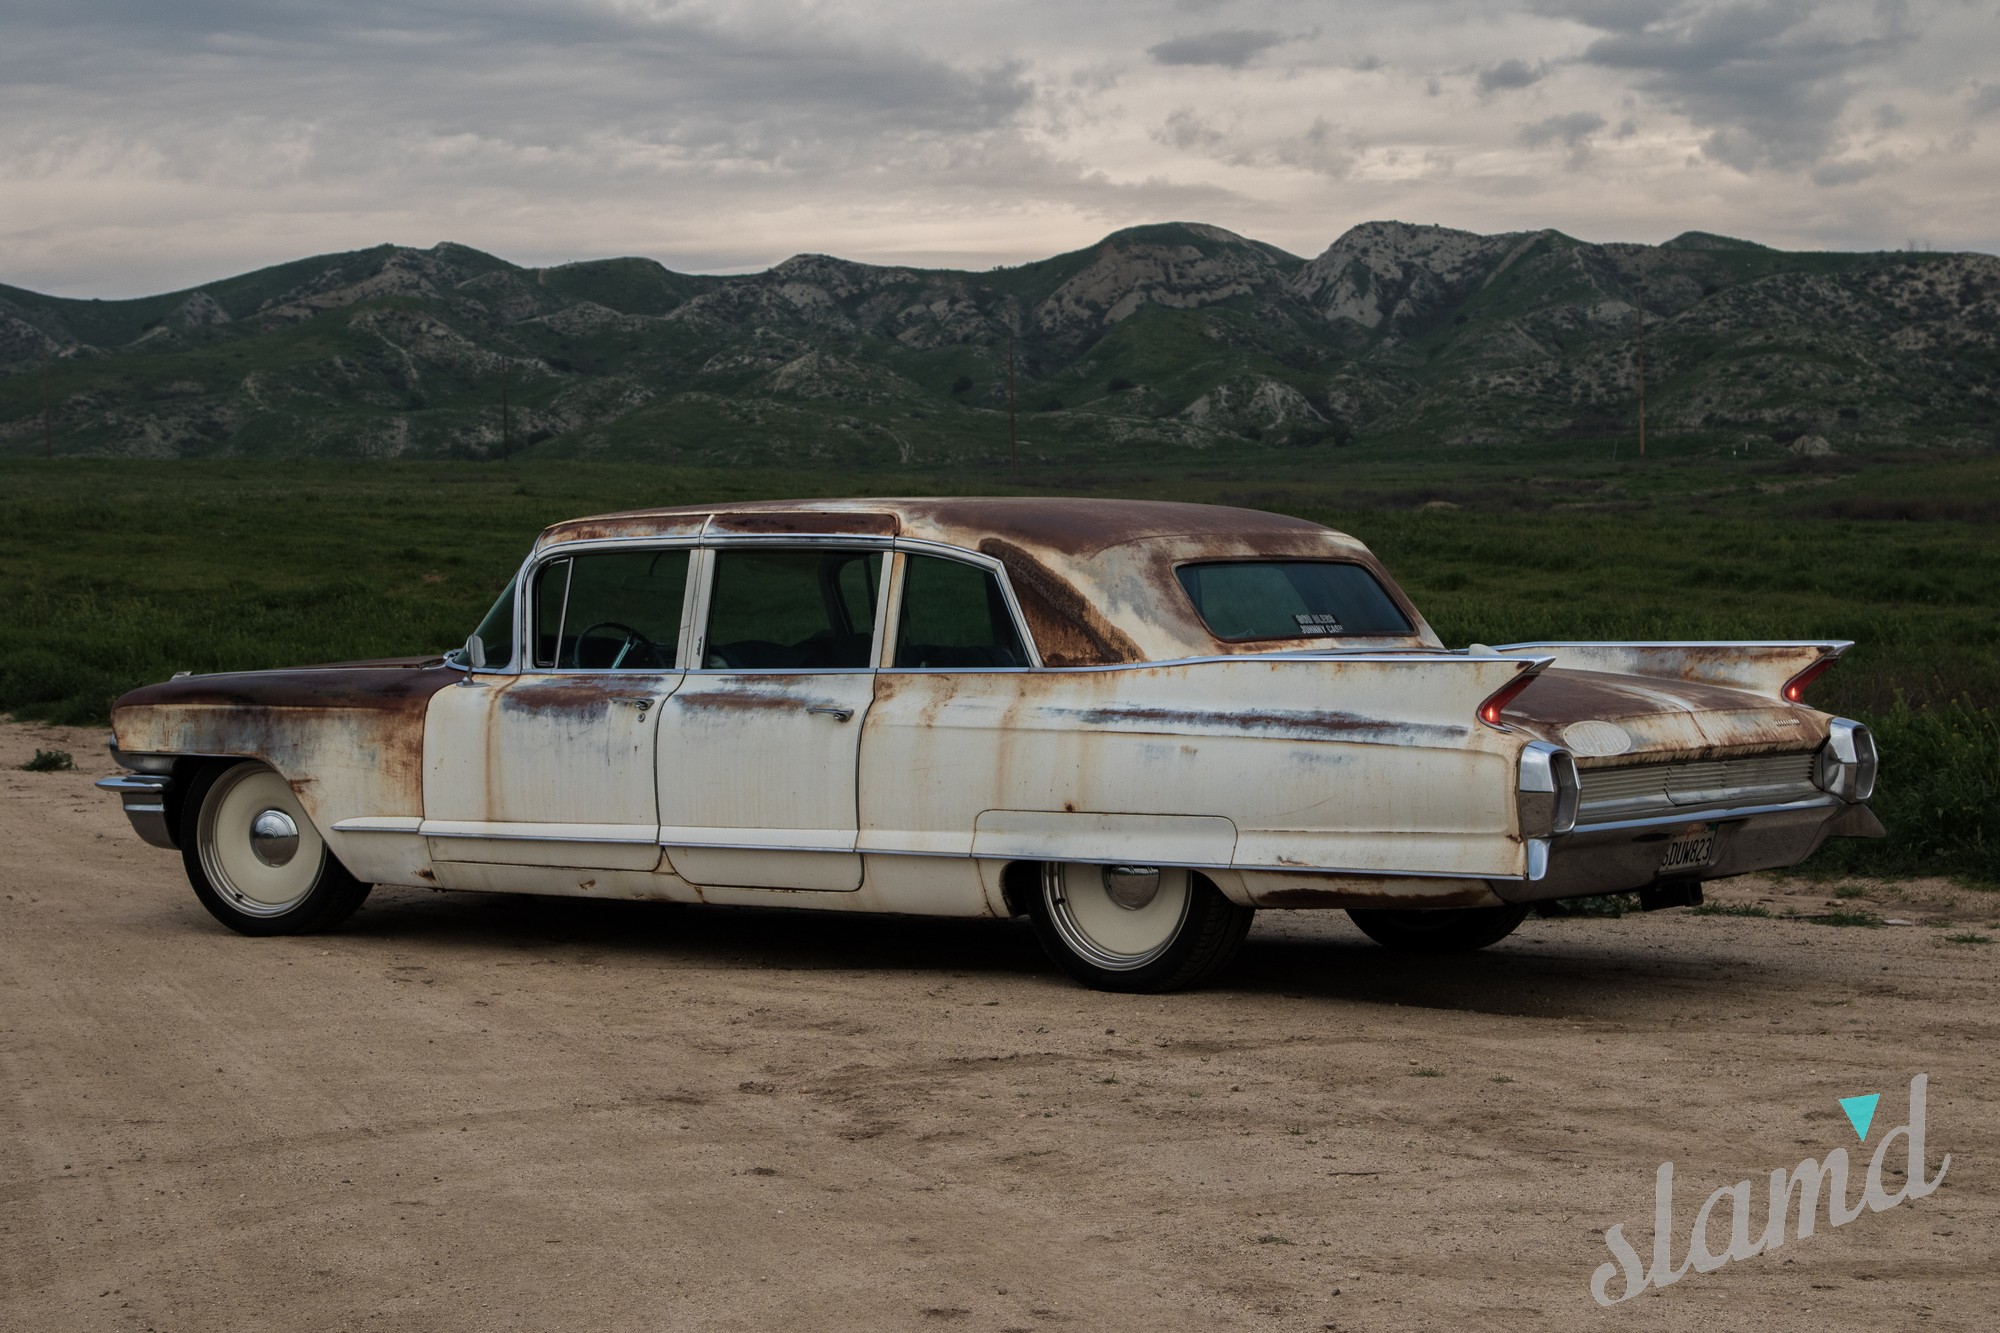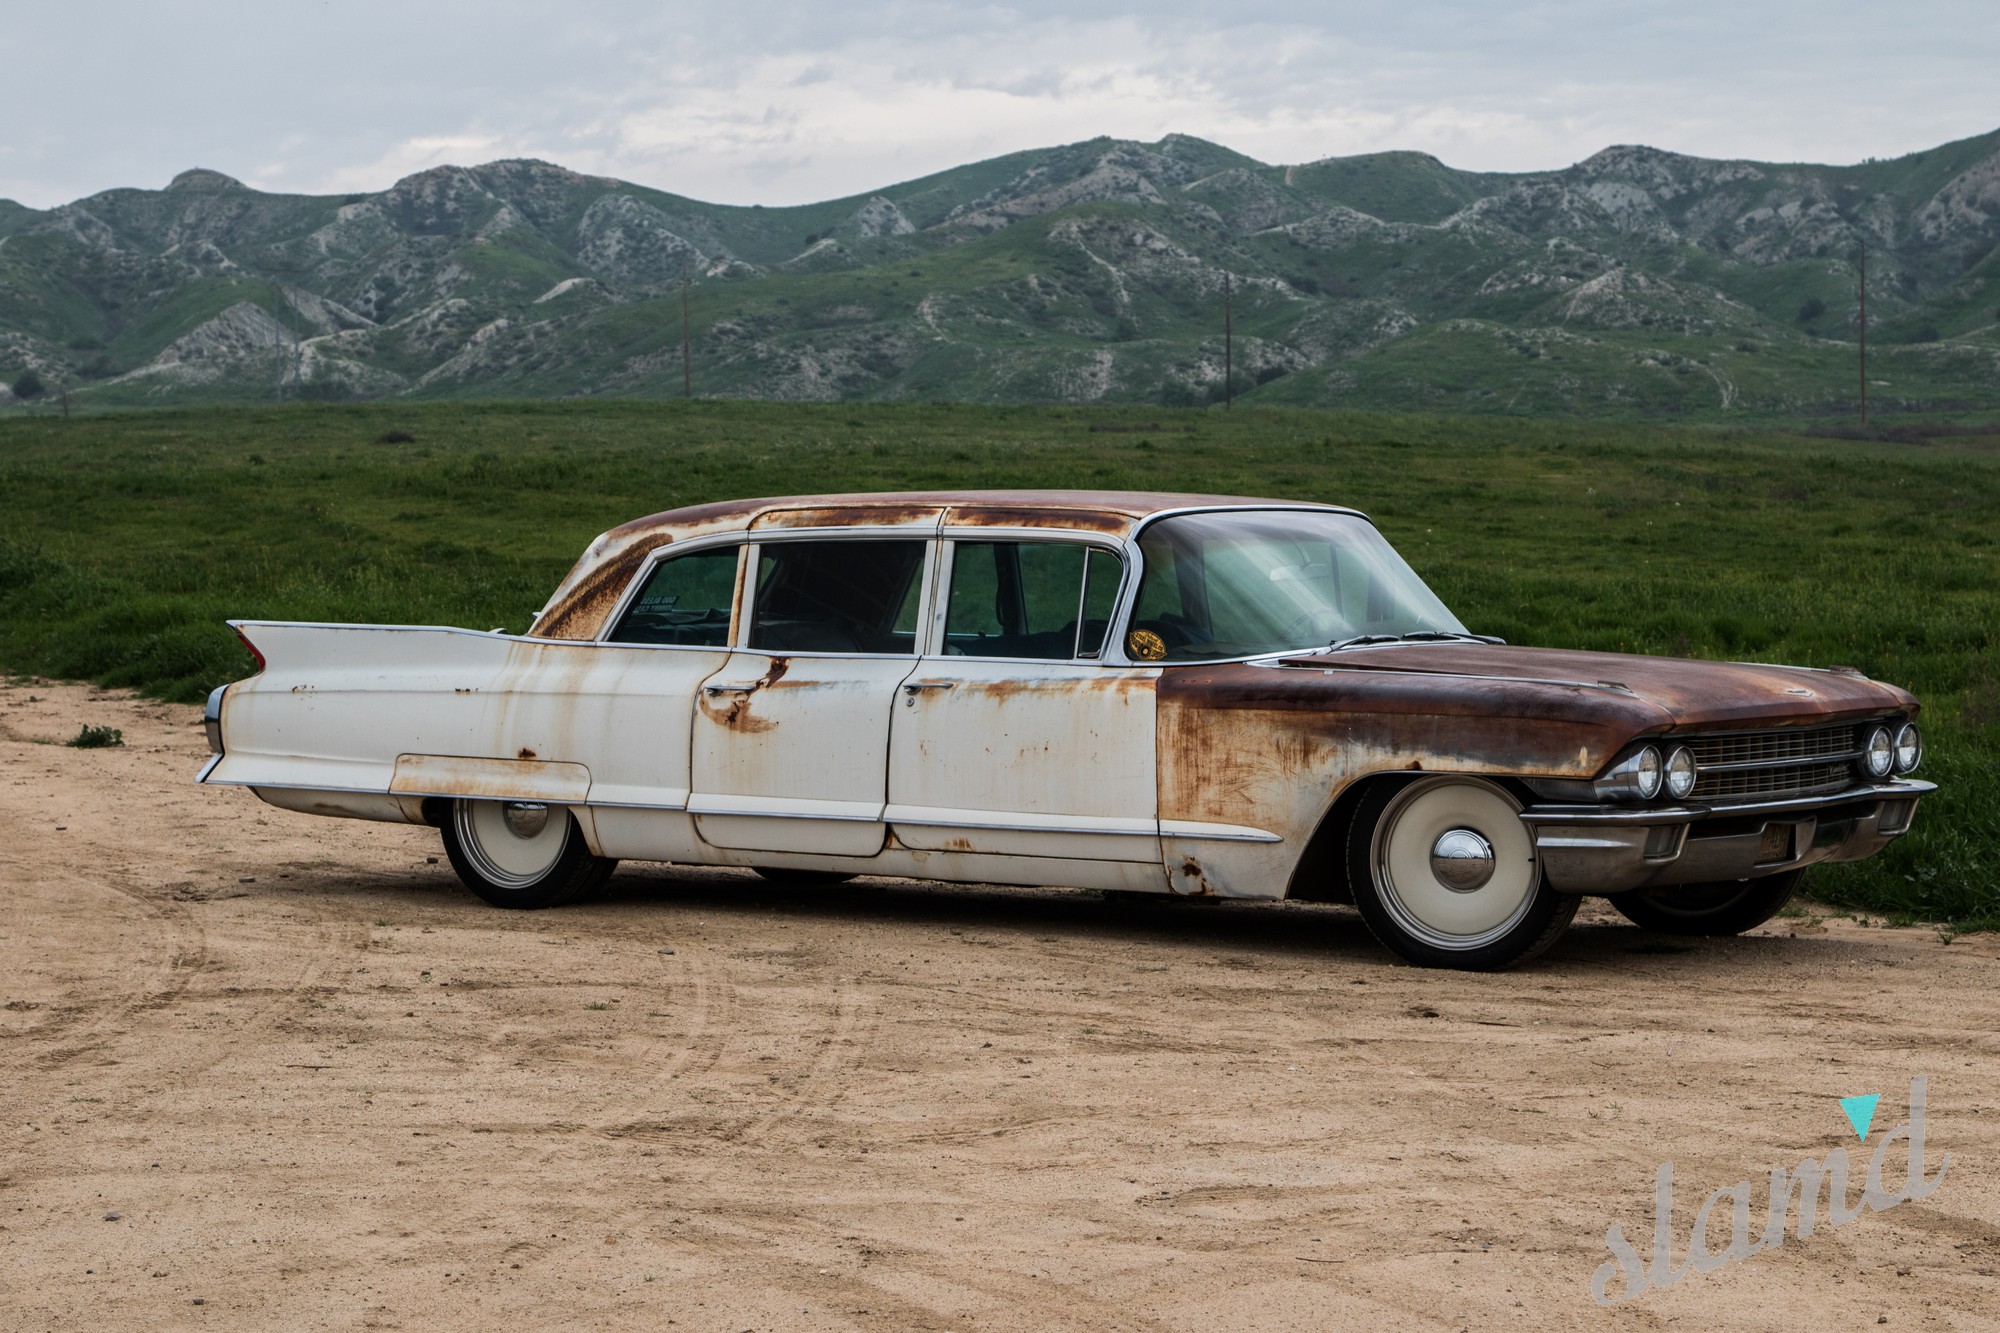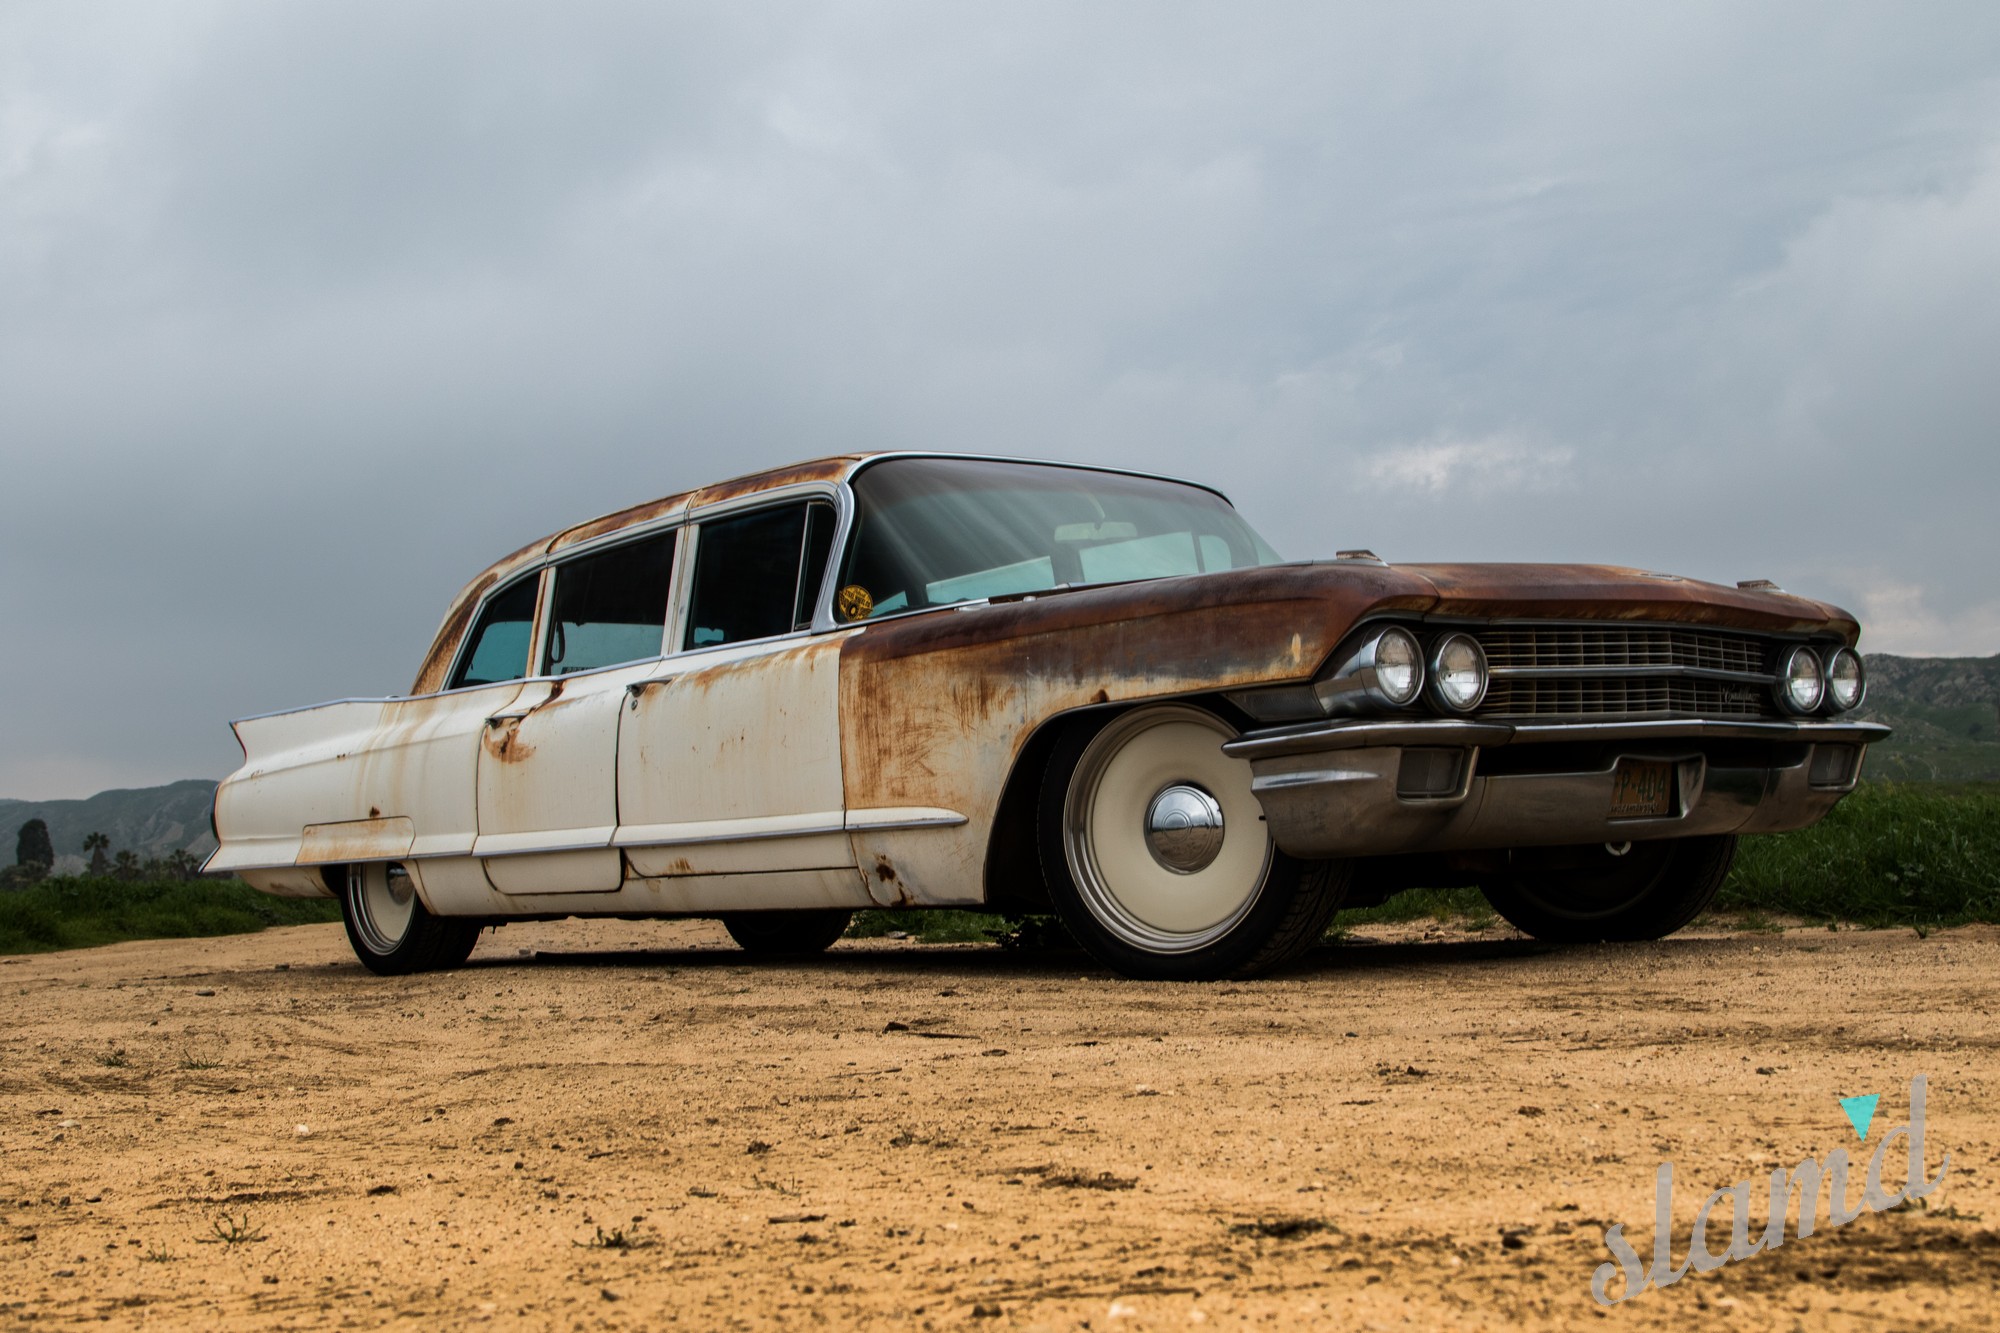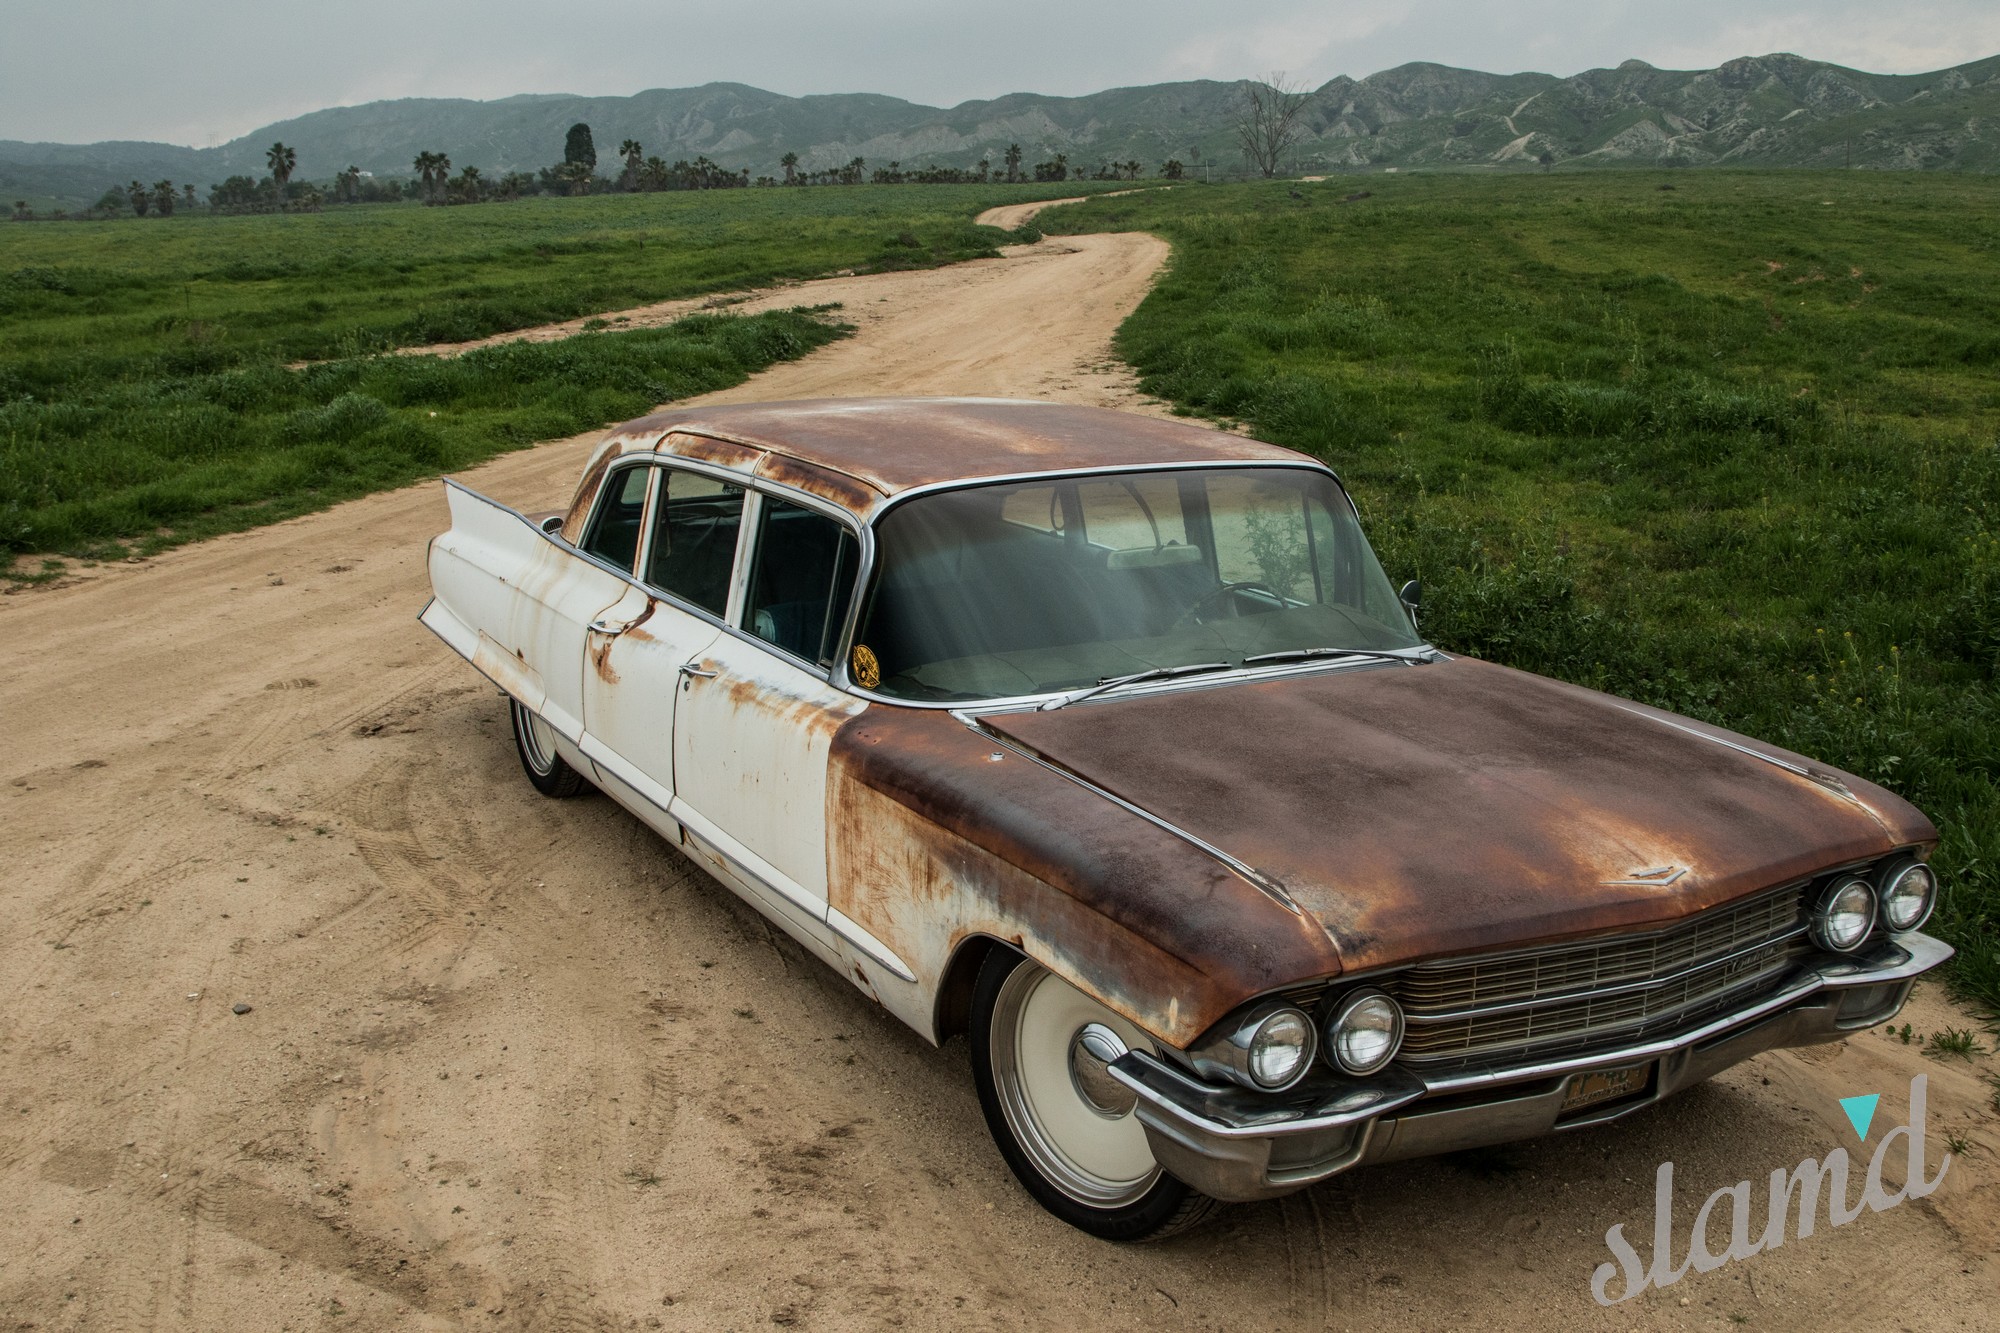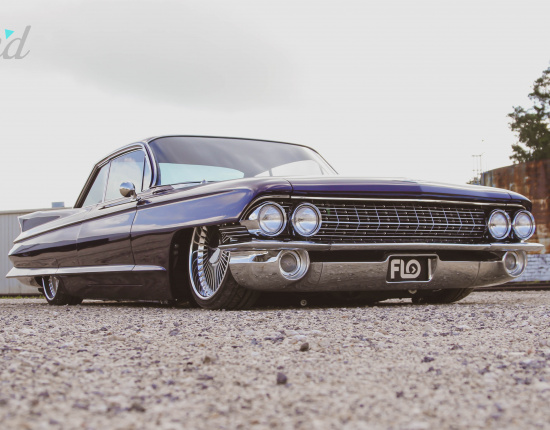
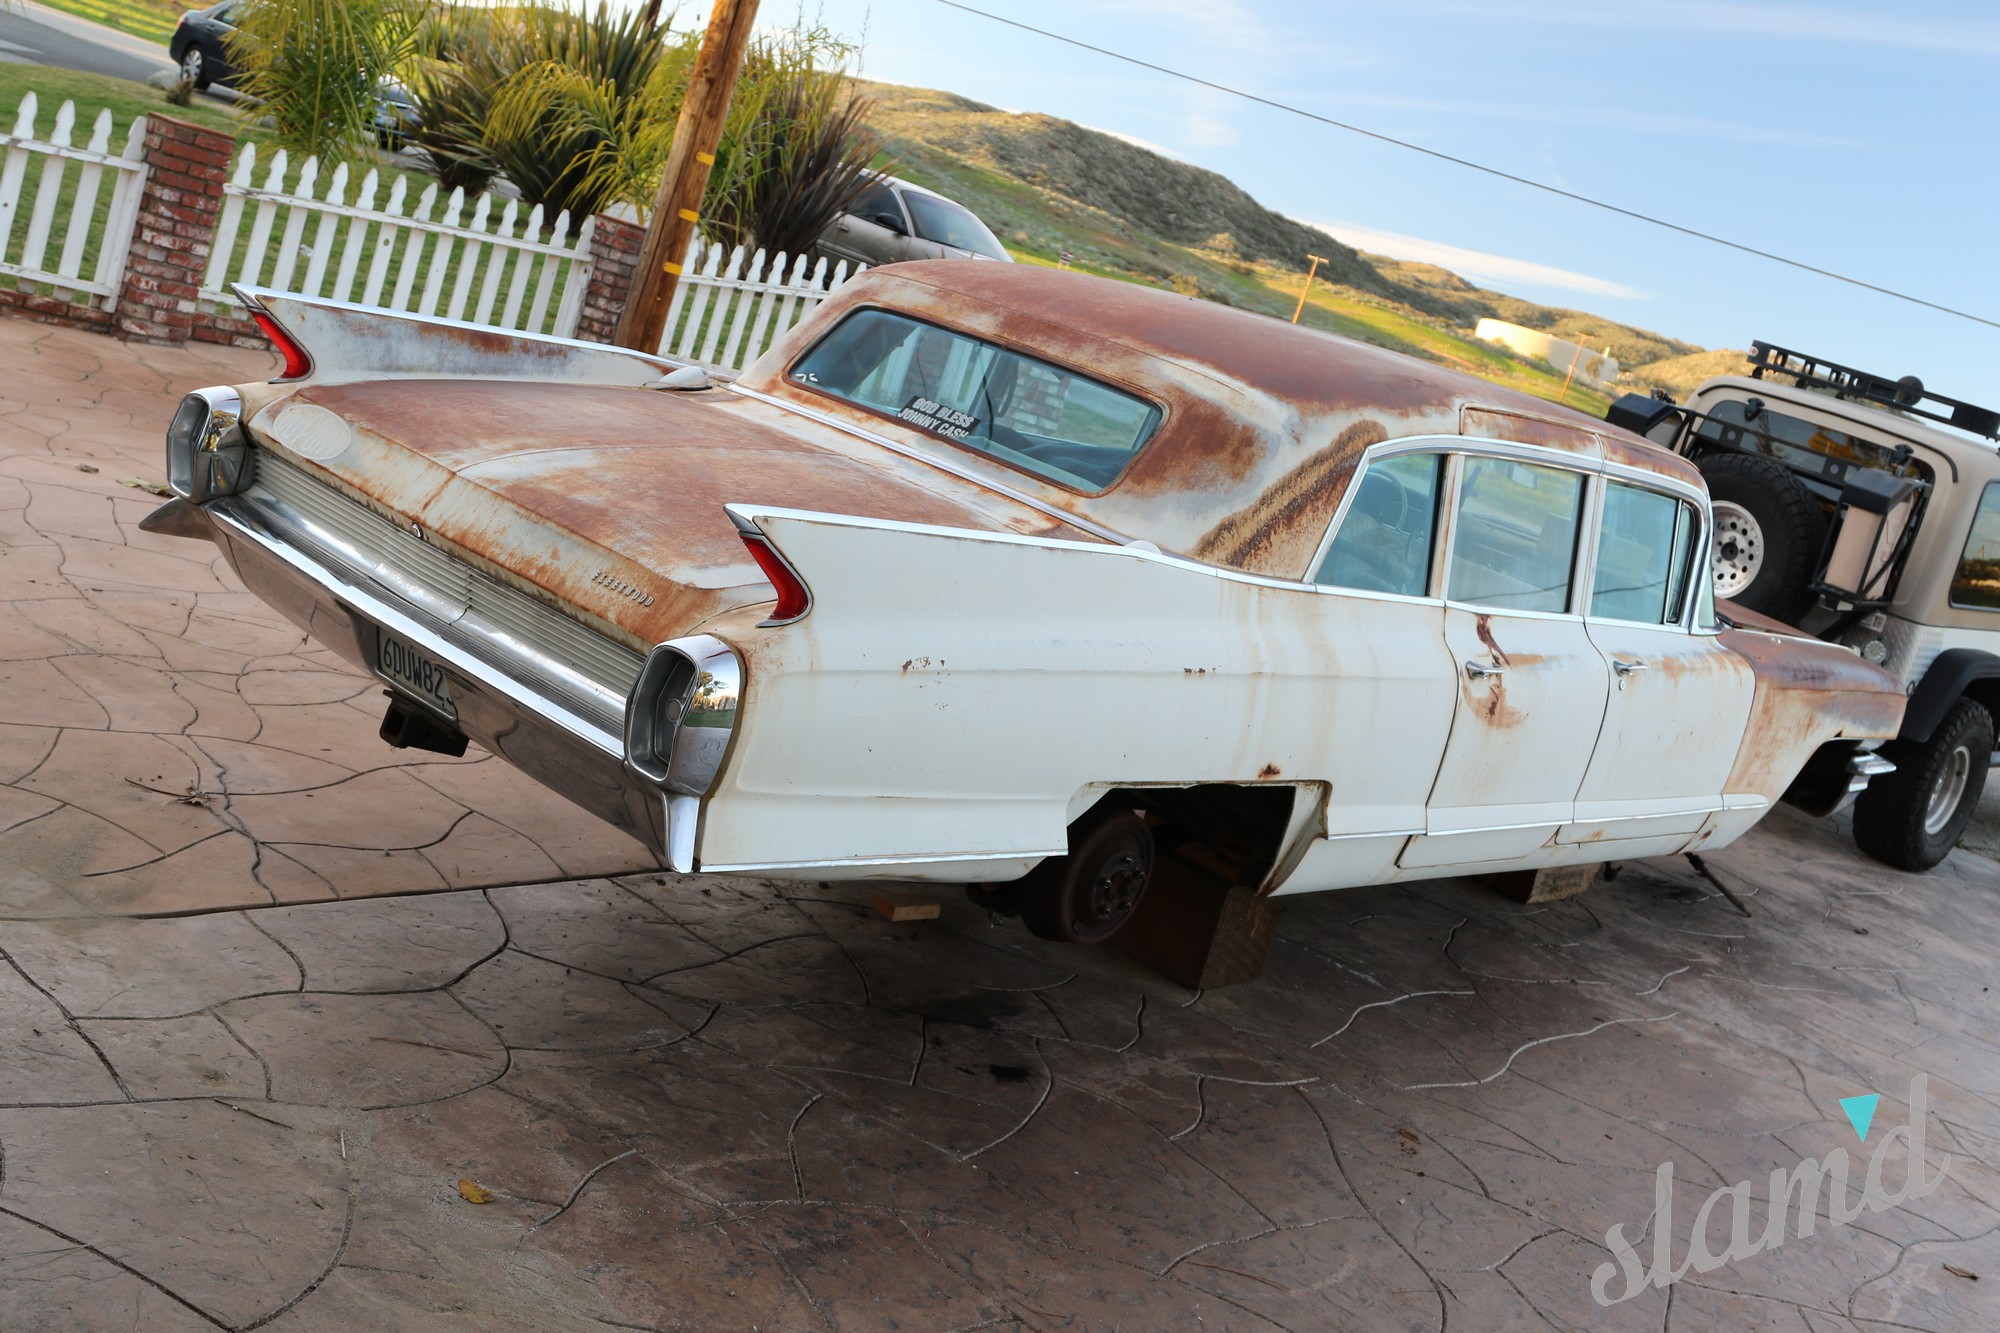
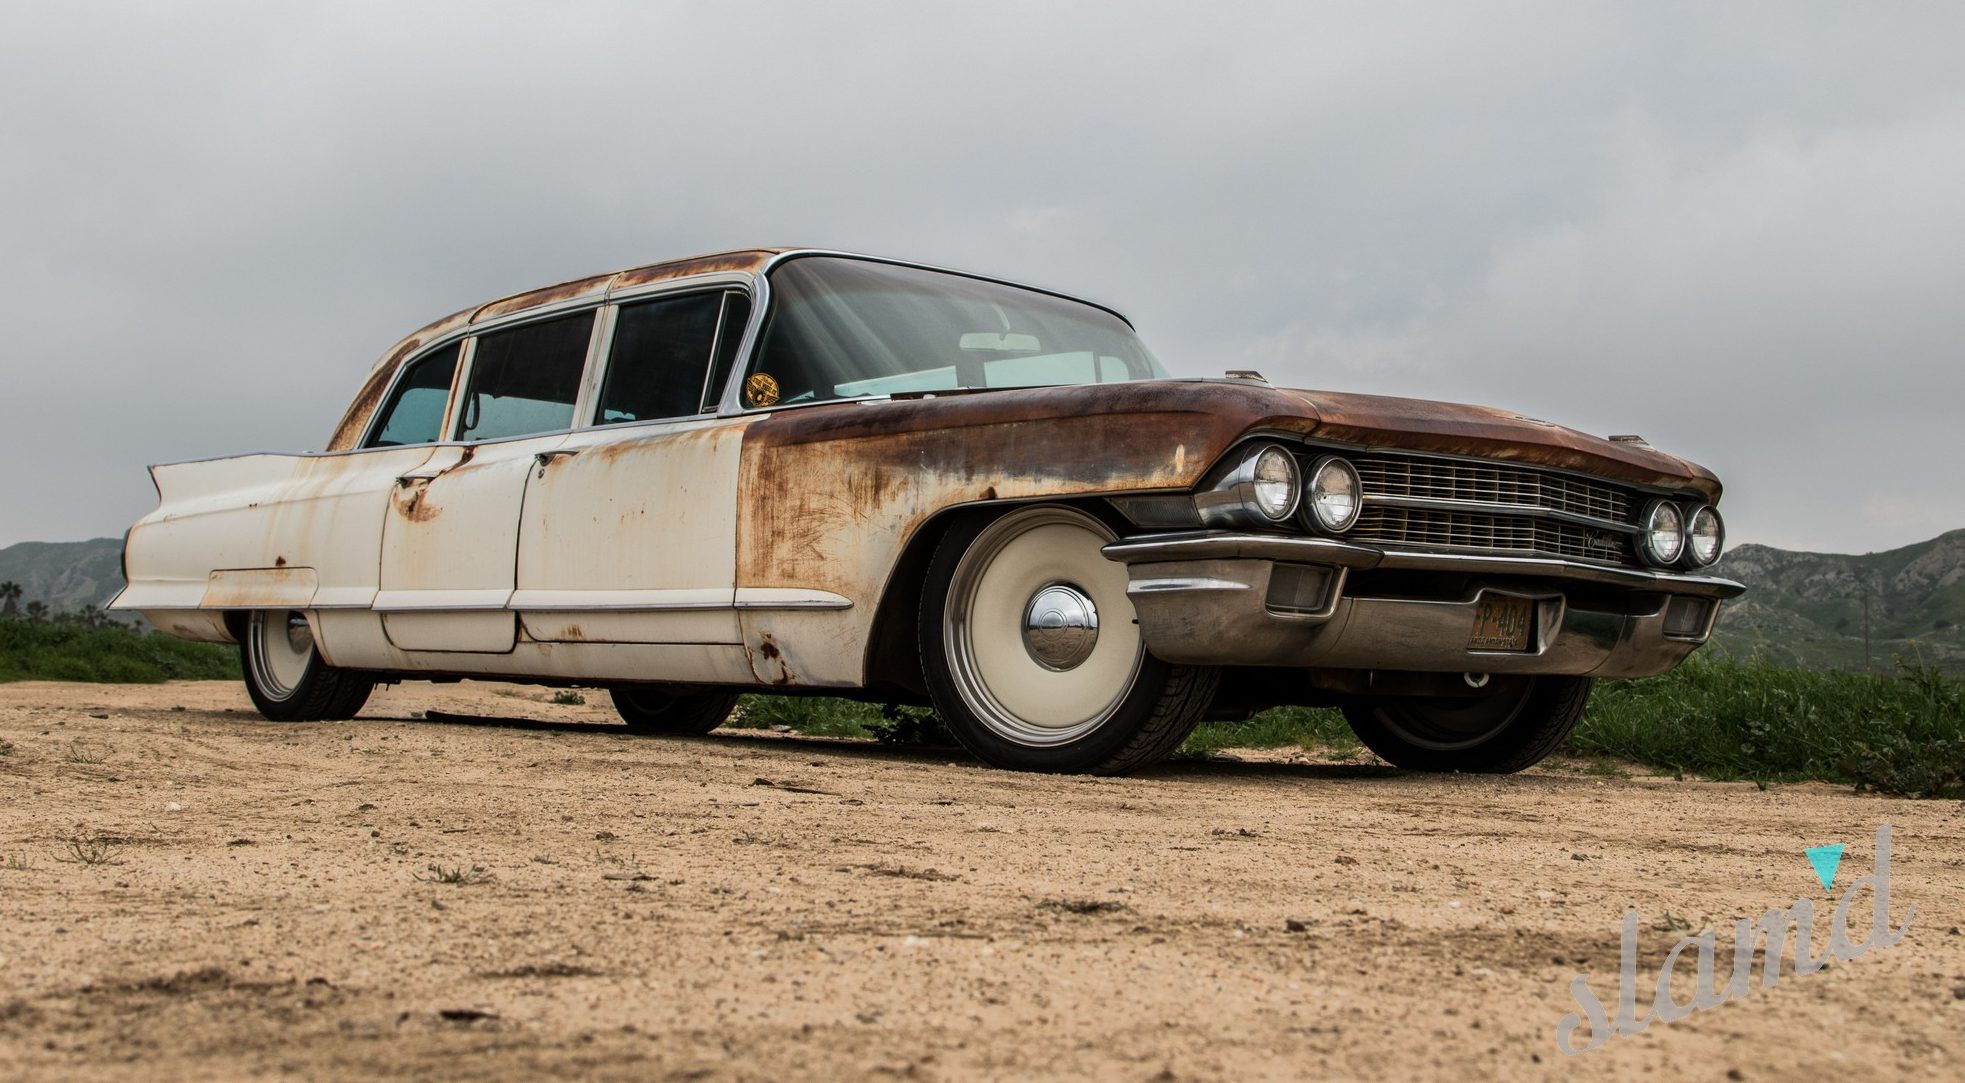
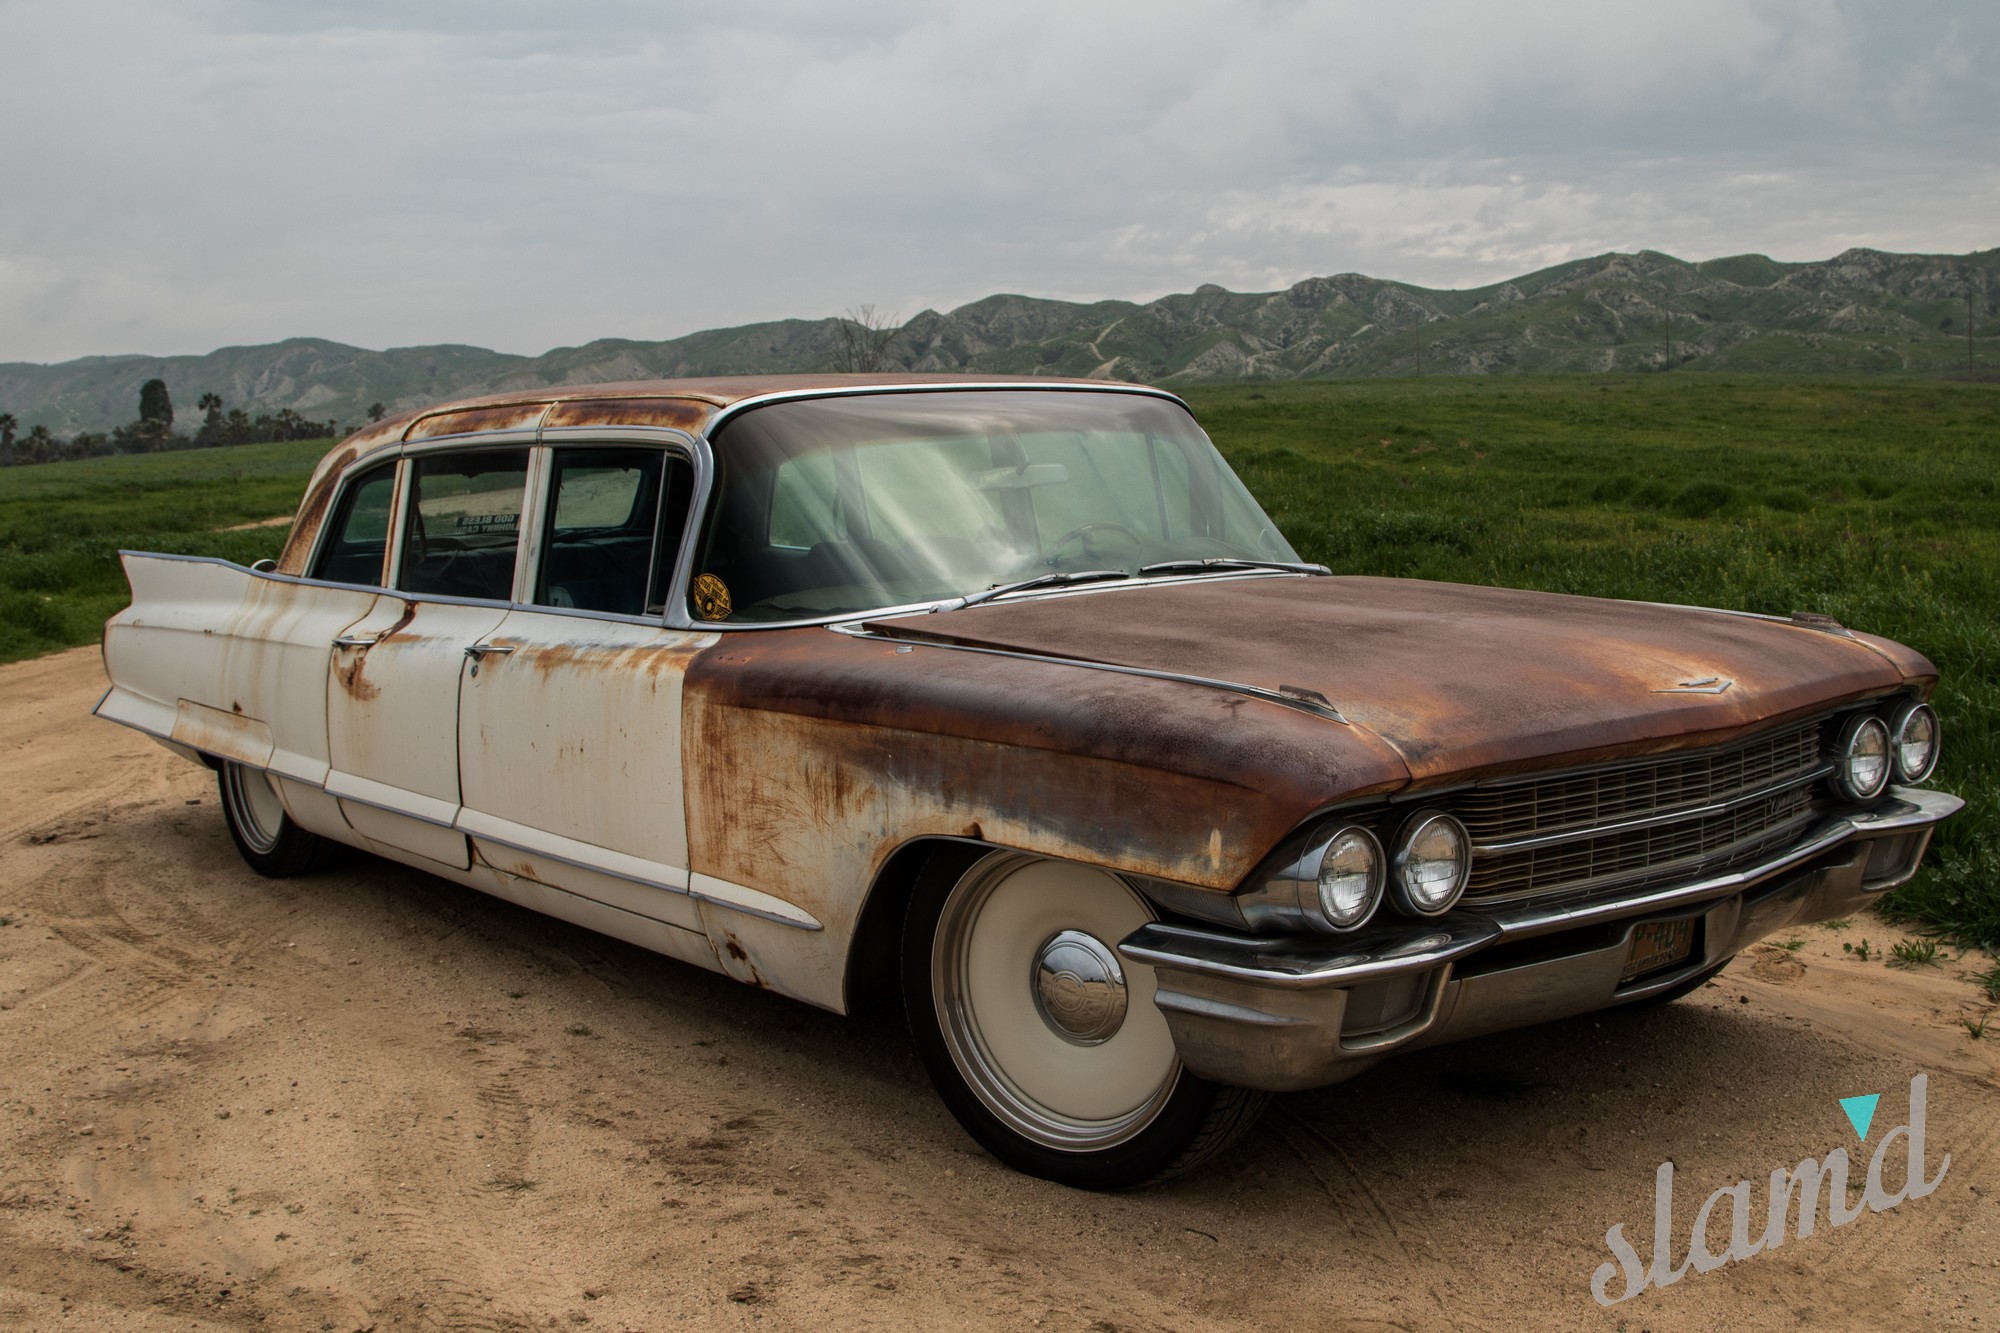
Our 1962 Cadillac Fleetwood 75 Series is a special car. Being a factory Limo, it’s a little different than most other cars on the road and even most old Cadillacs. They only made roughly 900 of them back in 1962, so they are pretty scarce today. We first saw this specimen while doing our weekly Craigslist browsing a few years back and picked it up to build something big, badass and out of the ordinary with style for miles.
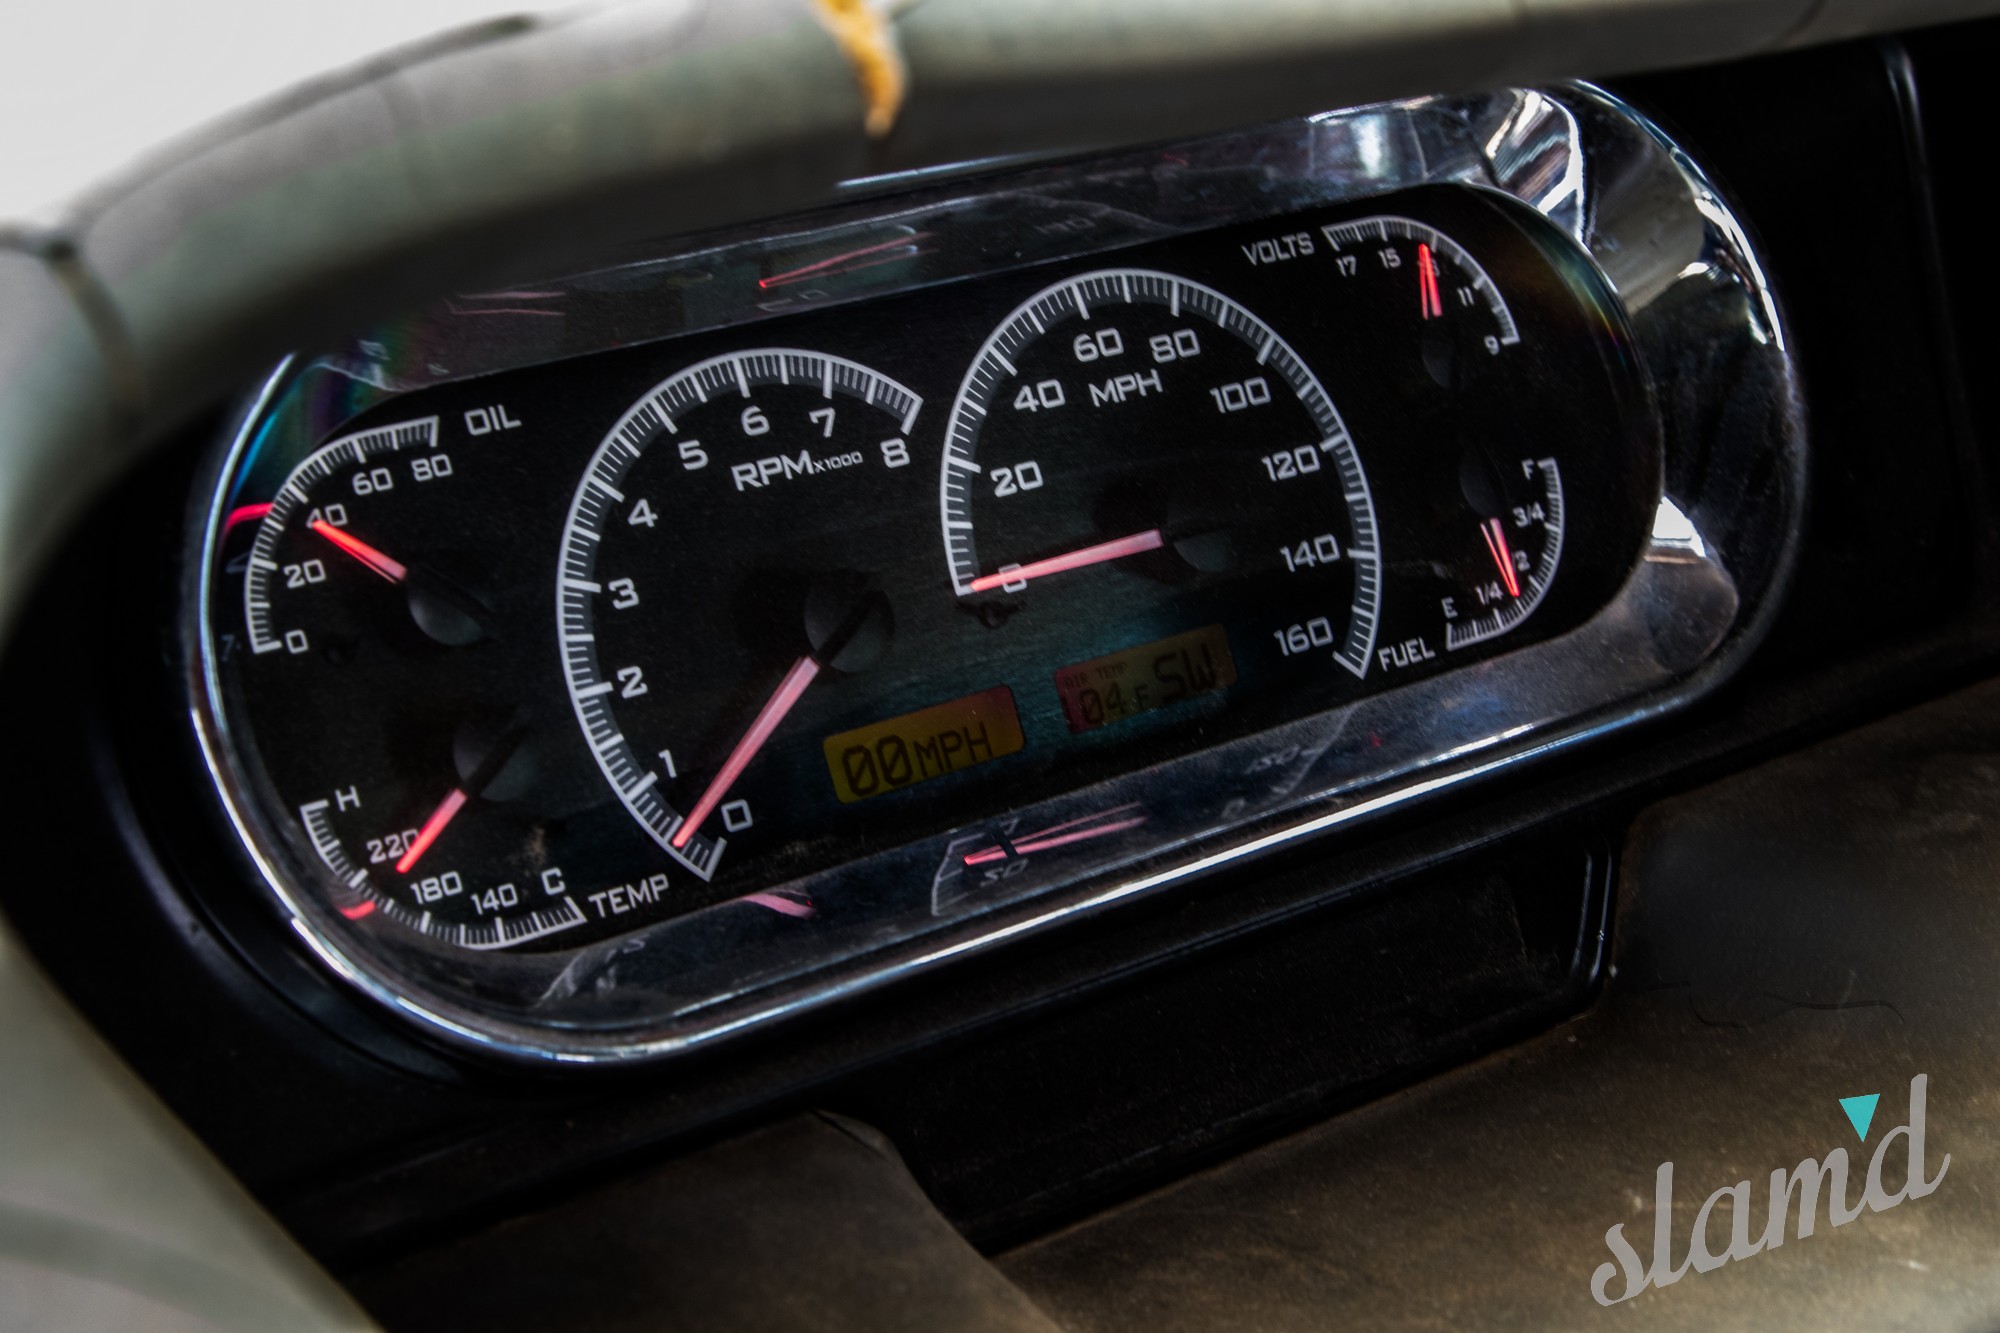
While thoroughly loved, the car was put on the back burner for some other projects we had going on at the time. The Limo did run and drive but it was in a sad state being 100% original. We first started by ditching the factory 390 and trans in favor of a modern LQ4 and 4L80e transmission. A set of Dakota Digital gauges updated the vitals for us. The engine purred like a kitten, but the car drove worse than a wagon on the Oregon Trail. We knew that the suspension needed to be rebuilt but things started to snowball, like most projects tend to do. While the suspension was torn apart, it was a great time to go ahead and make some other much needed upgrades at the same time.
 Words & Photos: Tim King
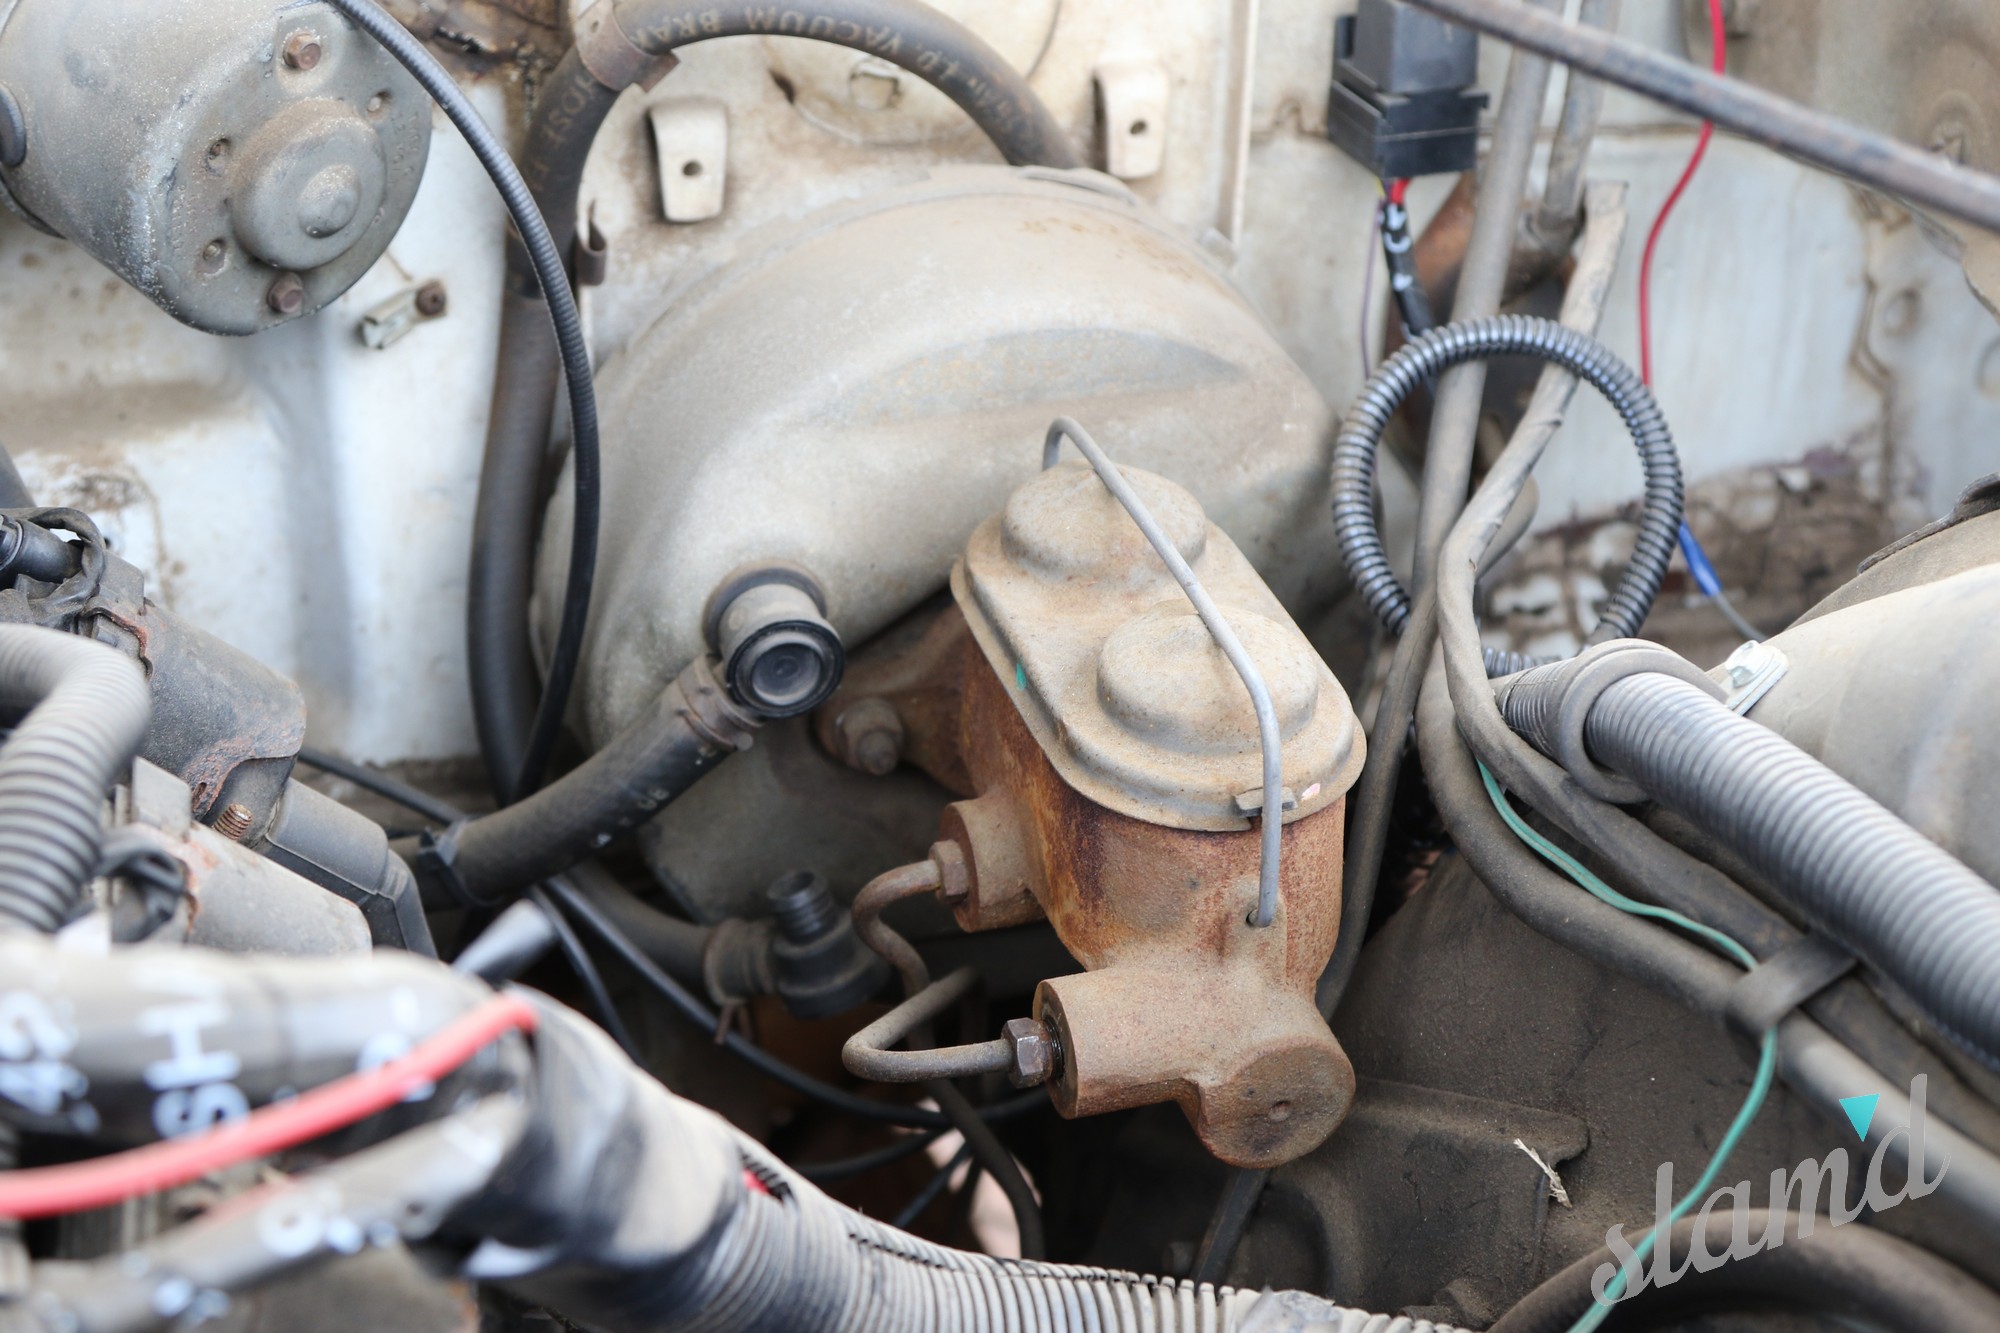
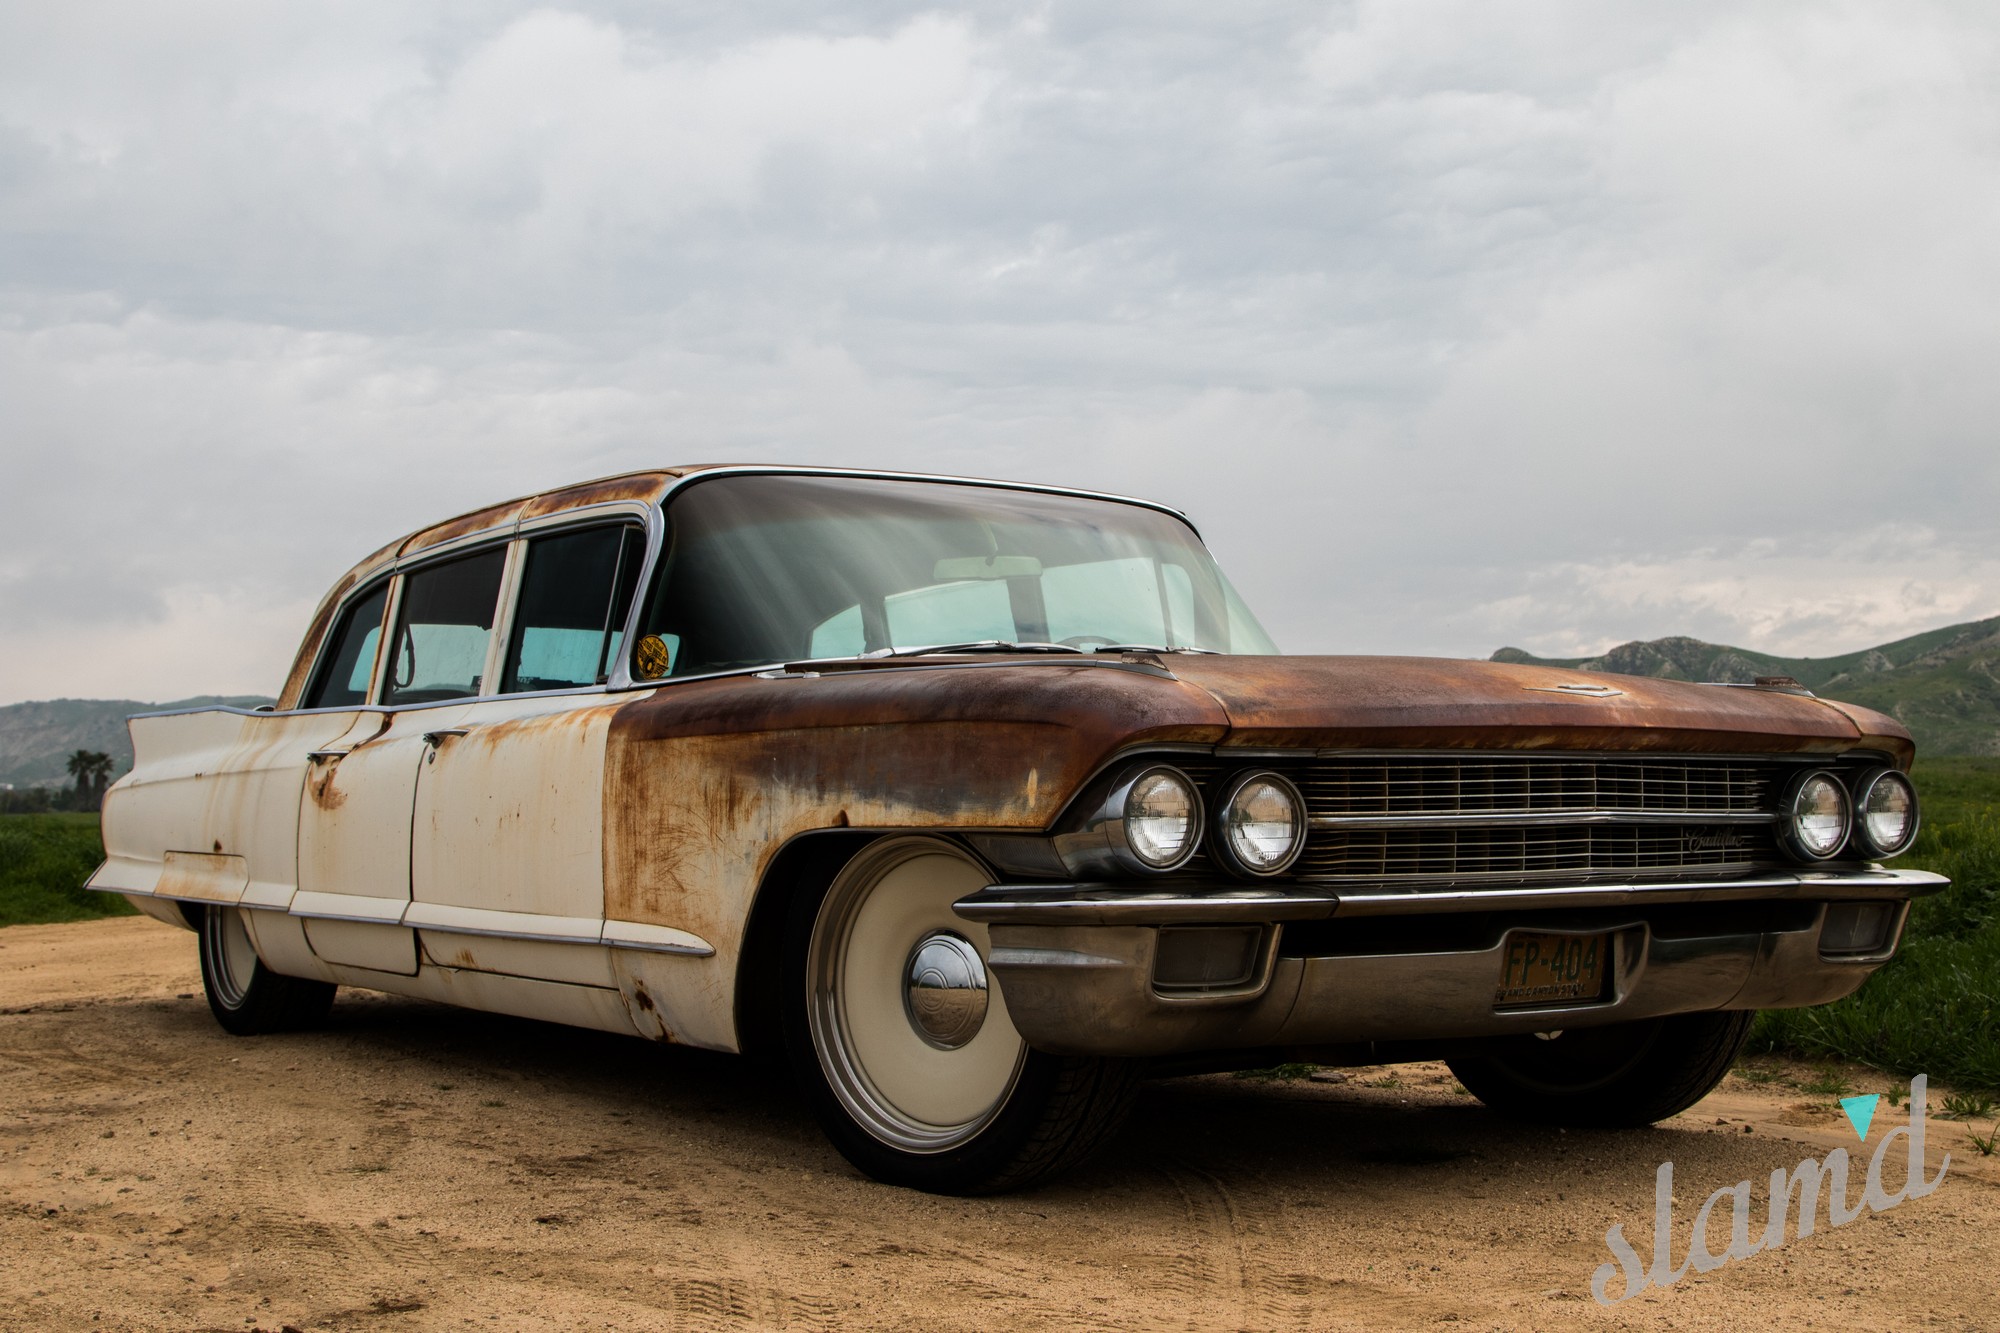
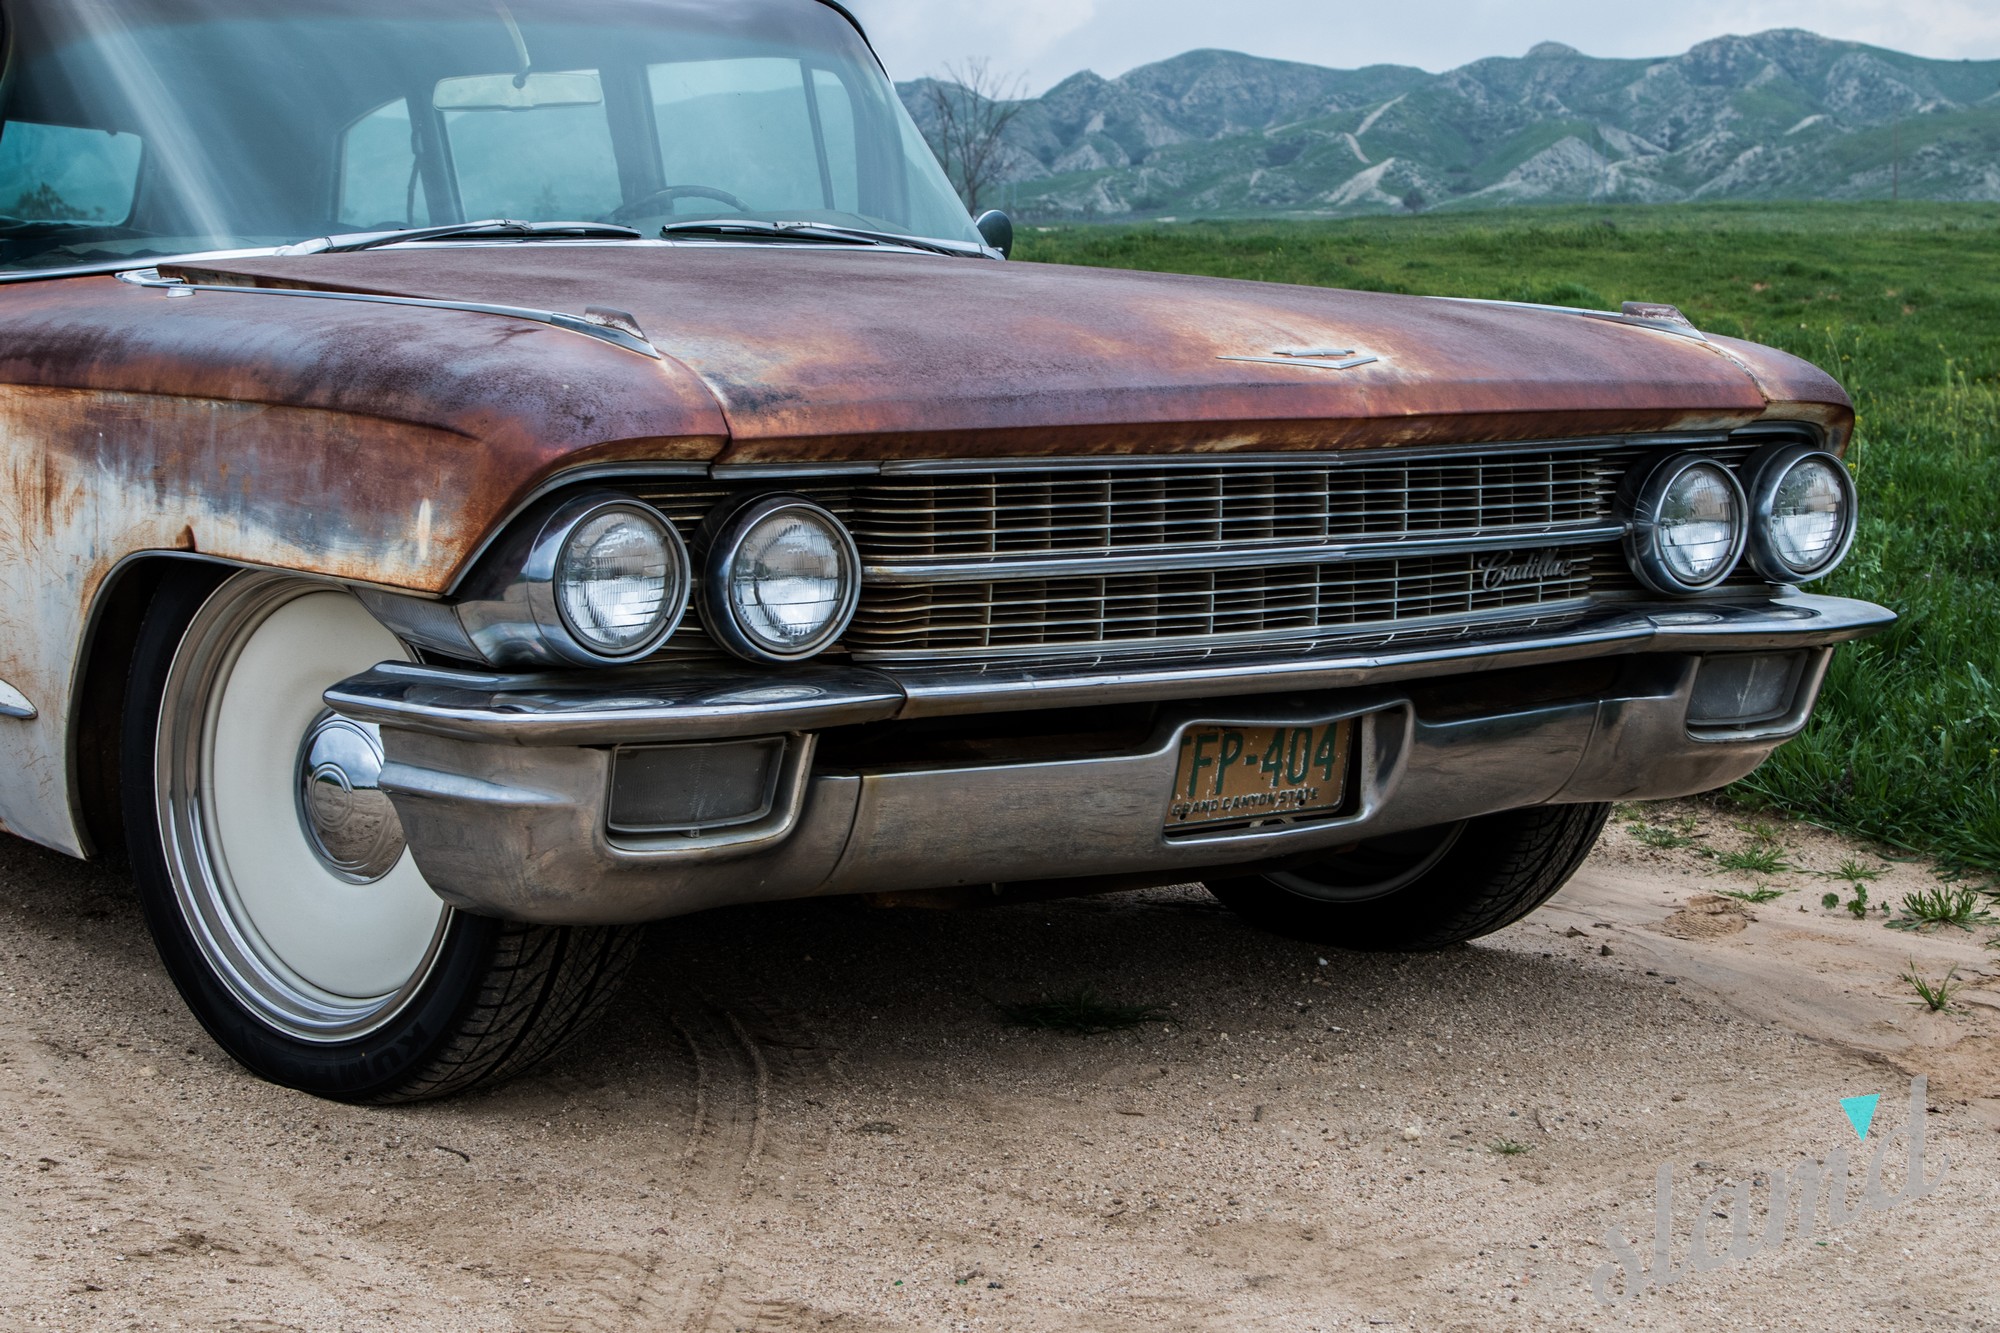
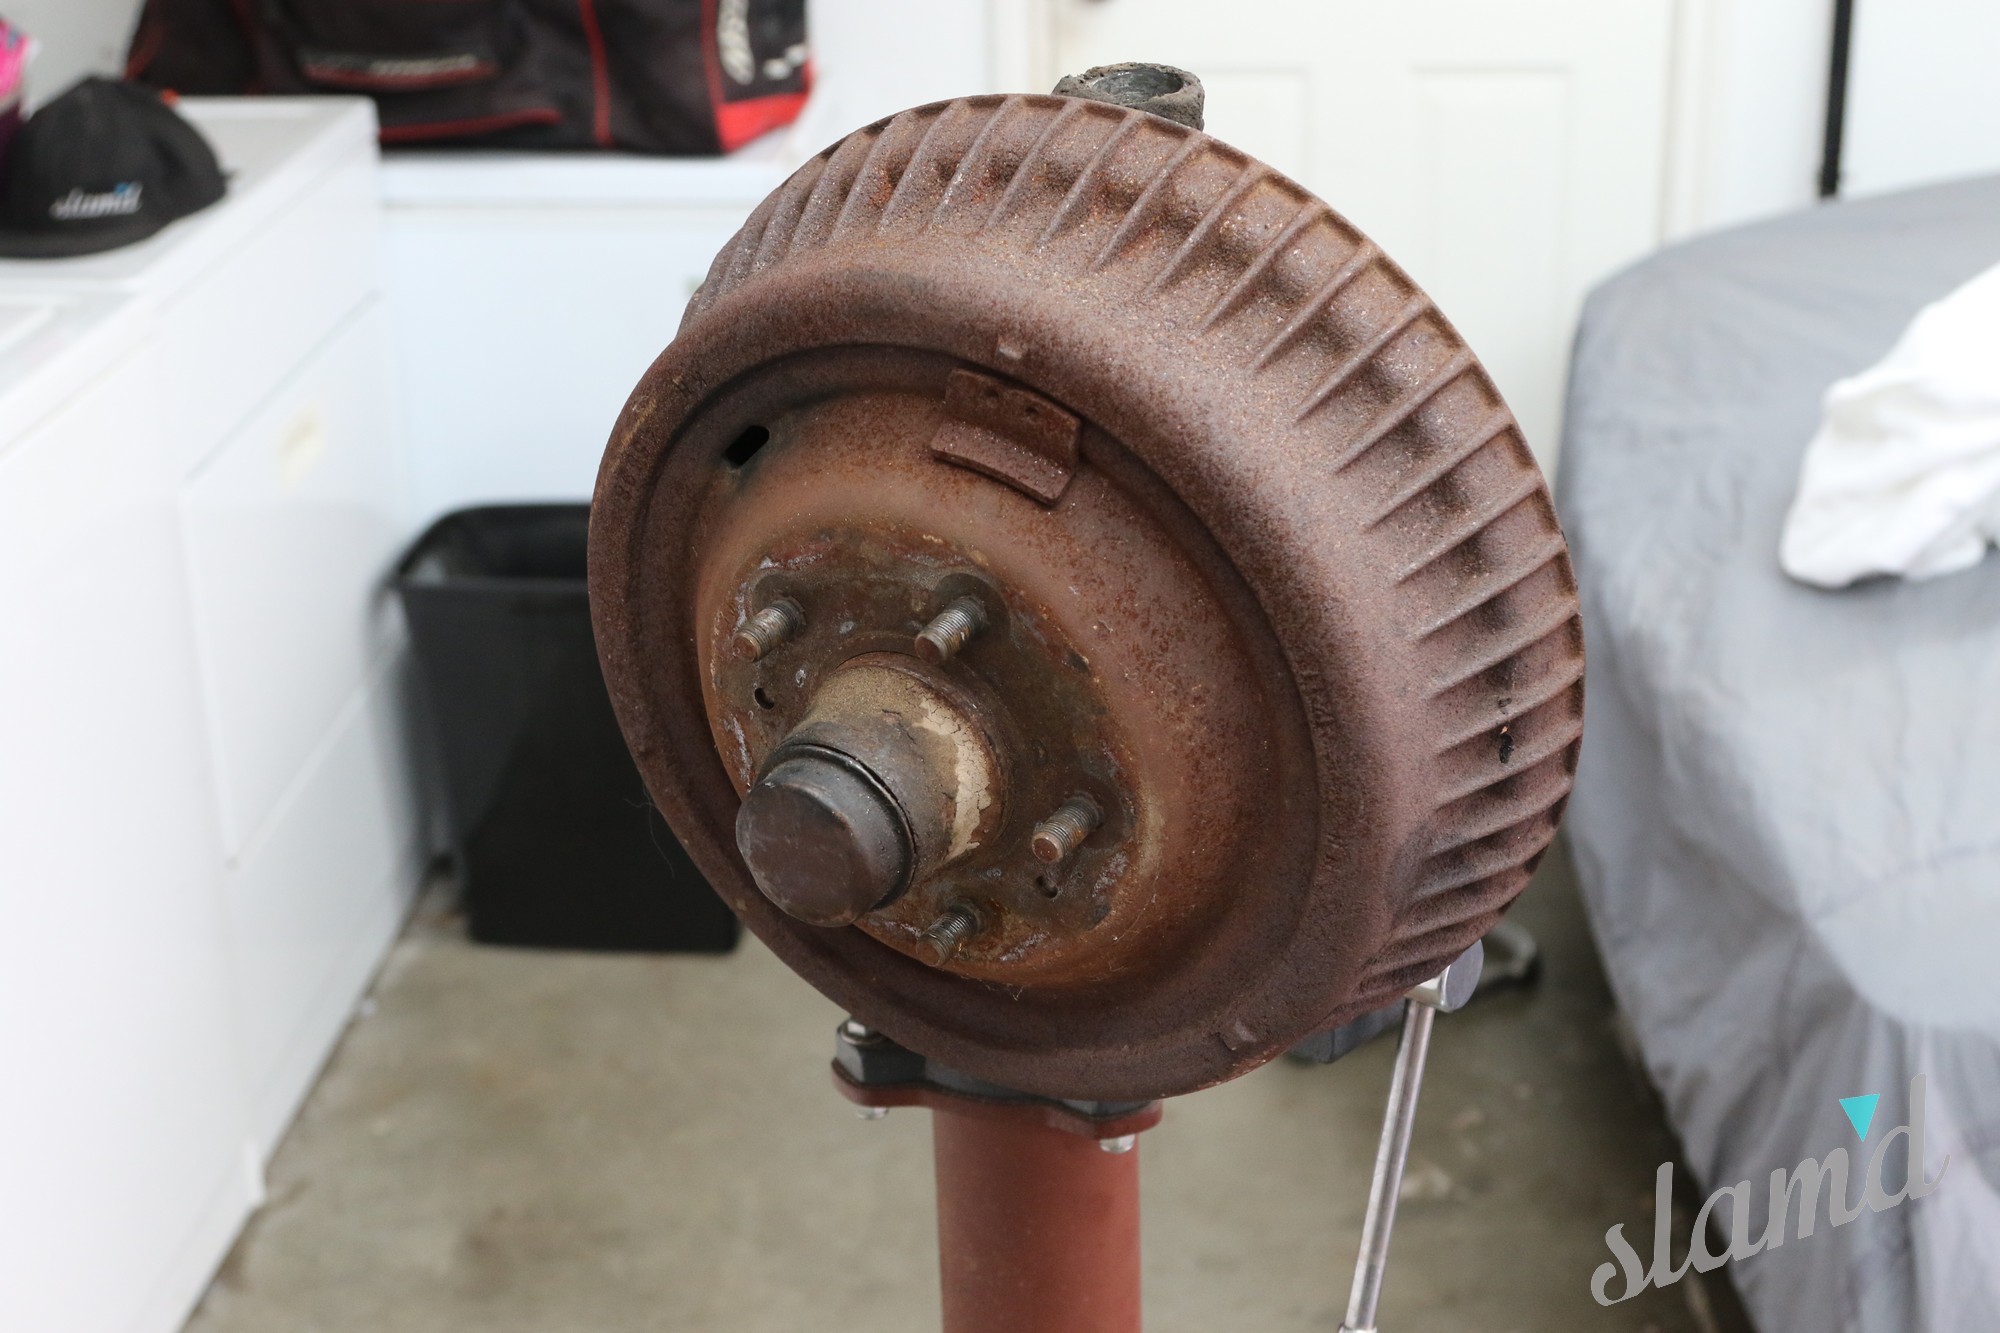
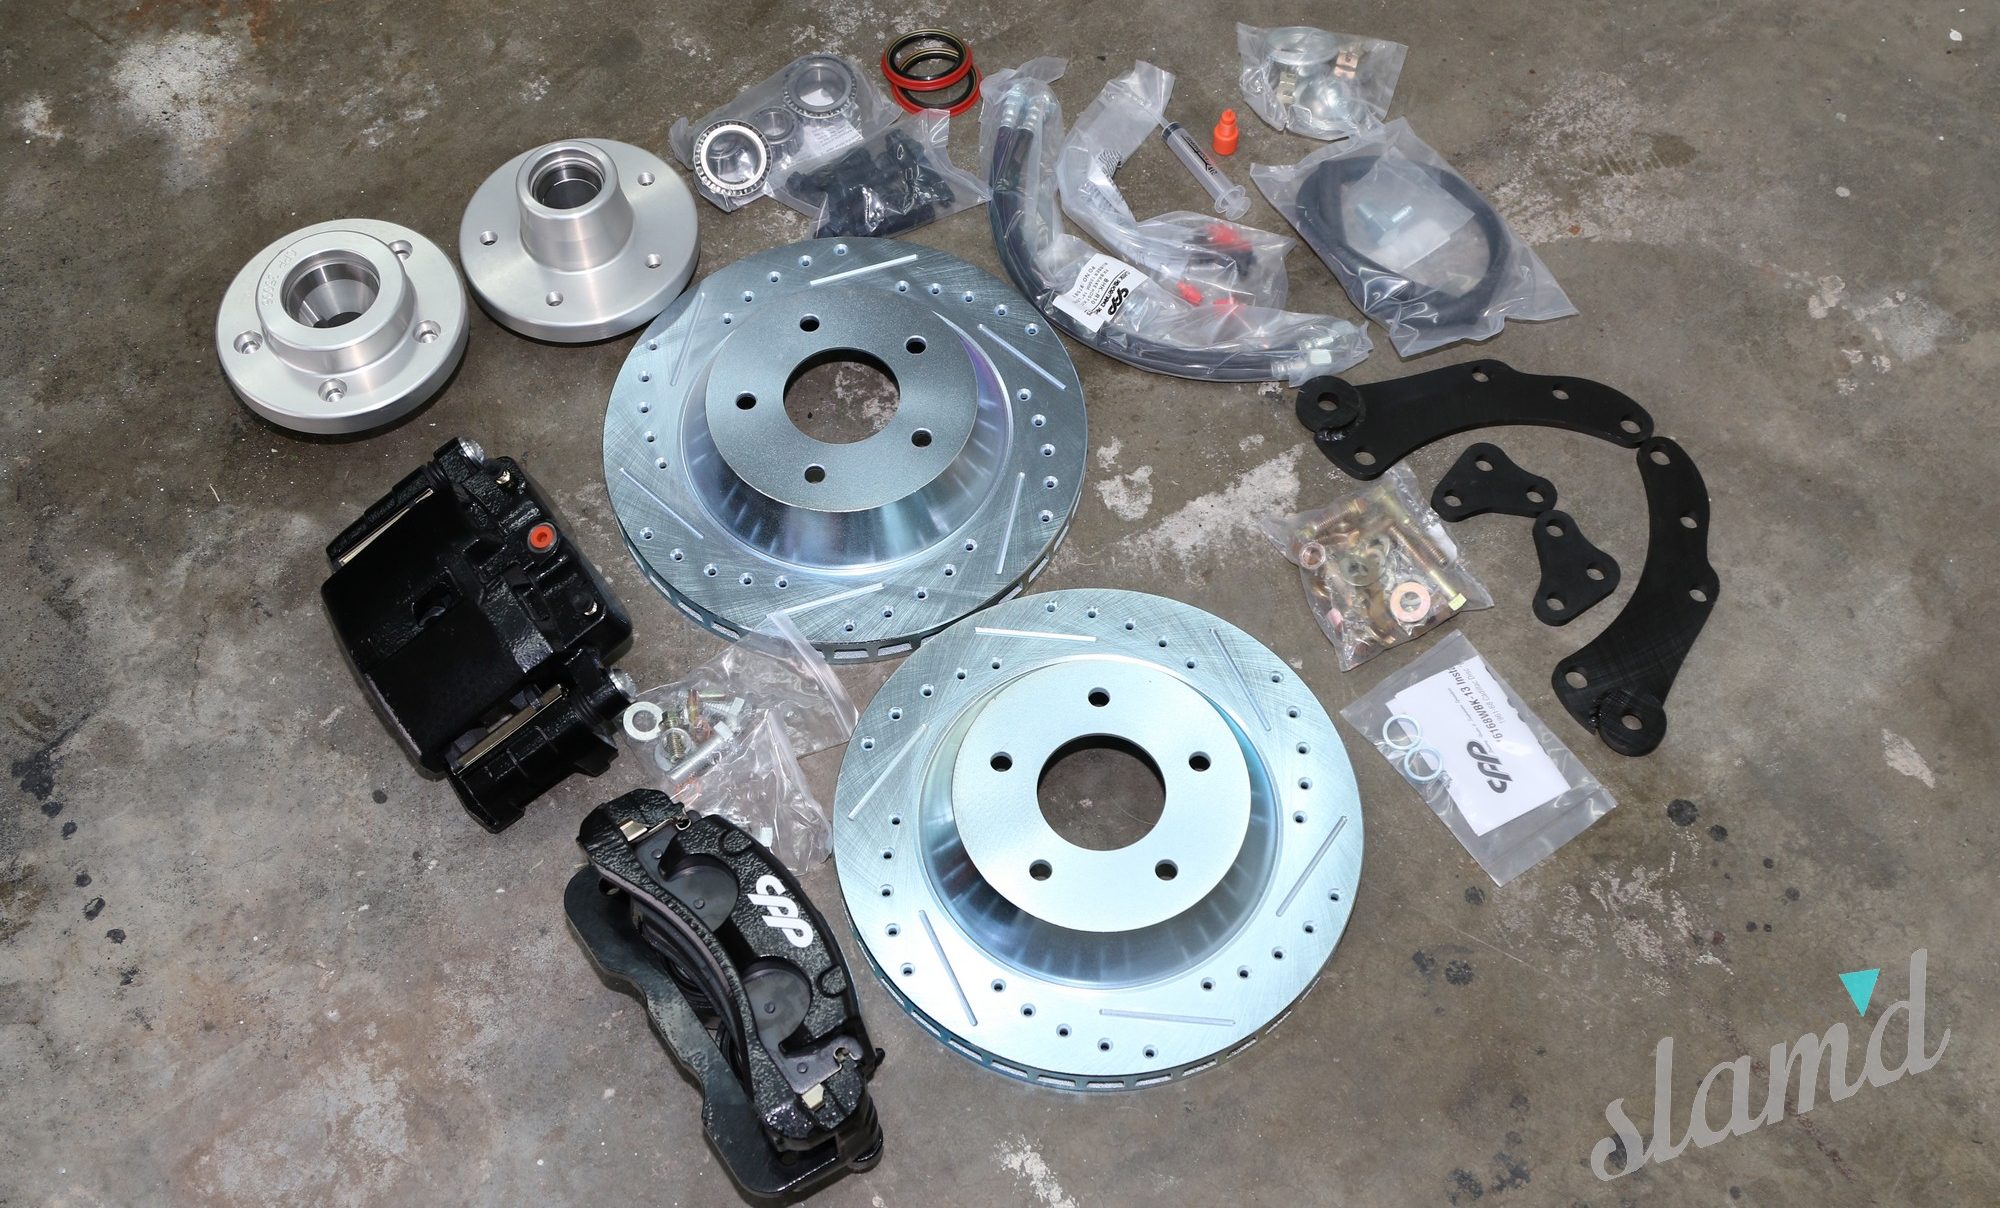
Our first stop was to give the experts at Rare Parts Inc. a call. This is one of only a few companies that make the bushings, balljoints and steering parts for this car, being true to their name. This would get our Caddy driving better than new, but still majorly lacking in the braking department. The original brake set up on this car was a dual reservoir master cylinder attached to a booster with four wheel drum brakes. Granted, these are some massive drum brakes but with the car weighing in at roughly 5,500 pounds, they just weren’t up to today’s braking standard. Our original plans were to keep the factory 15-inch wheels but nobody made a disc brake kit that would allow it. That’s when we decided to go deep and order up a set of CPP 13-inch disc brakes for the front.
Since we had the 13-inch CPP brakes on order, we knew a new set of wheels would be required. In order to give a modern, yet classy and timeless we called up our buddies over at Detroit Steel wheels for a set of 20-inch wheels that easily engulf the brakes. We couldn’t stop there, the icing on the cake would be the Jamco Suspension altitude adjustment via their 2-inch drop coil springs.
Disassembling the Brodillac
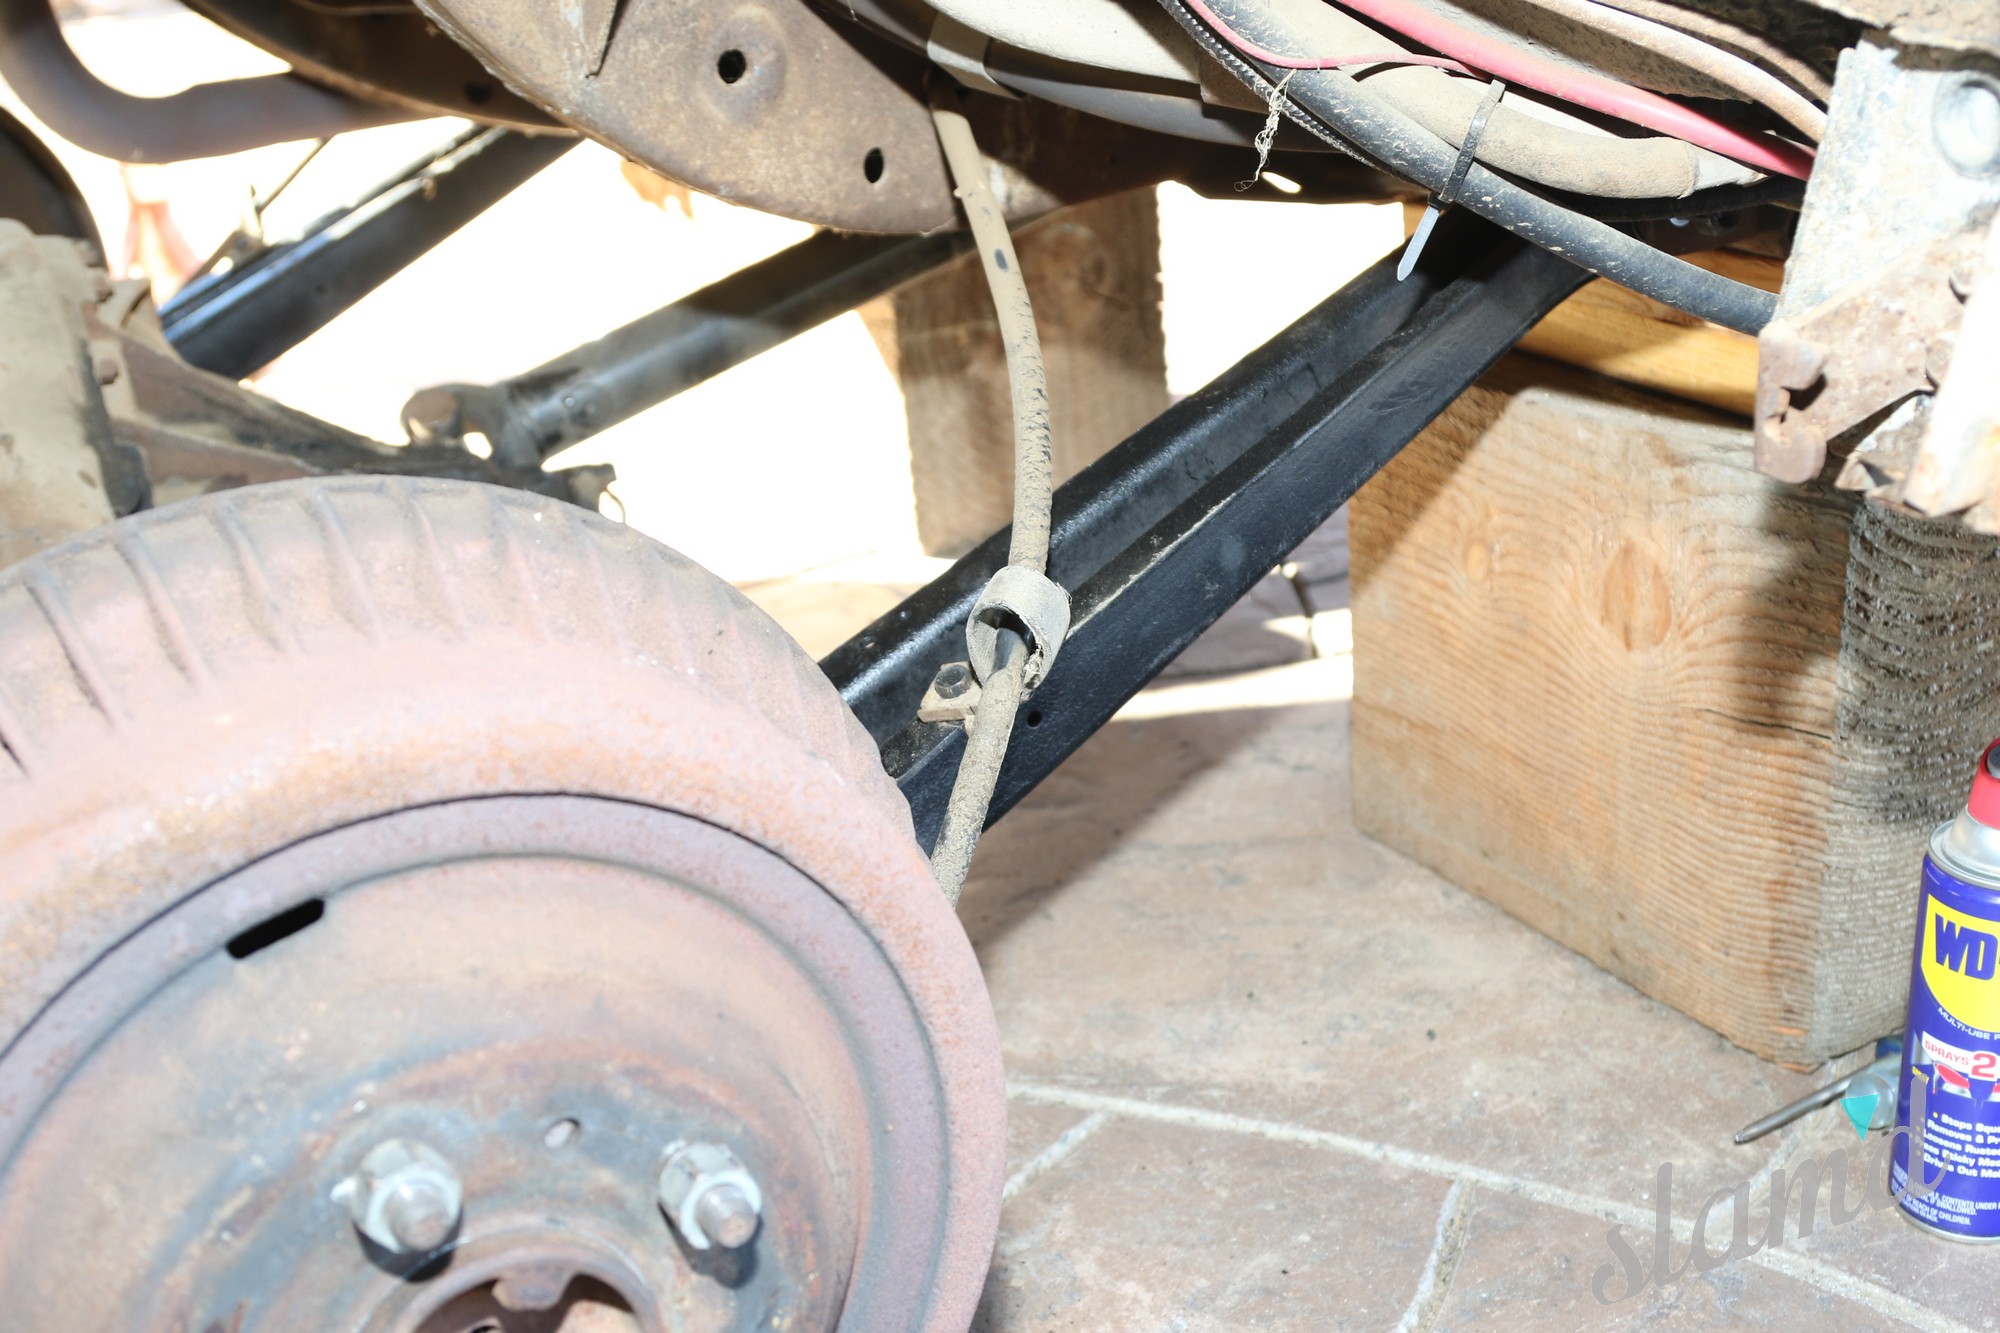
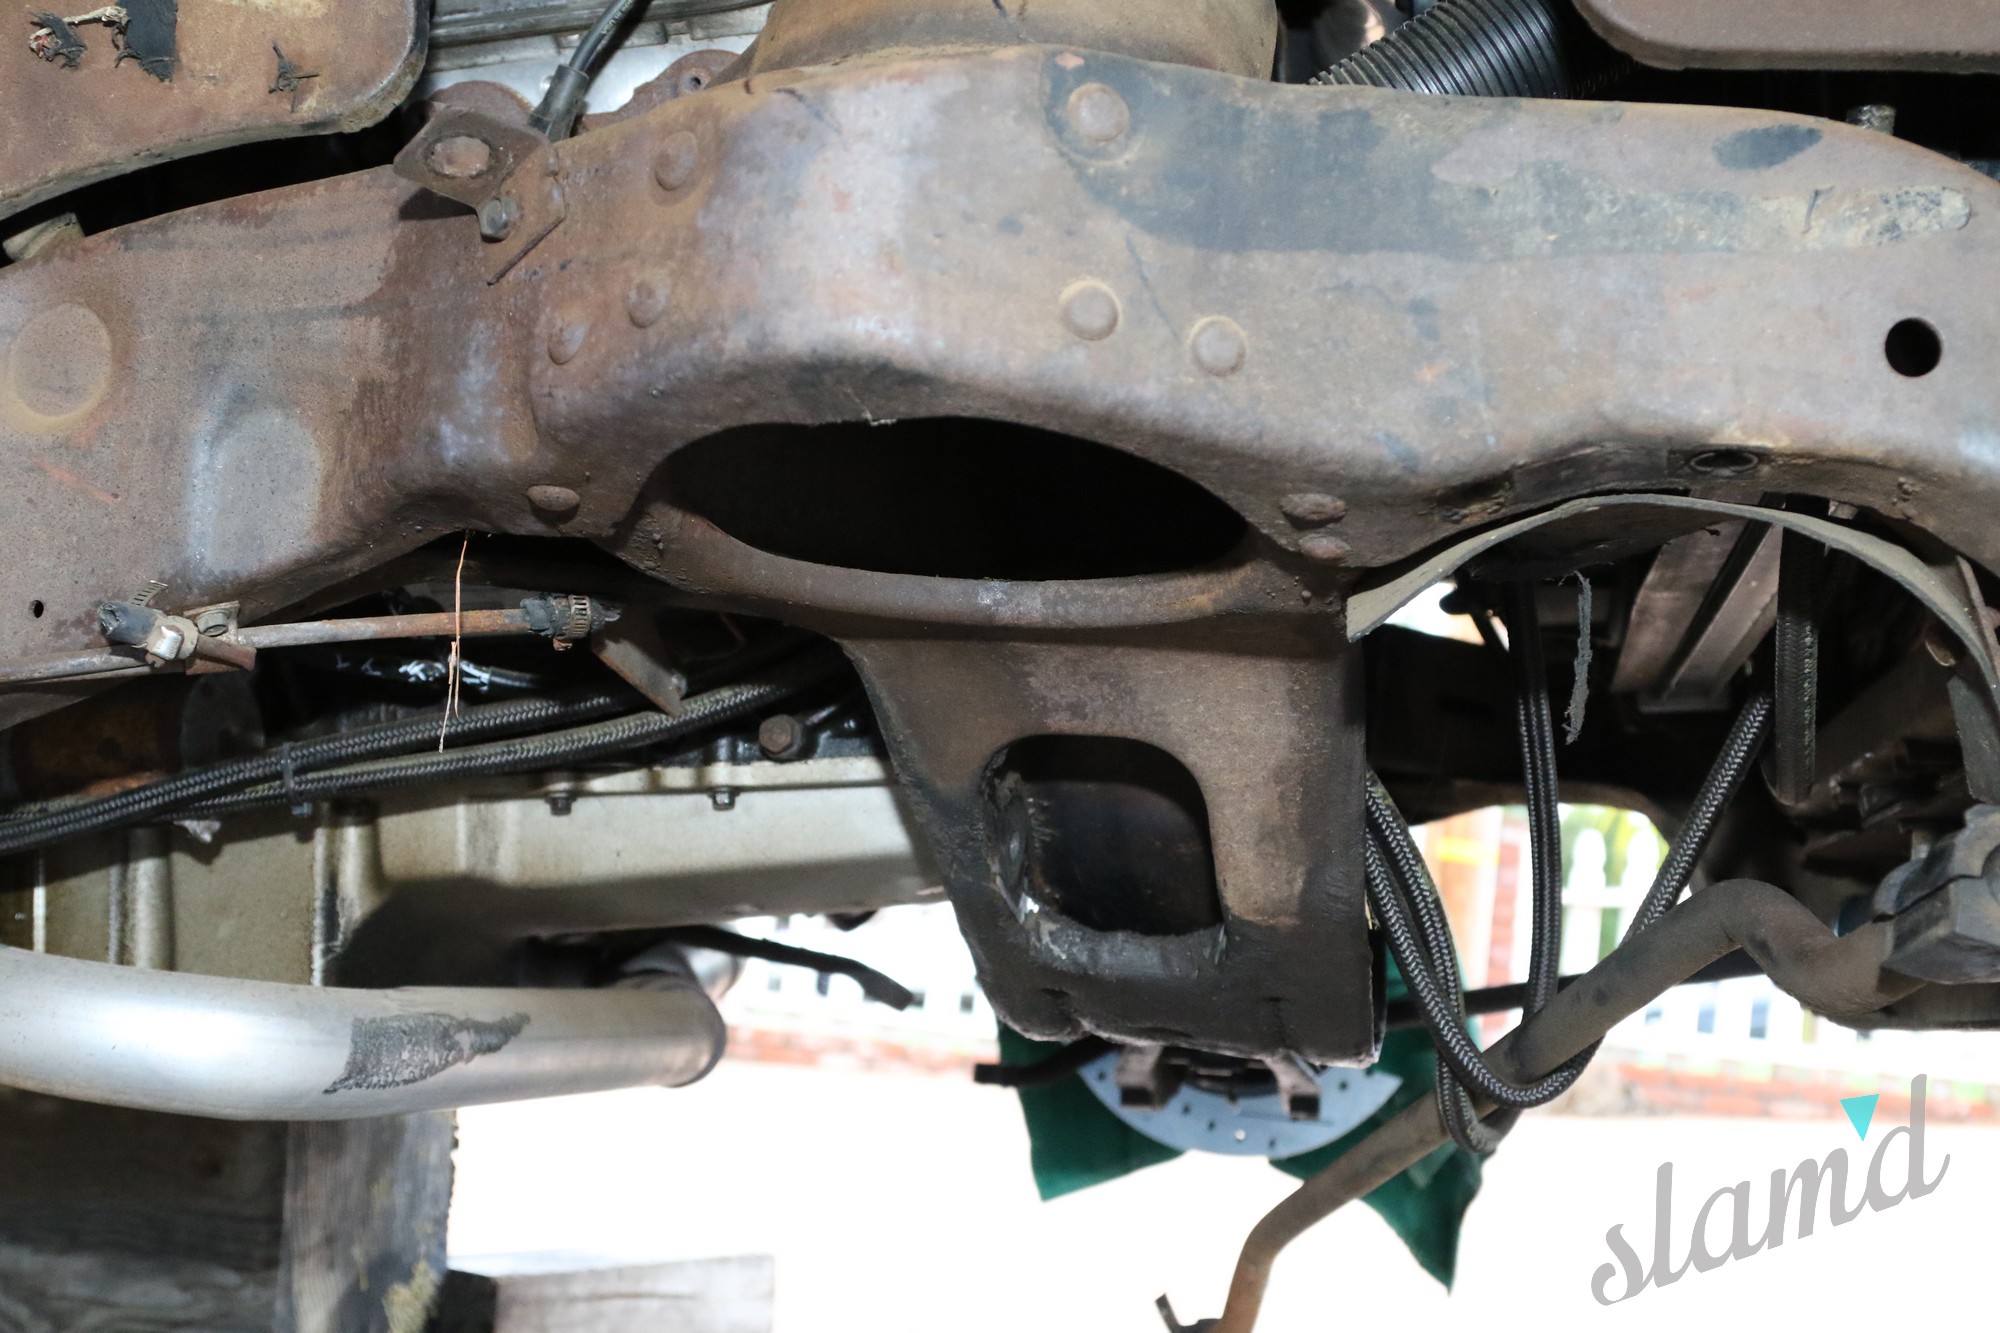
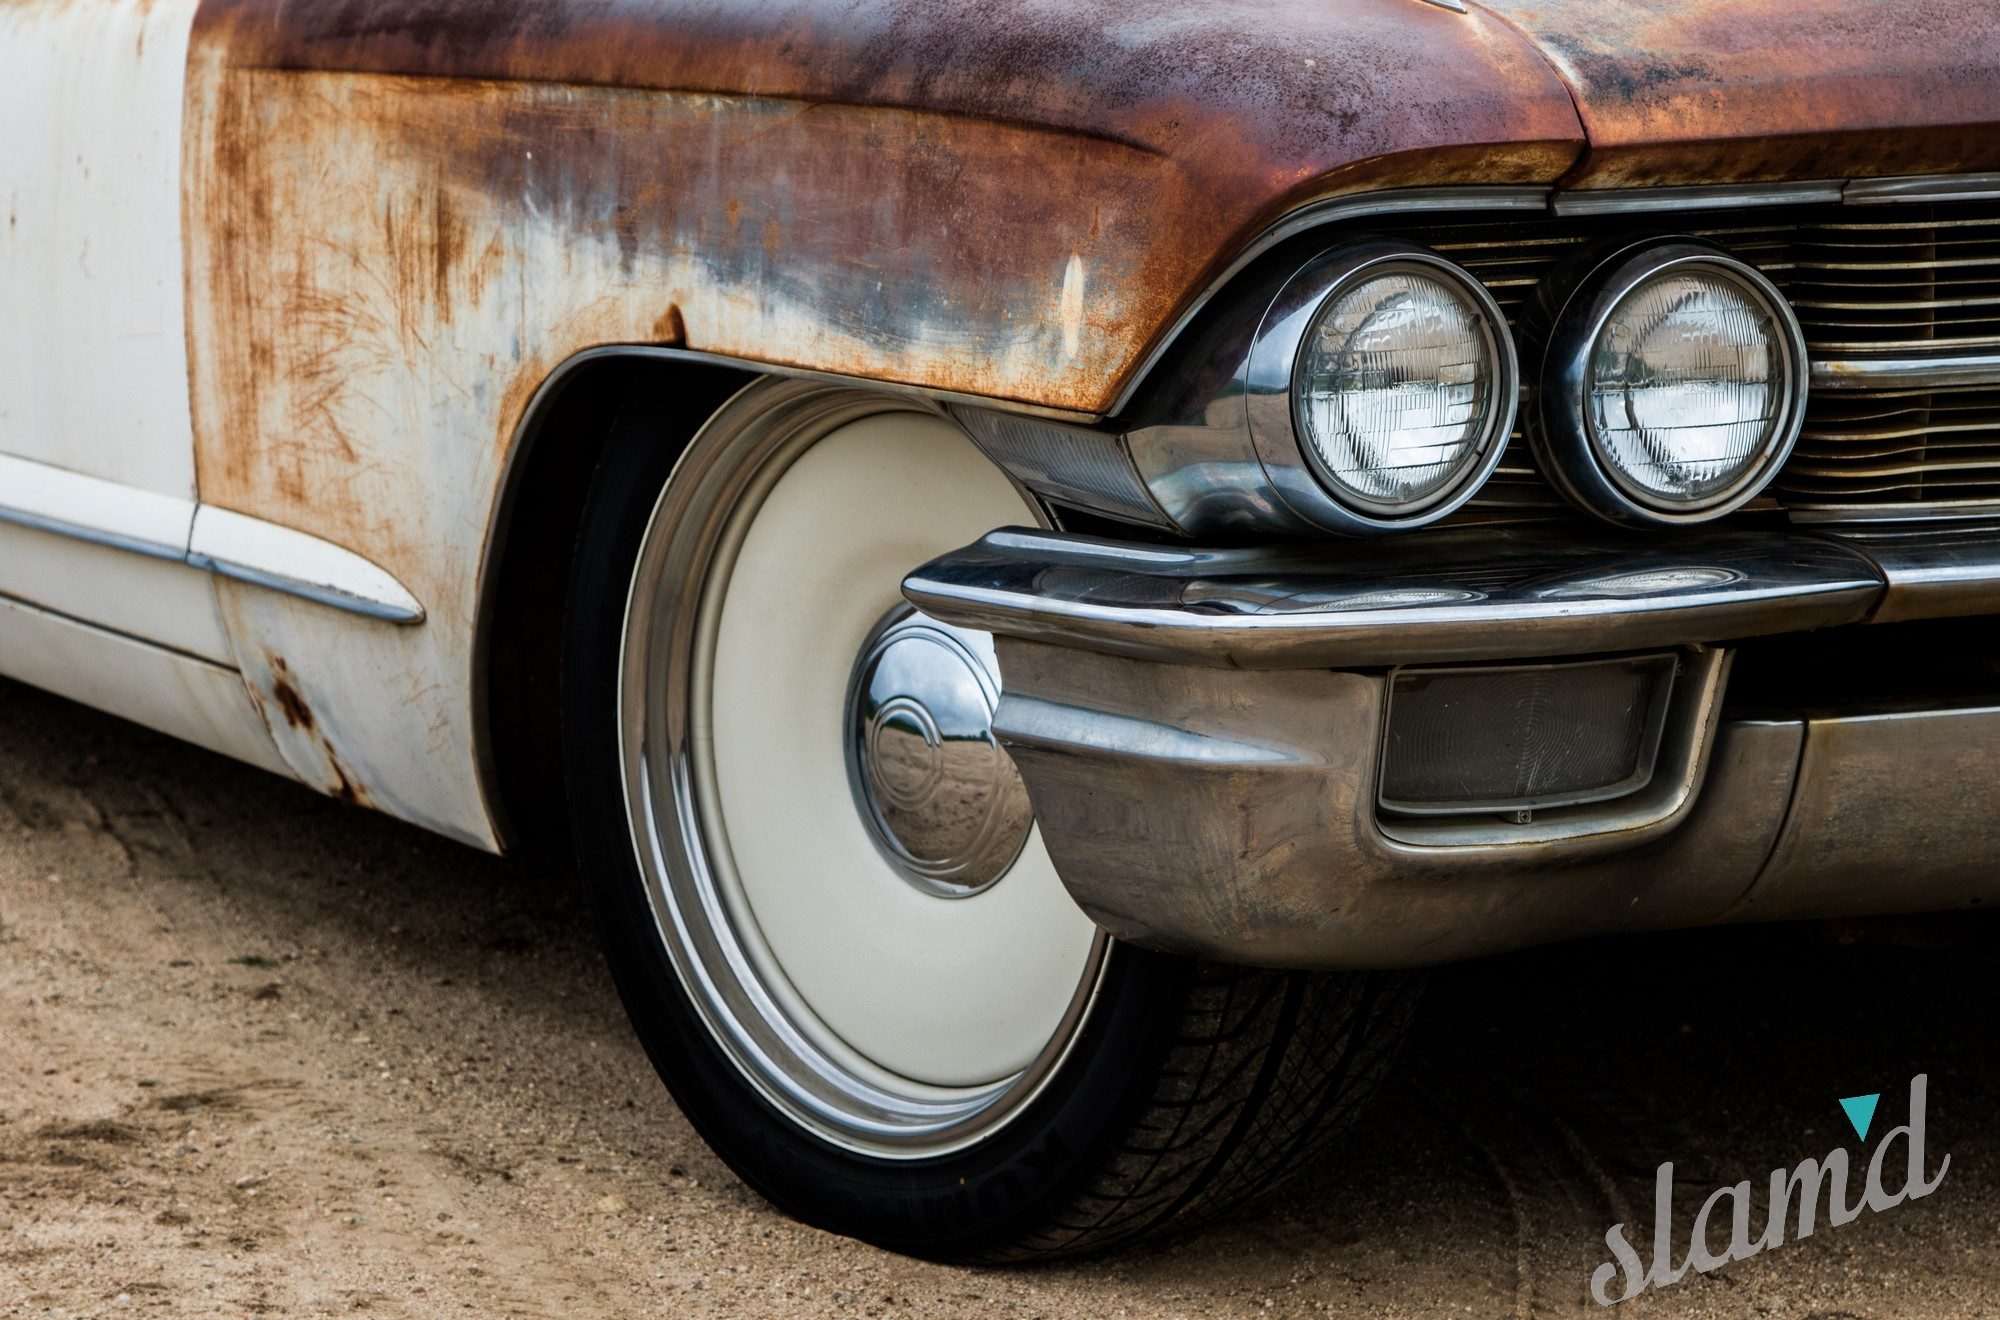
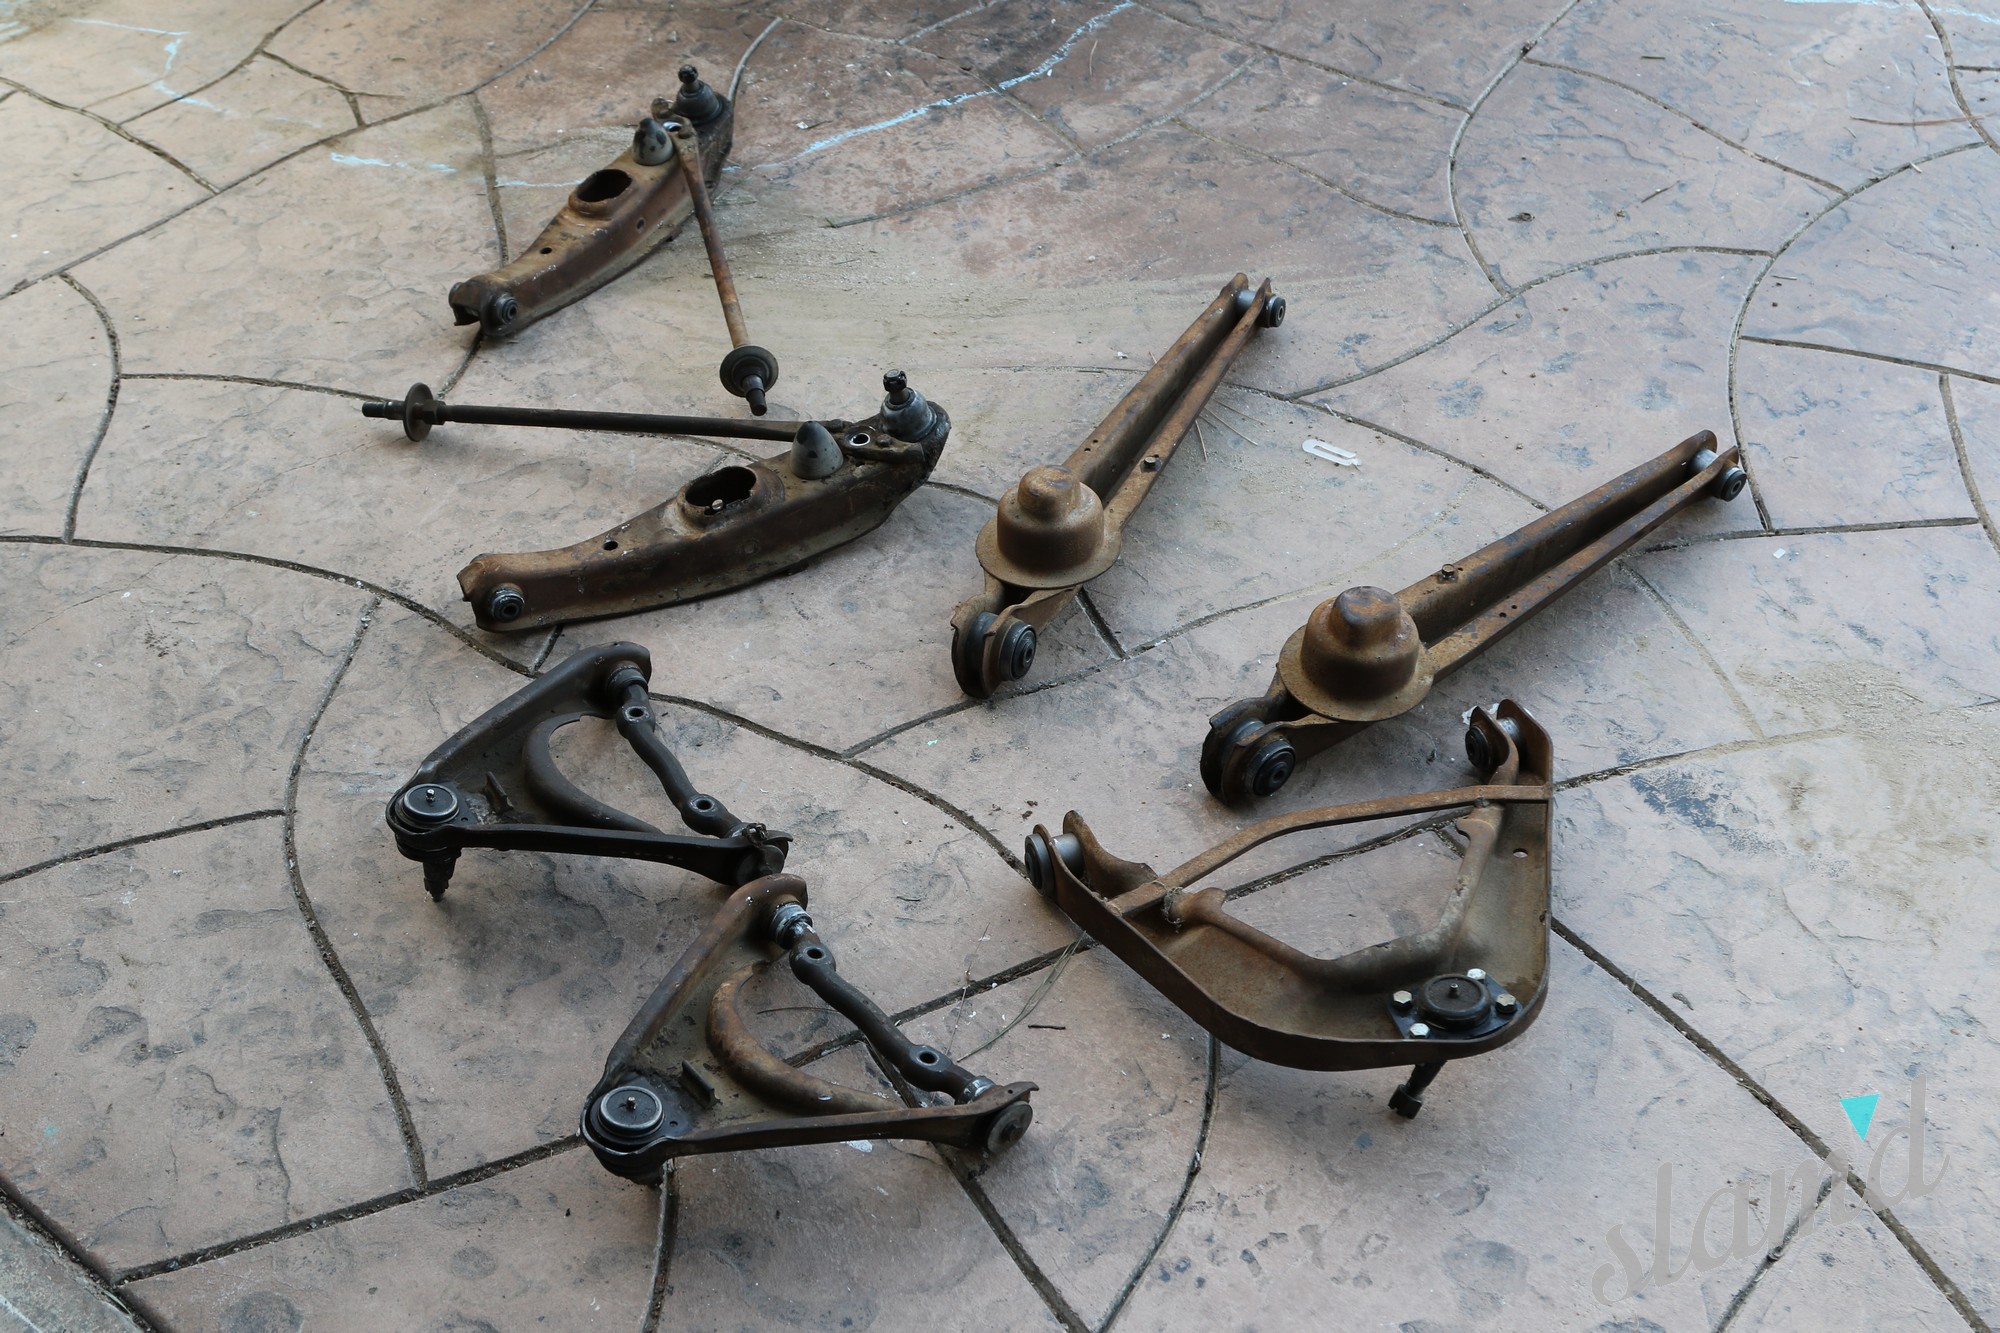
With all our needed parts on order, the time came to rip off all the old suspension and let the fun begin. Luckily this car came from Arizona and while there is some surface rust, there was no rot and things came apart fairly easily.
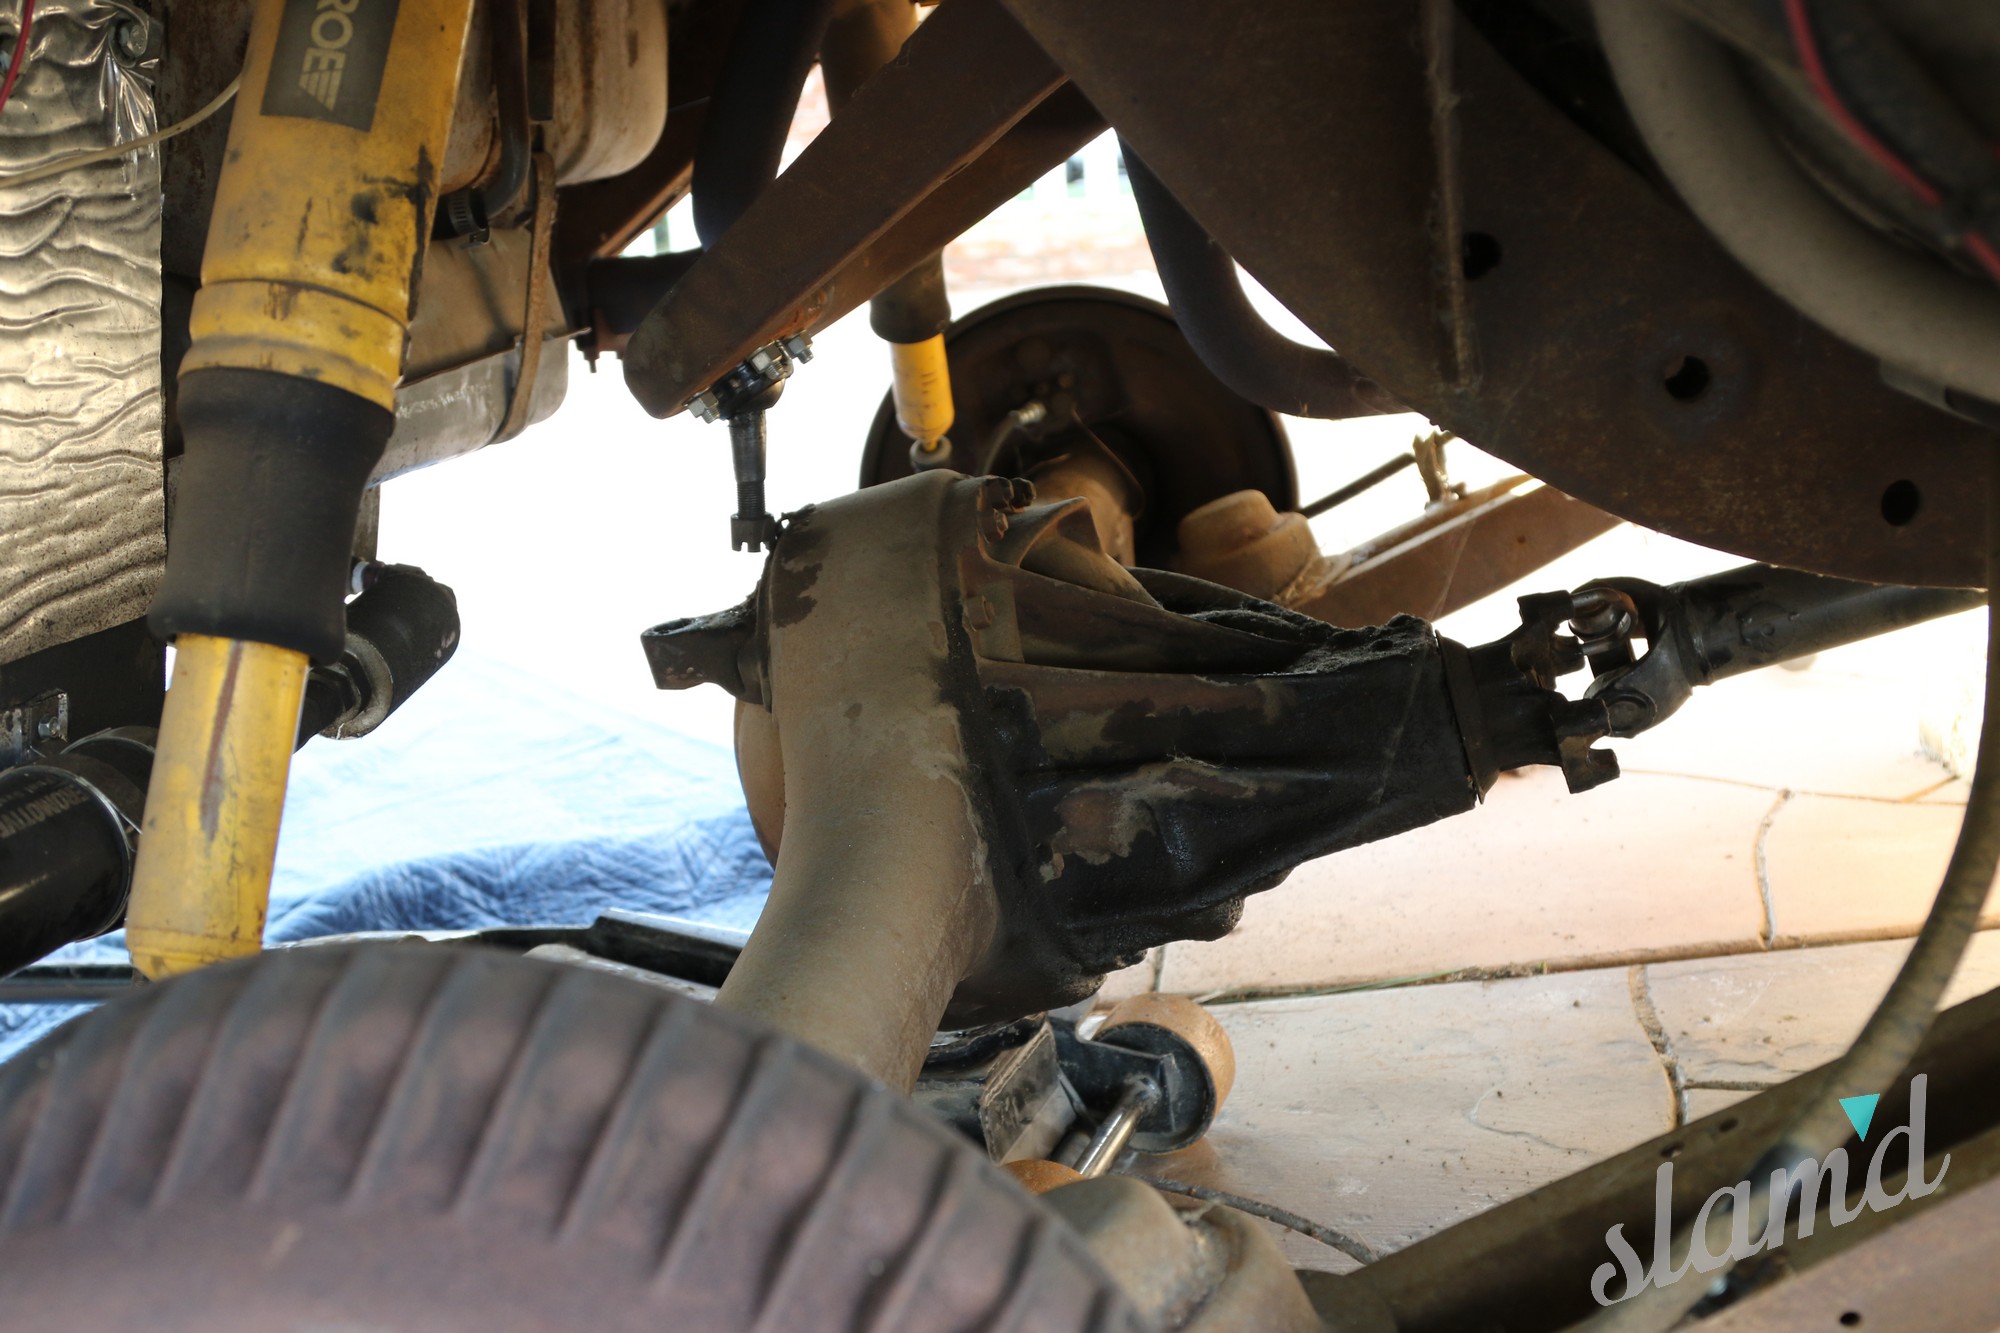
Starting with the rear suspension, we removed the shocks and disconnected the driveshaft. From here we let the axle swing down so that we could easily get to the ball joint on top of the pumpkin. With that ball joint popped out, we removed the two bolts holding the upper link in place and removed it. Without the upper arm attached, the rearend was free to rotate to the point the factory coil springs slid out. The last step was the remove the lower trailing arms, which are held in place with a single bolt at each end of the control arms.
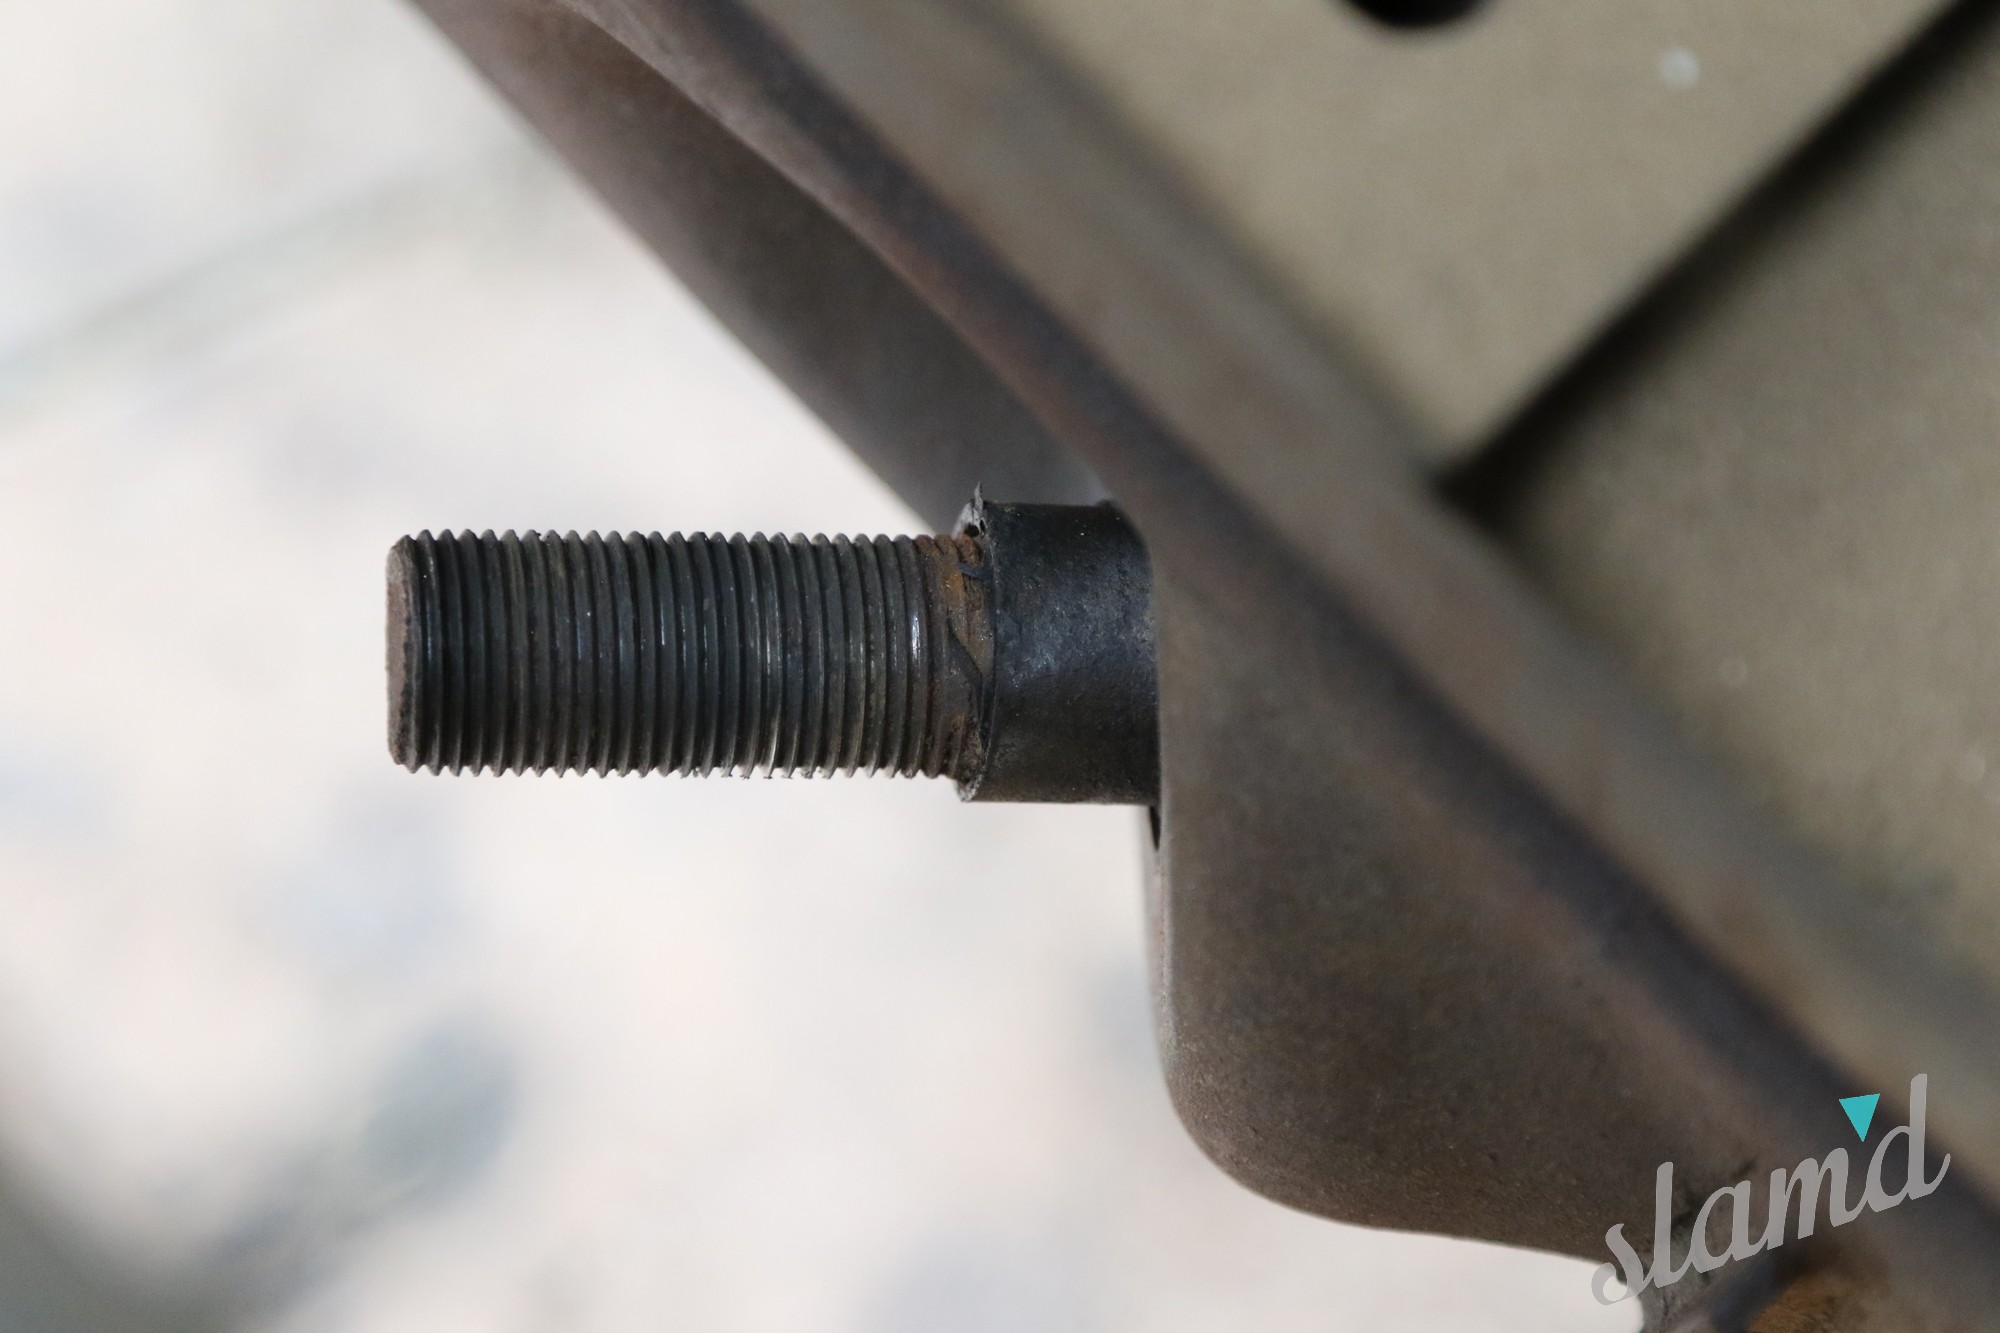
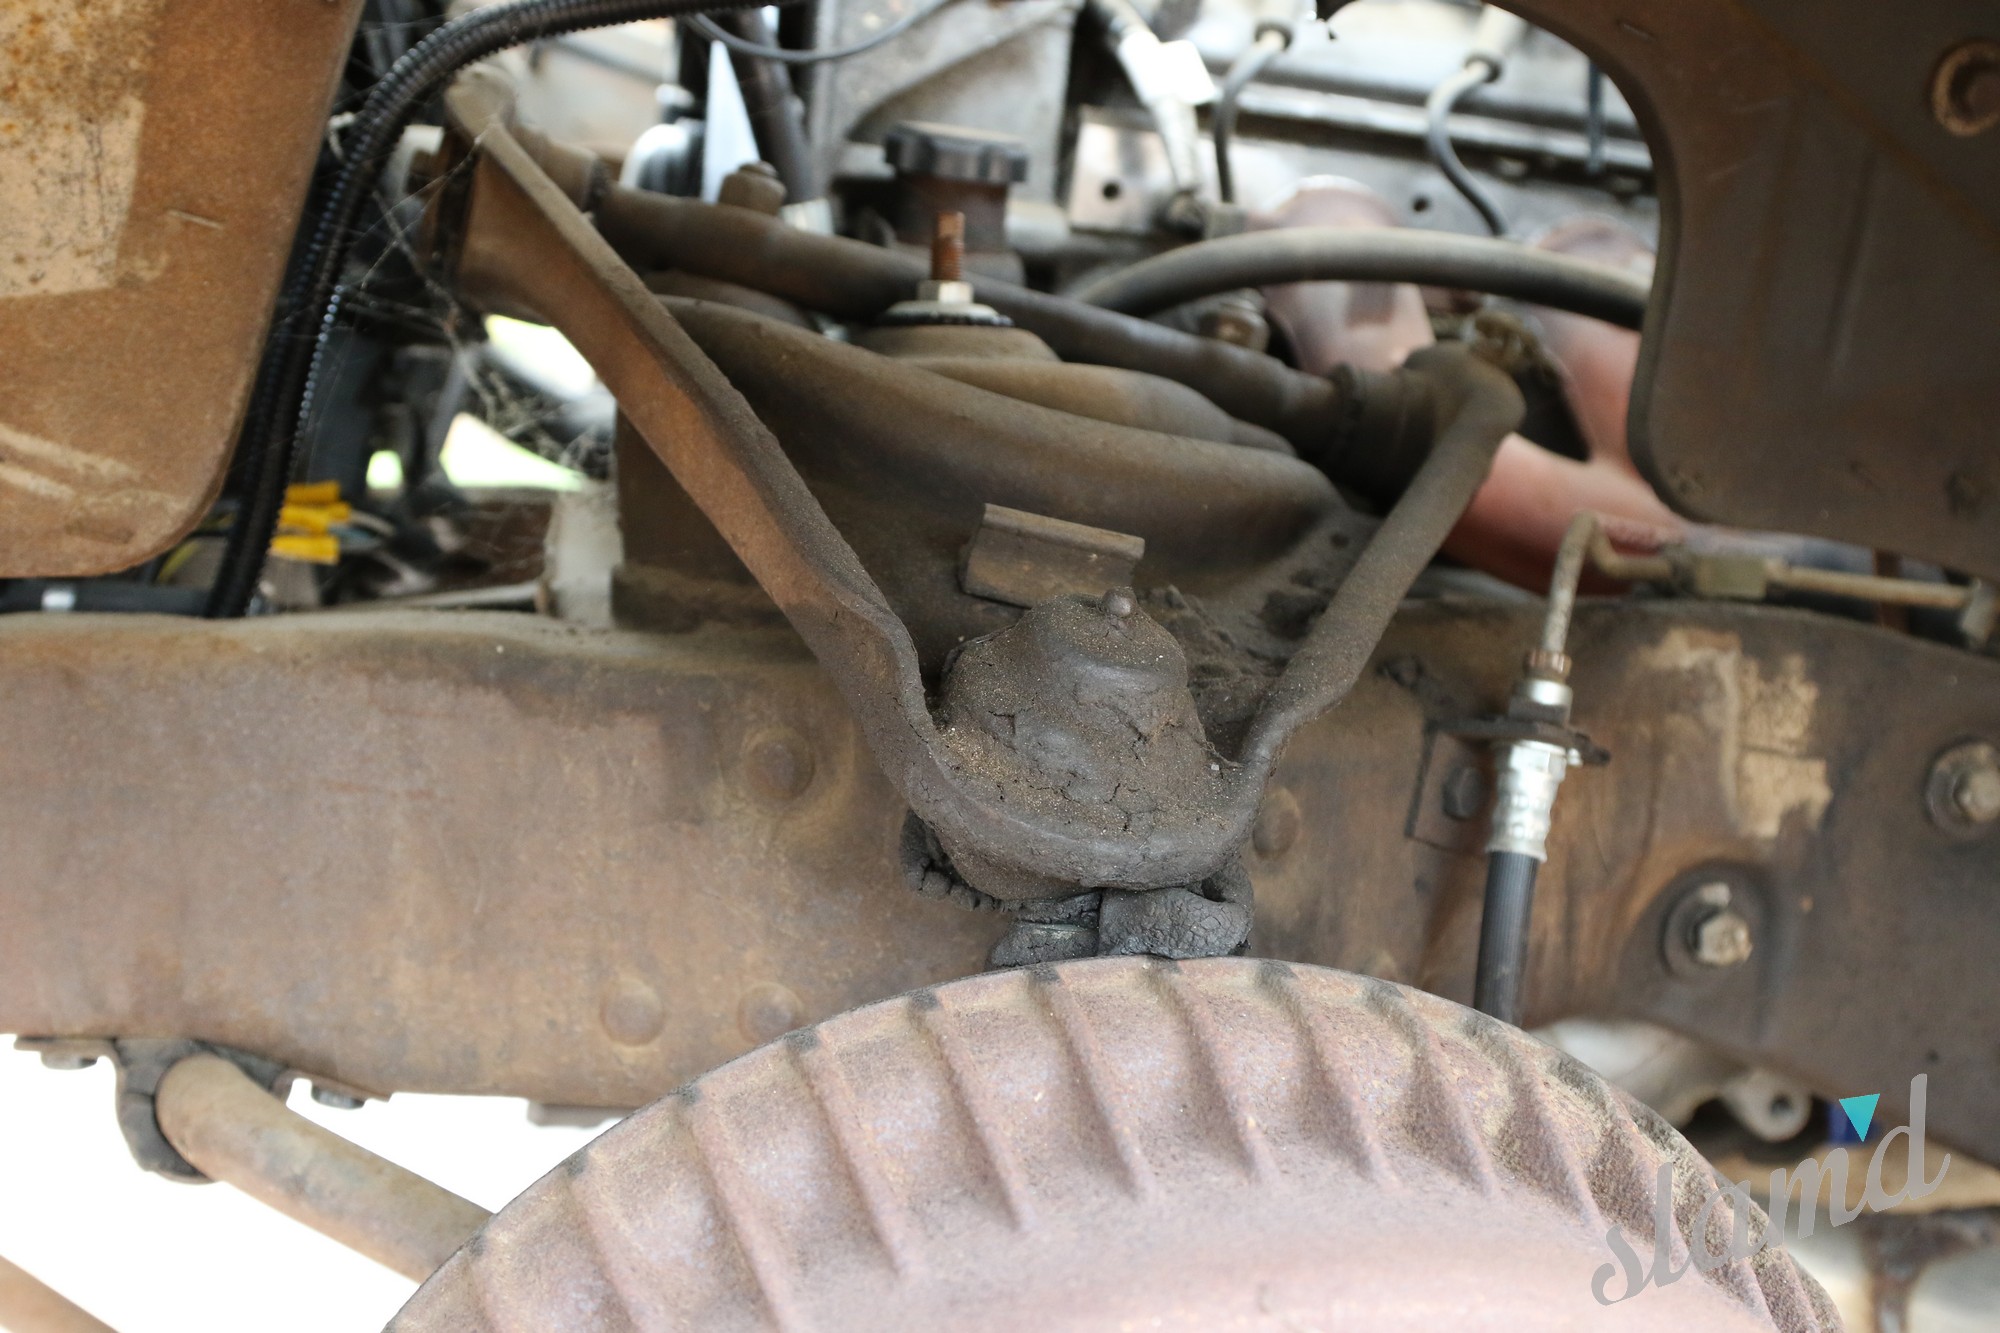
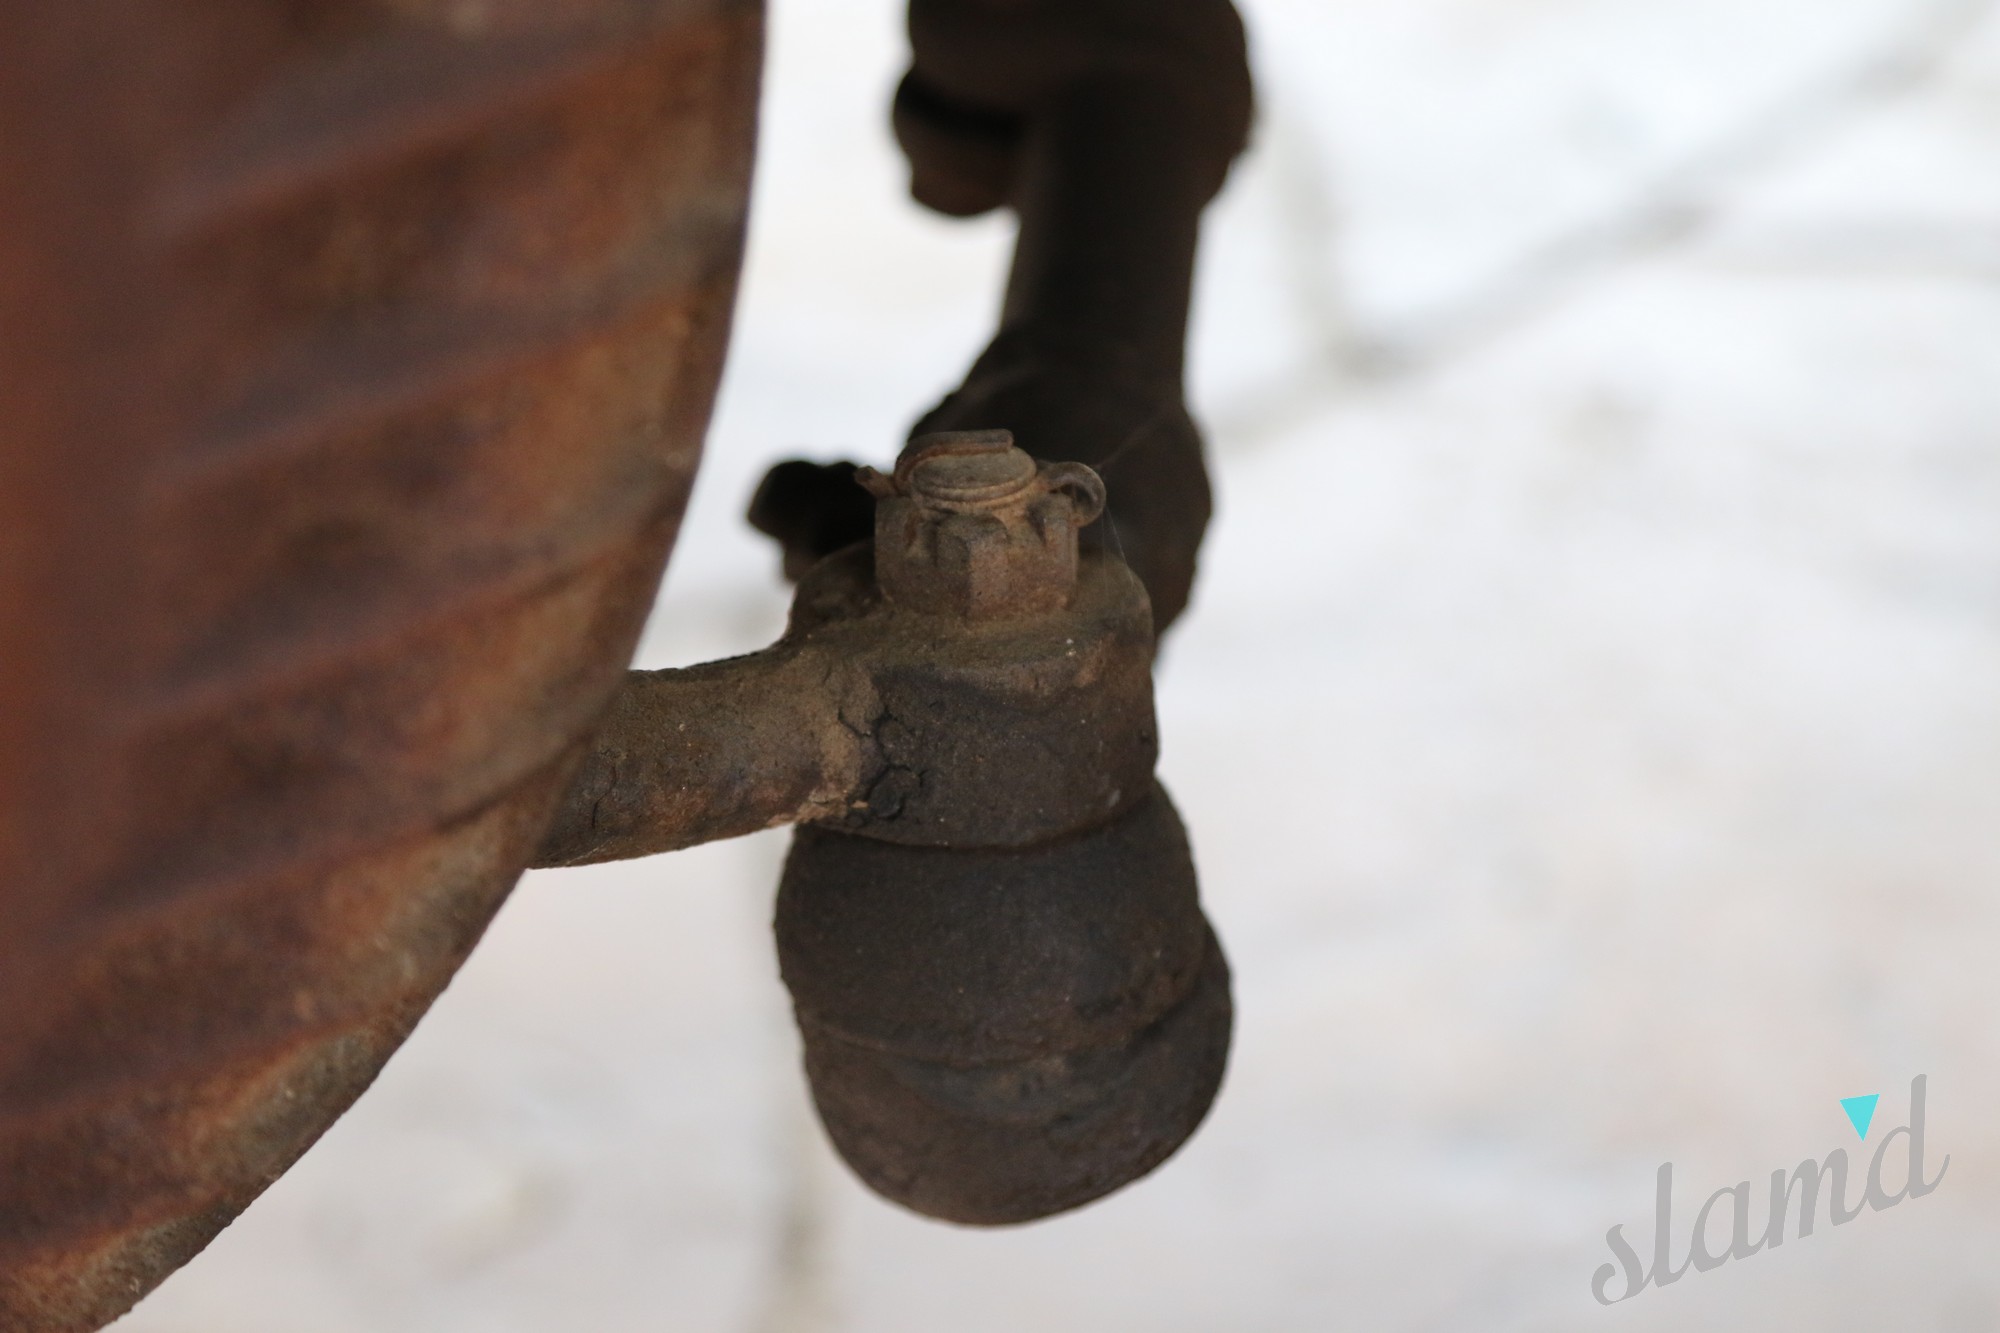
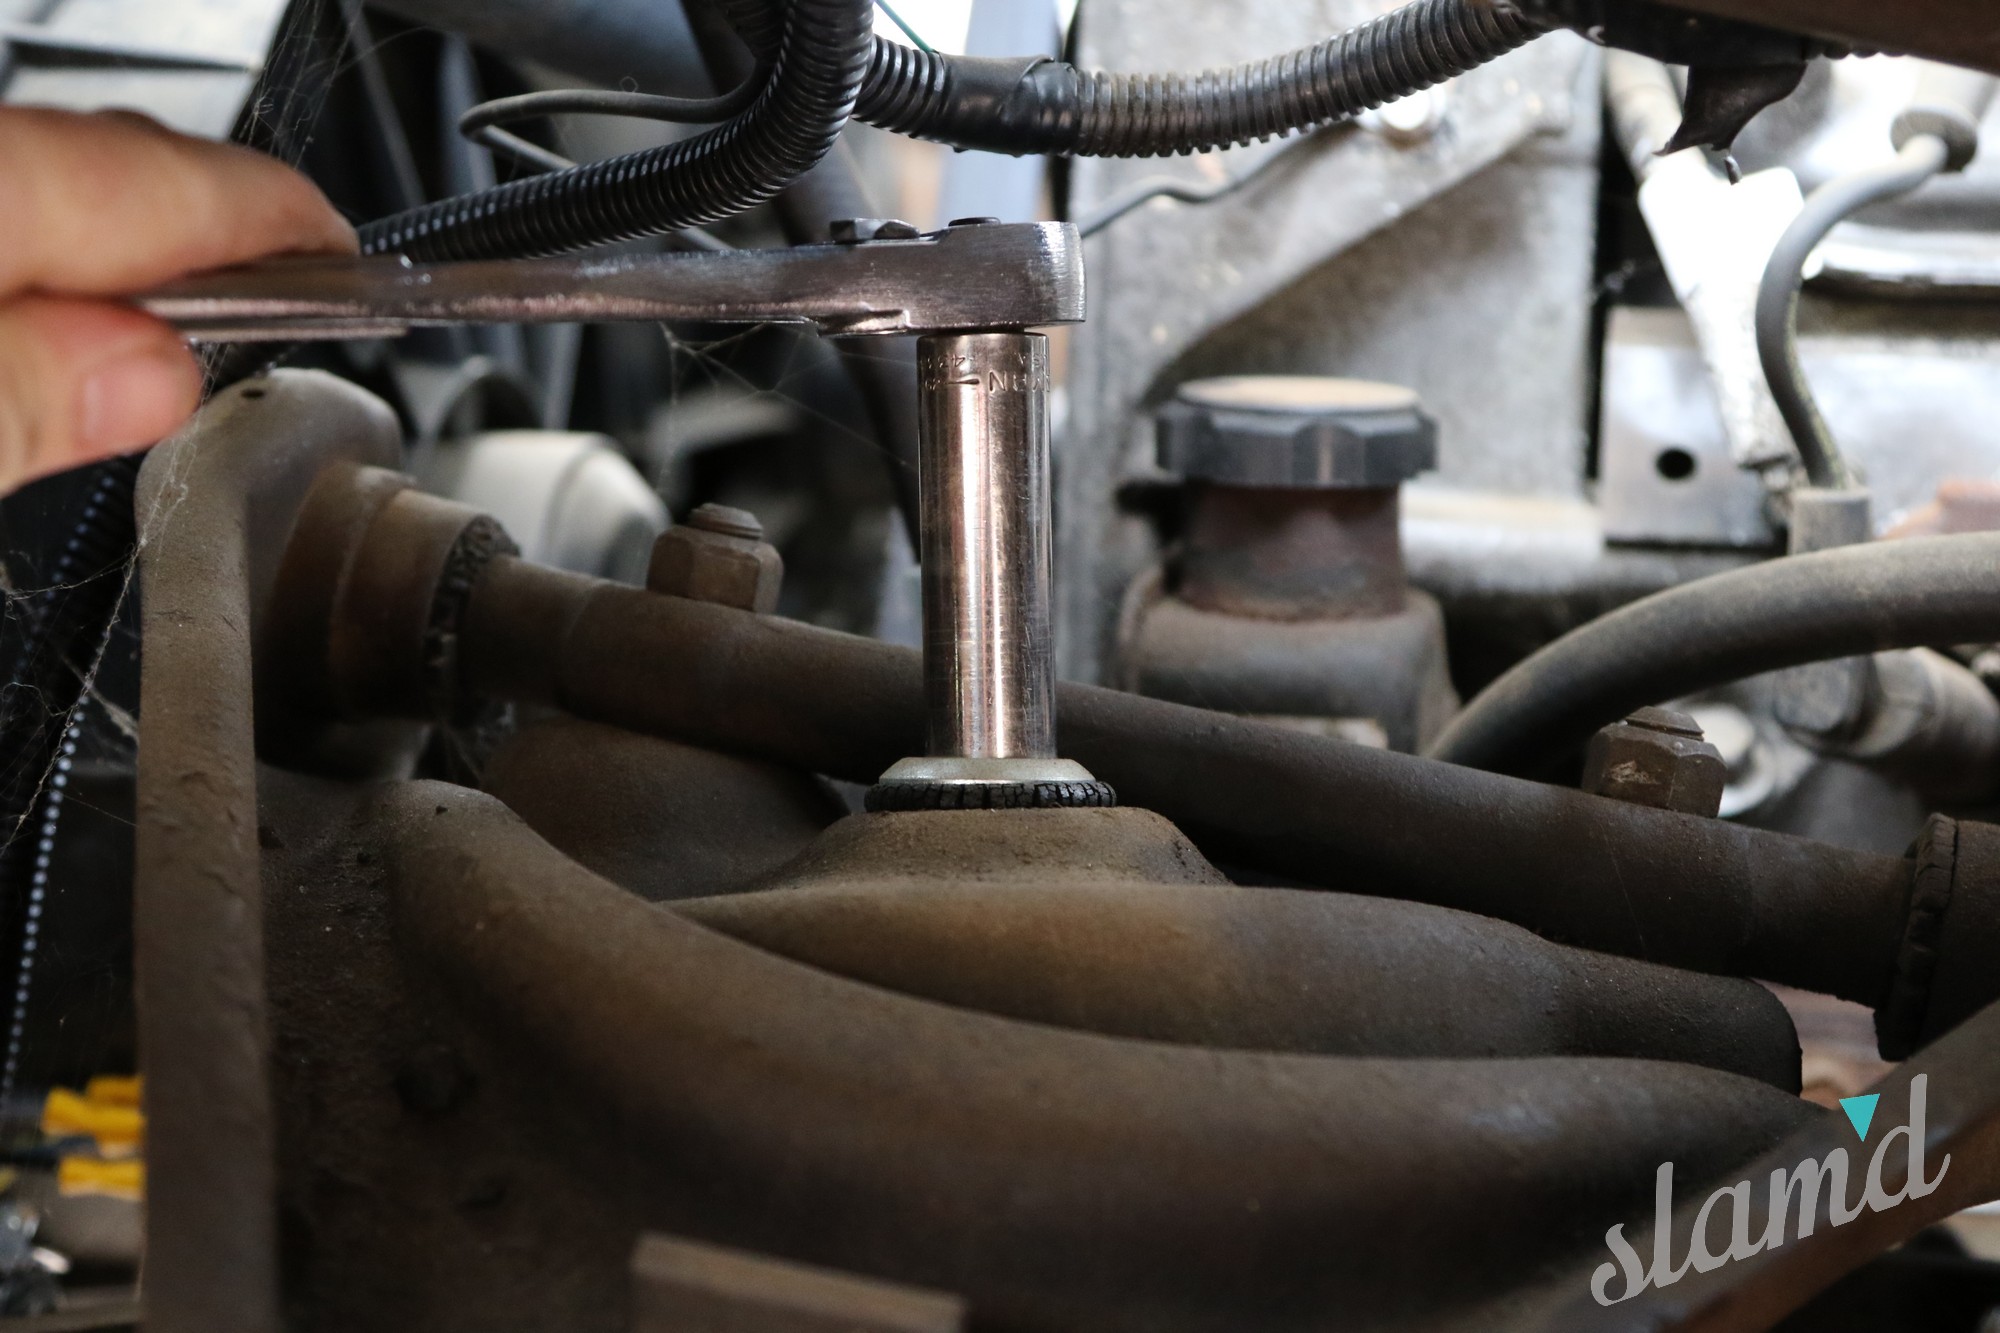
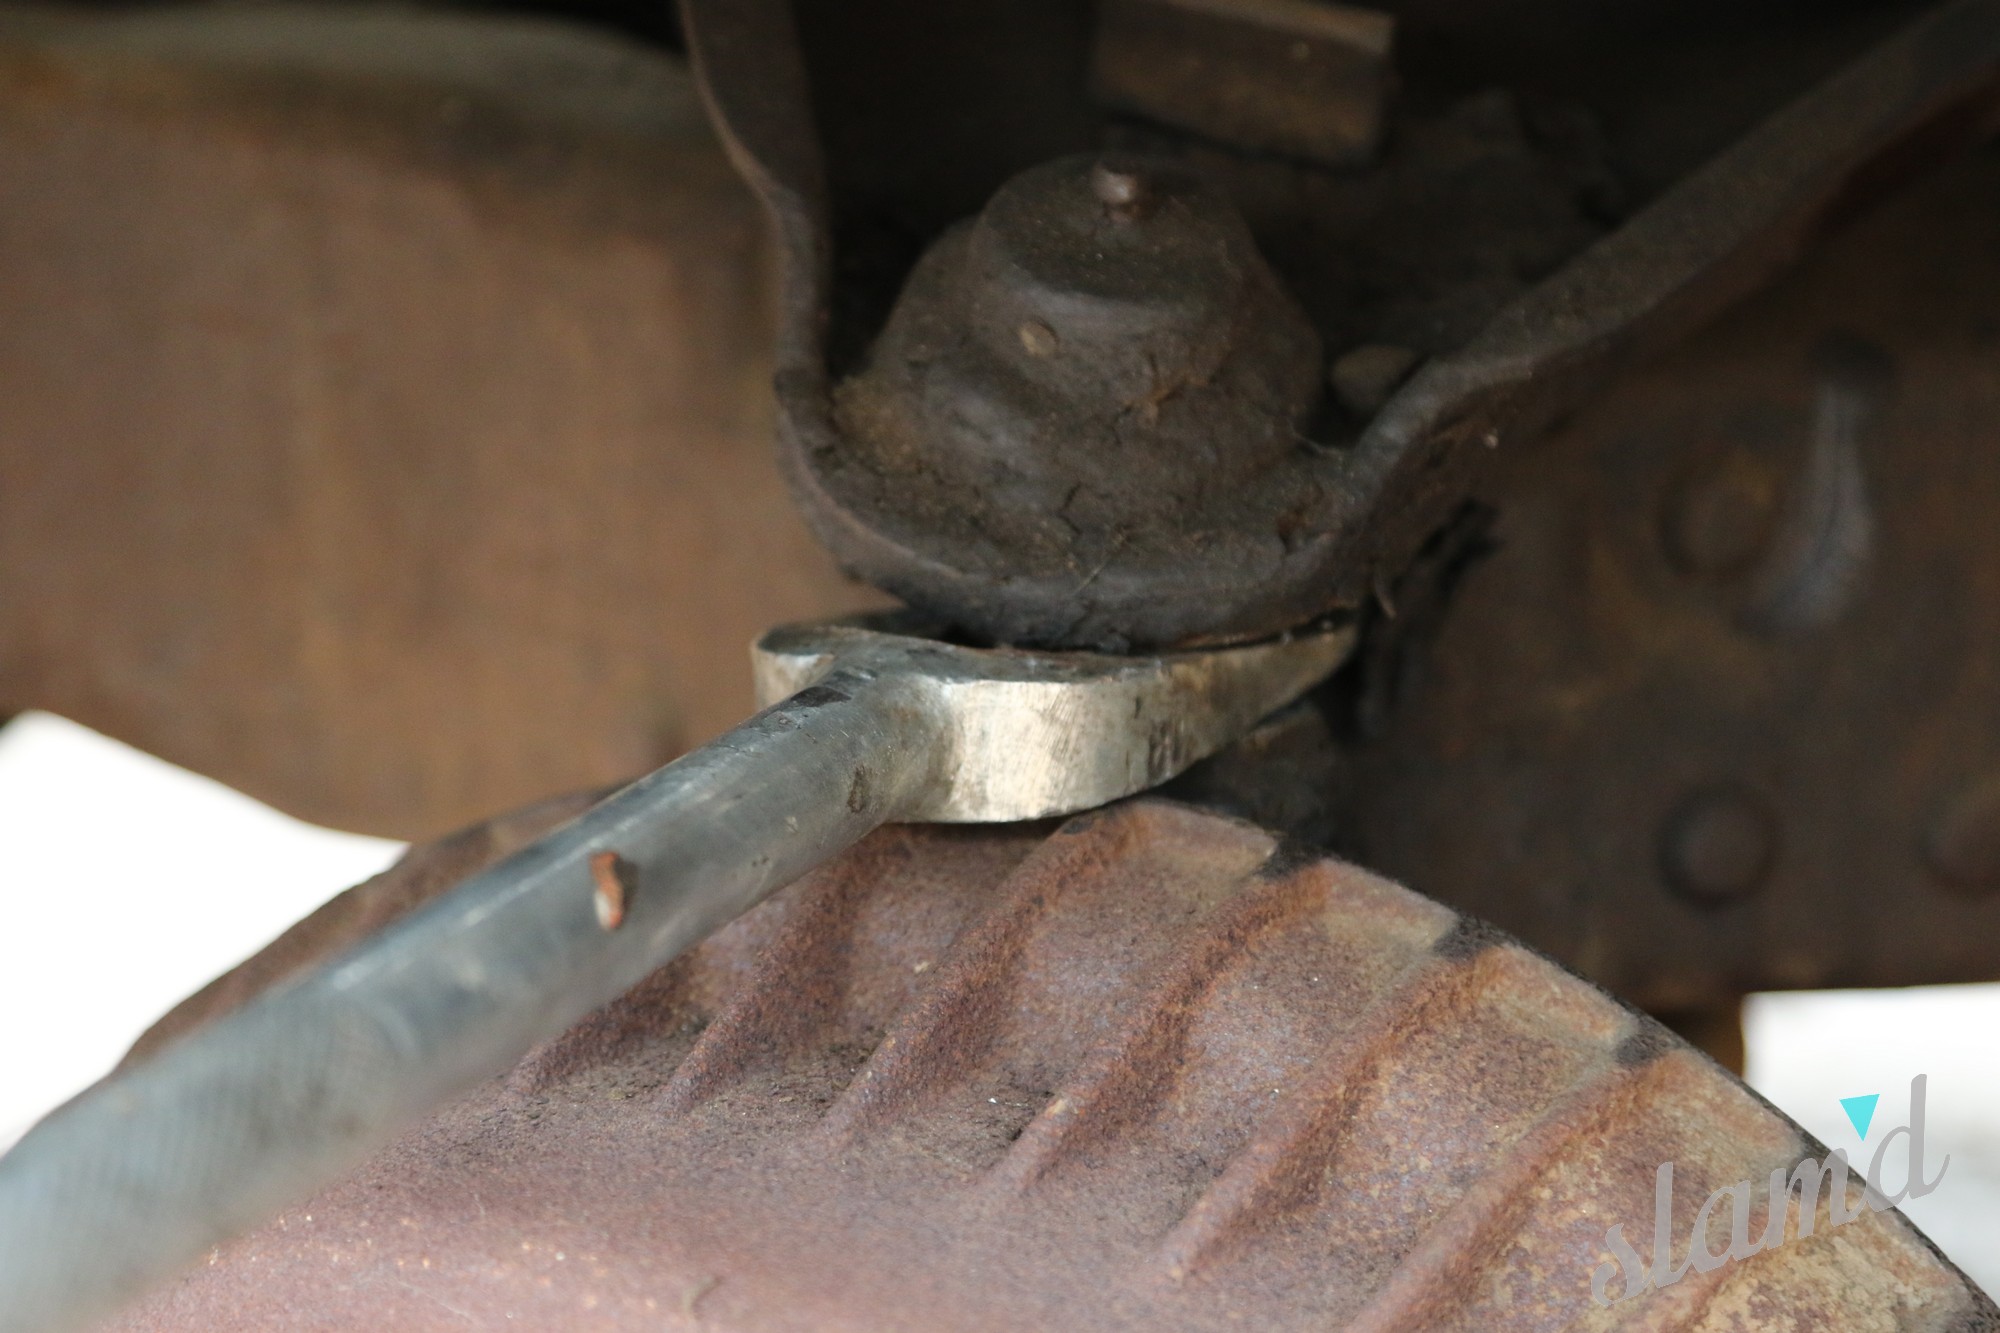
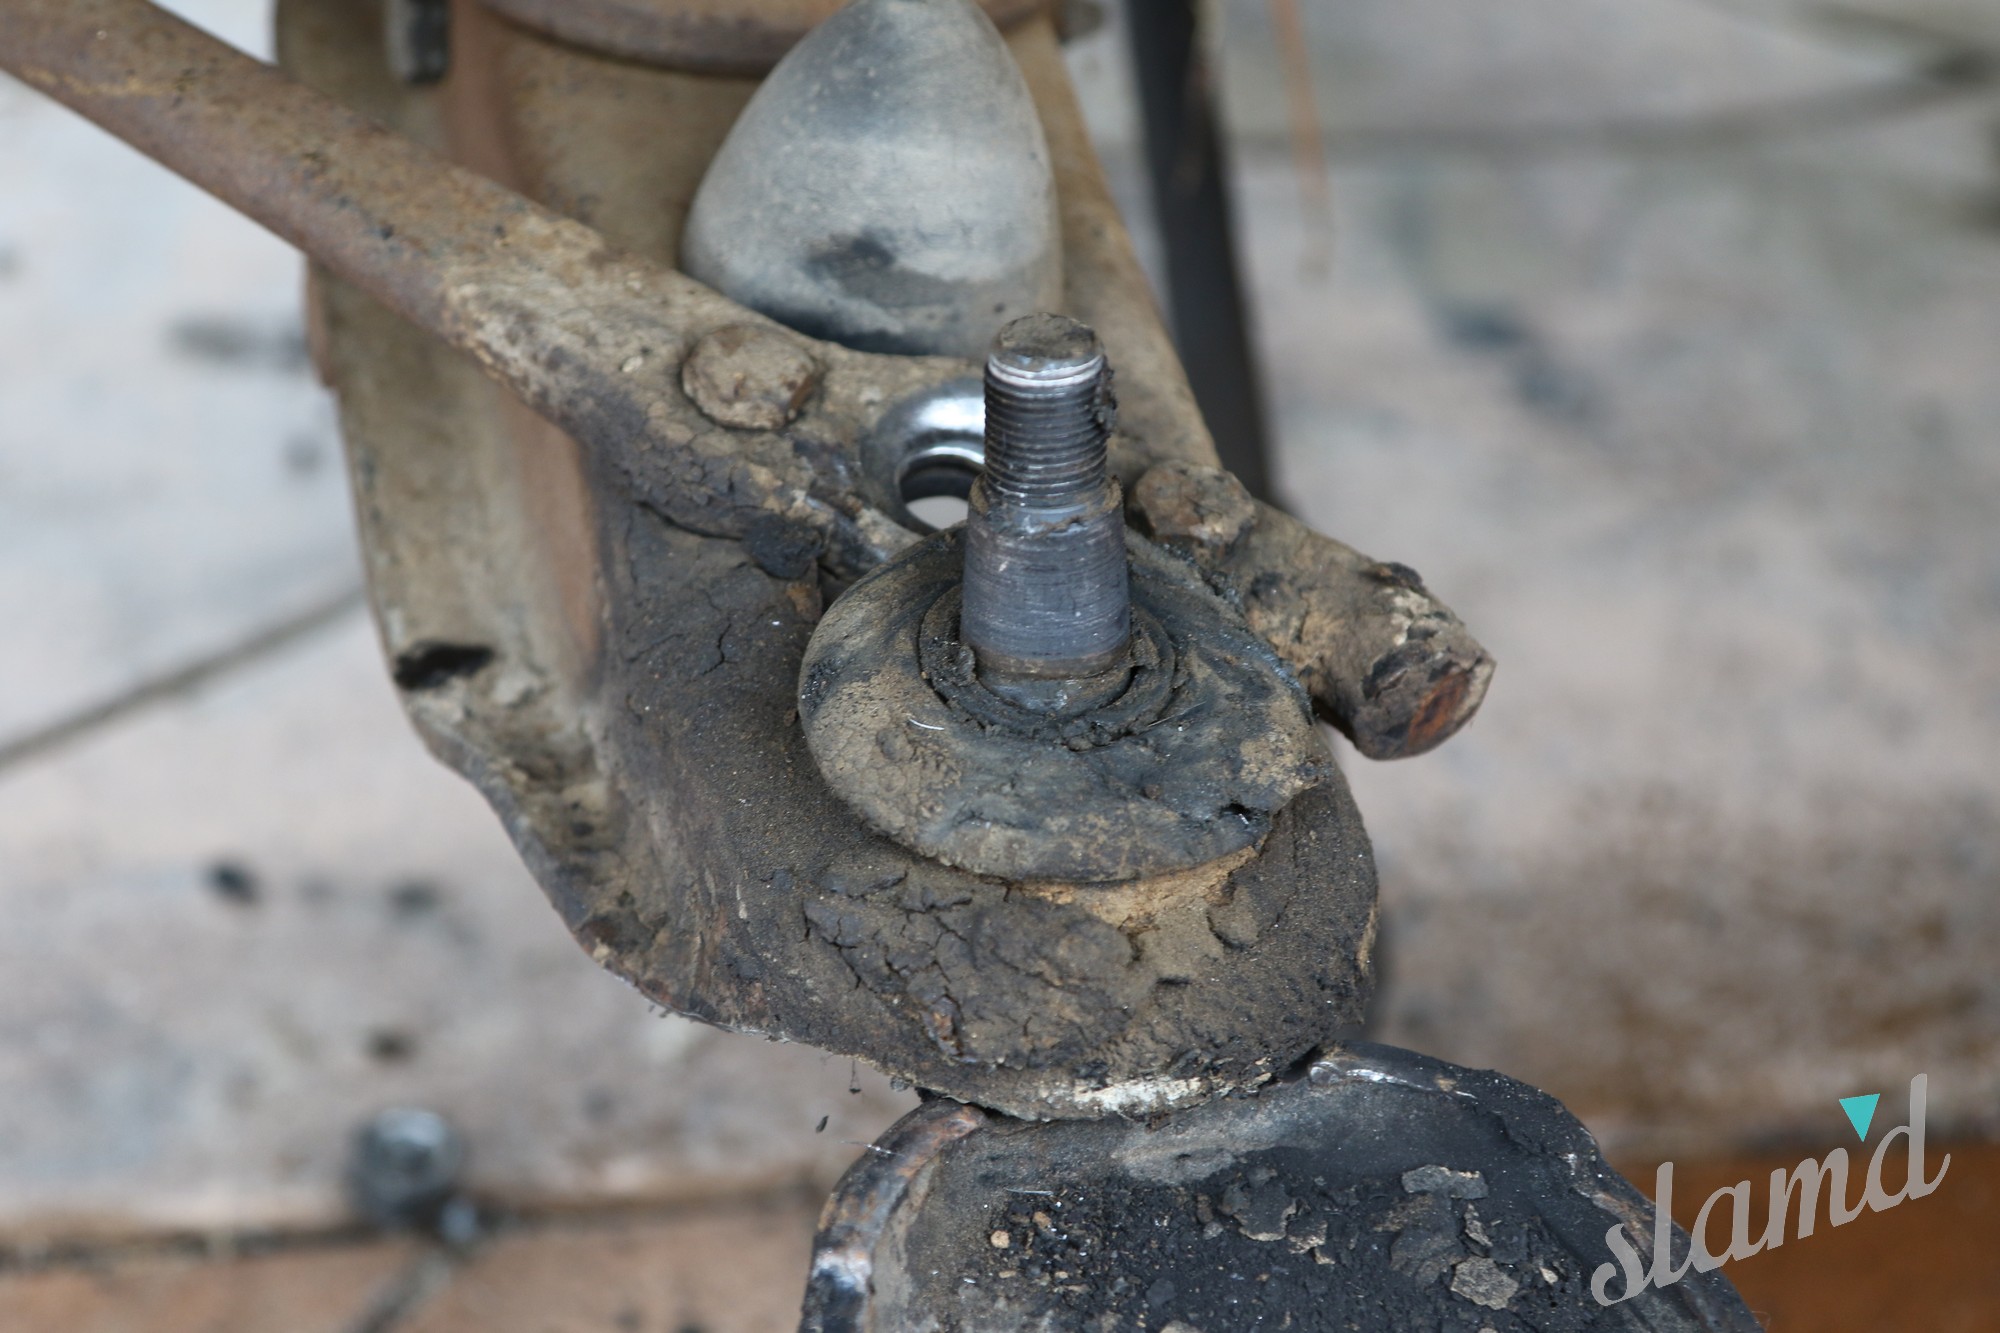
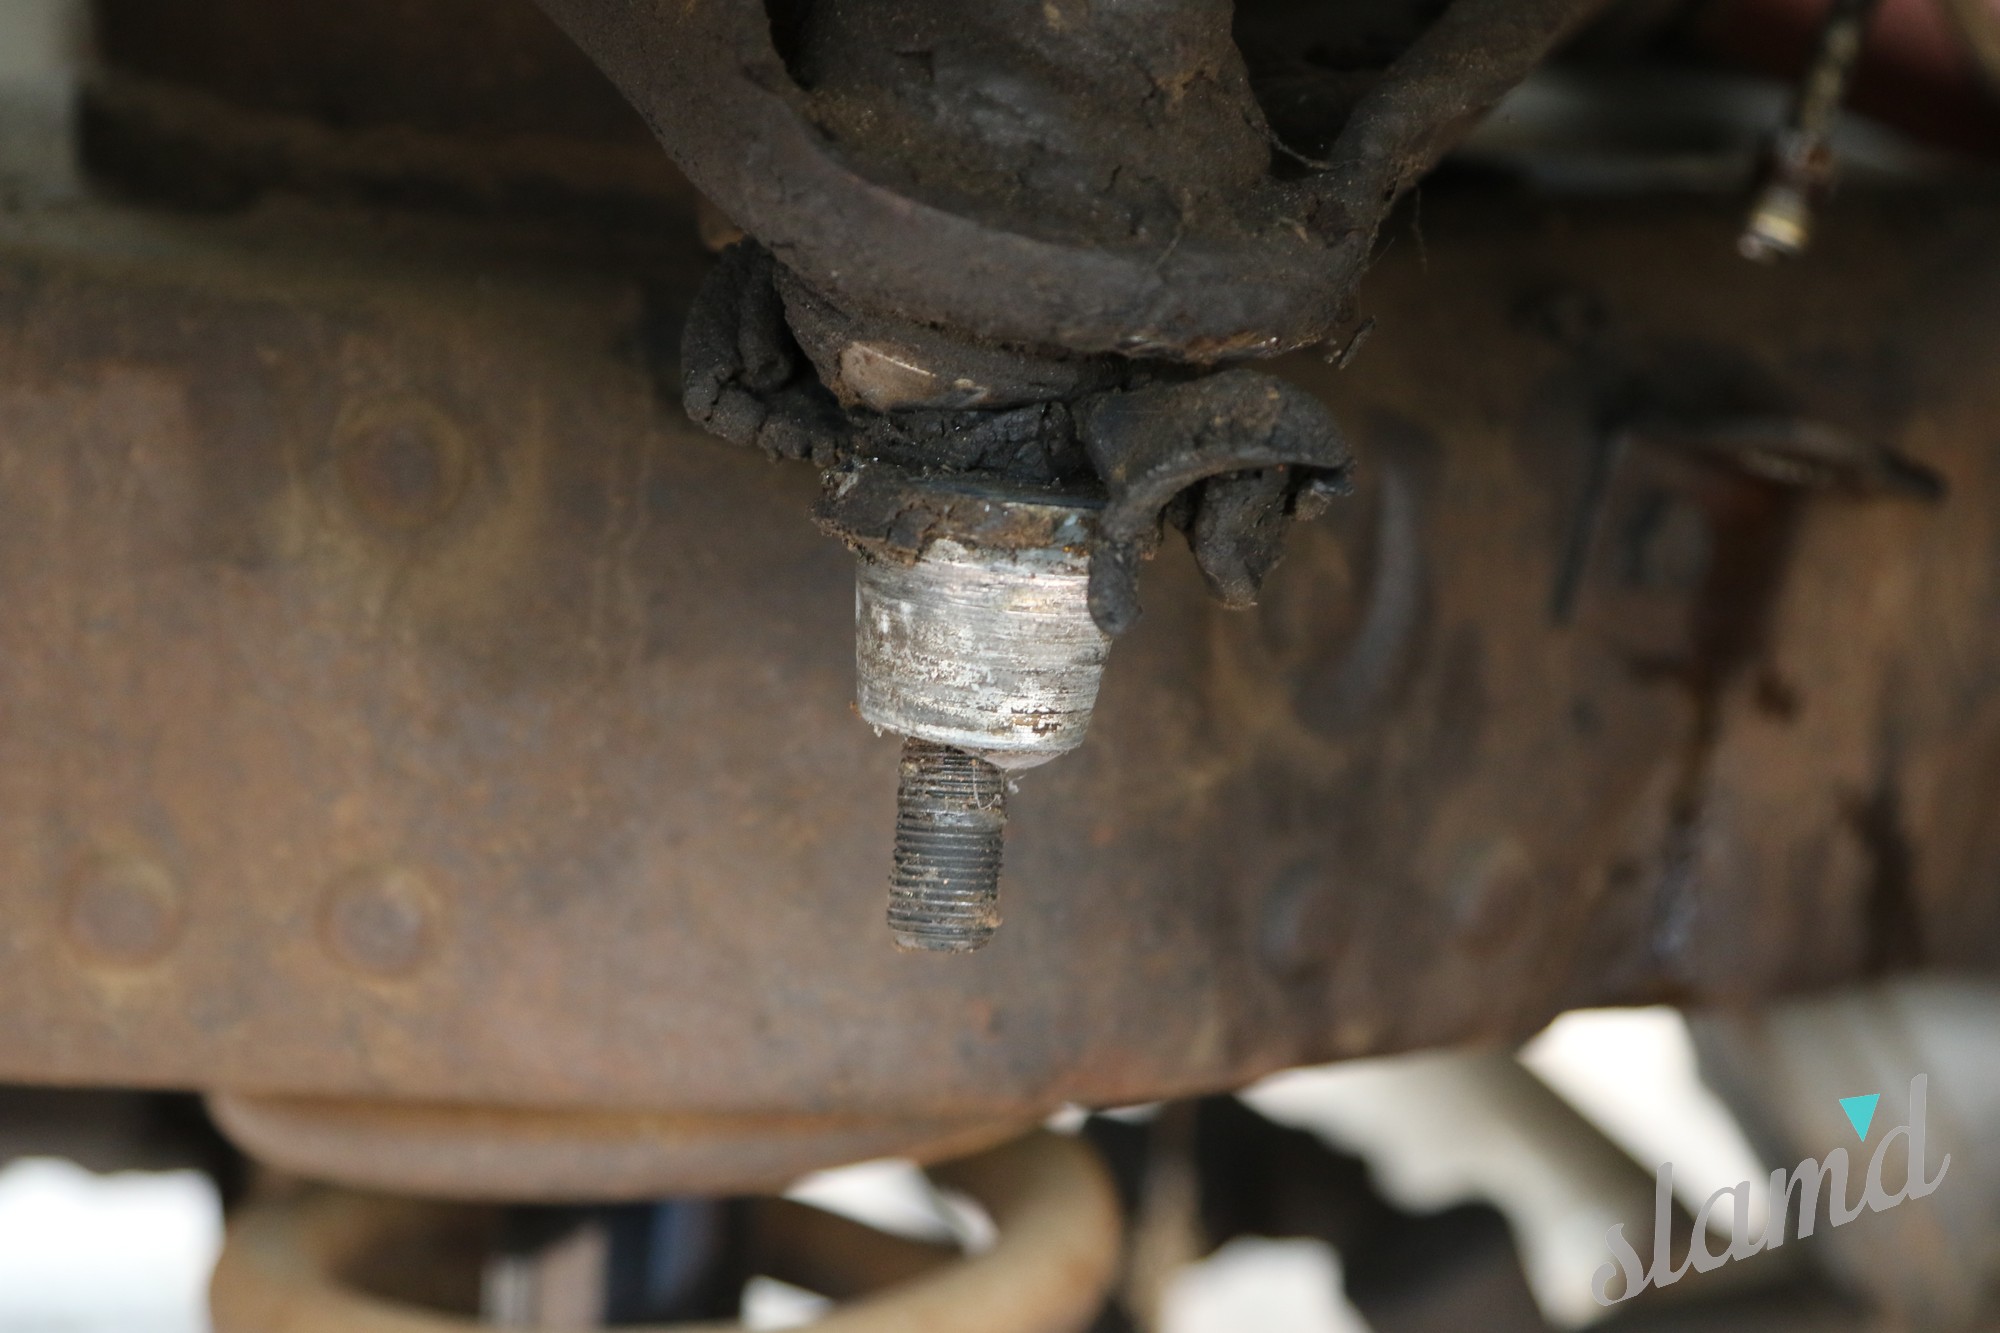
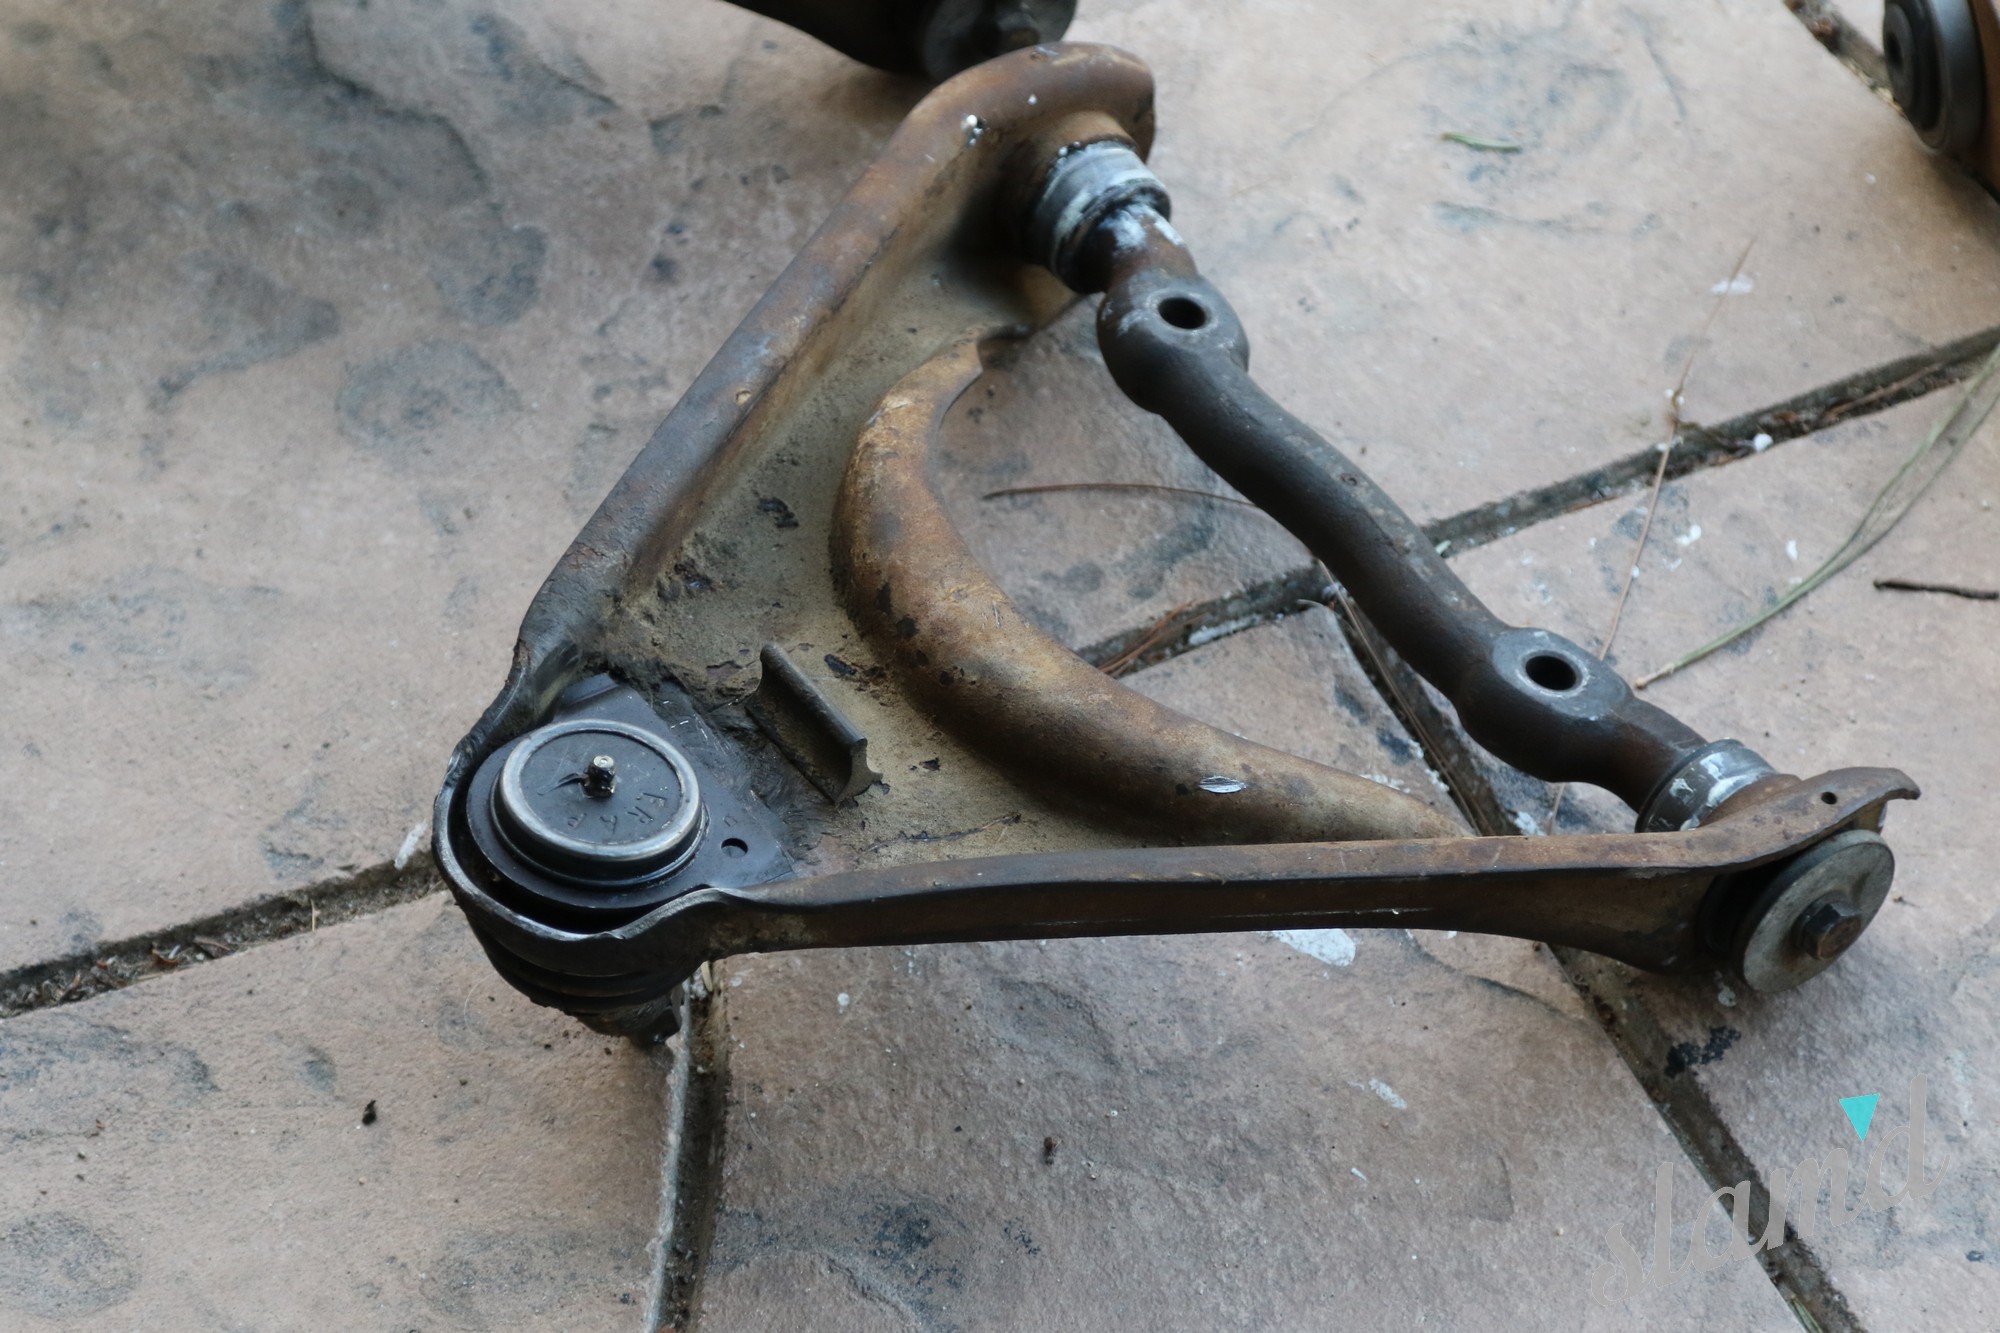
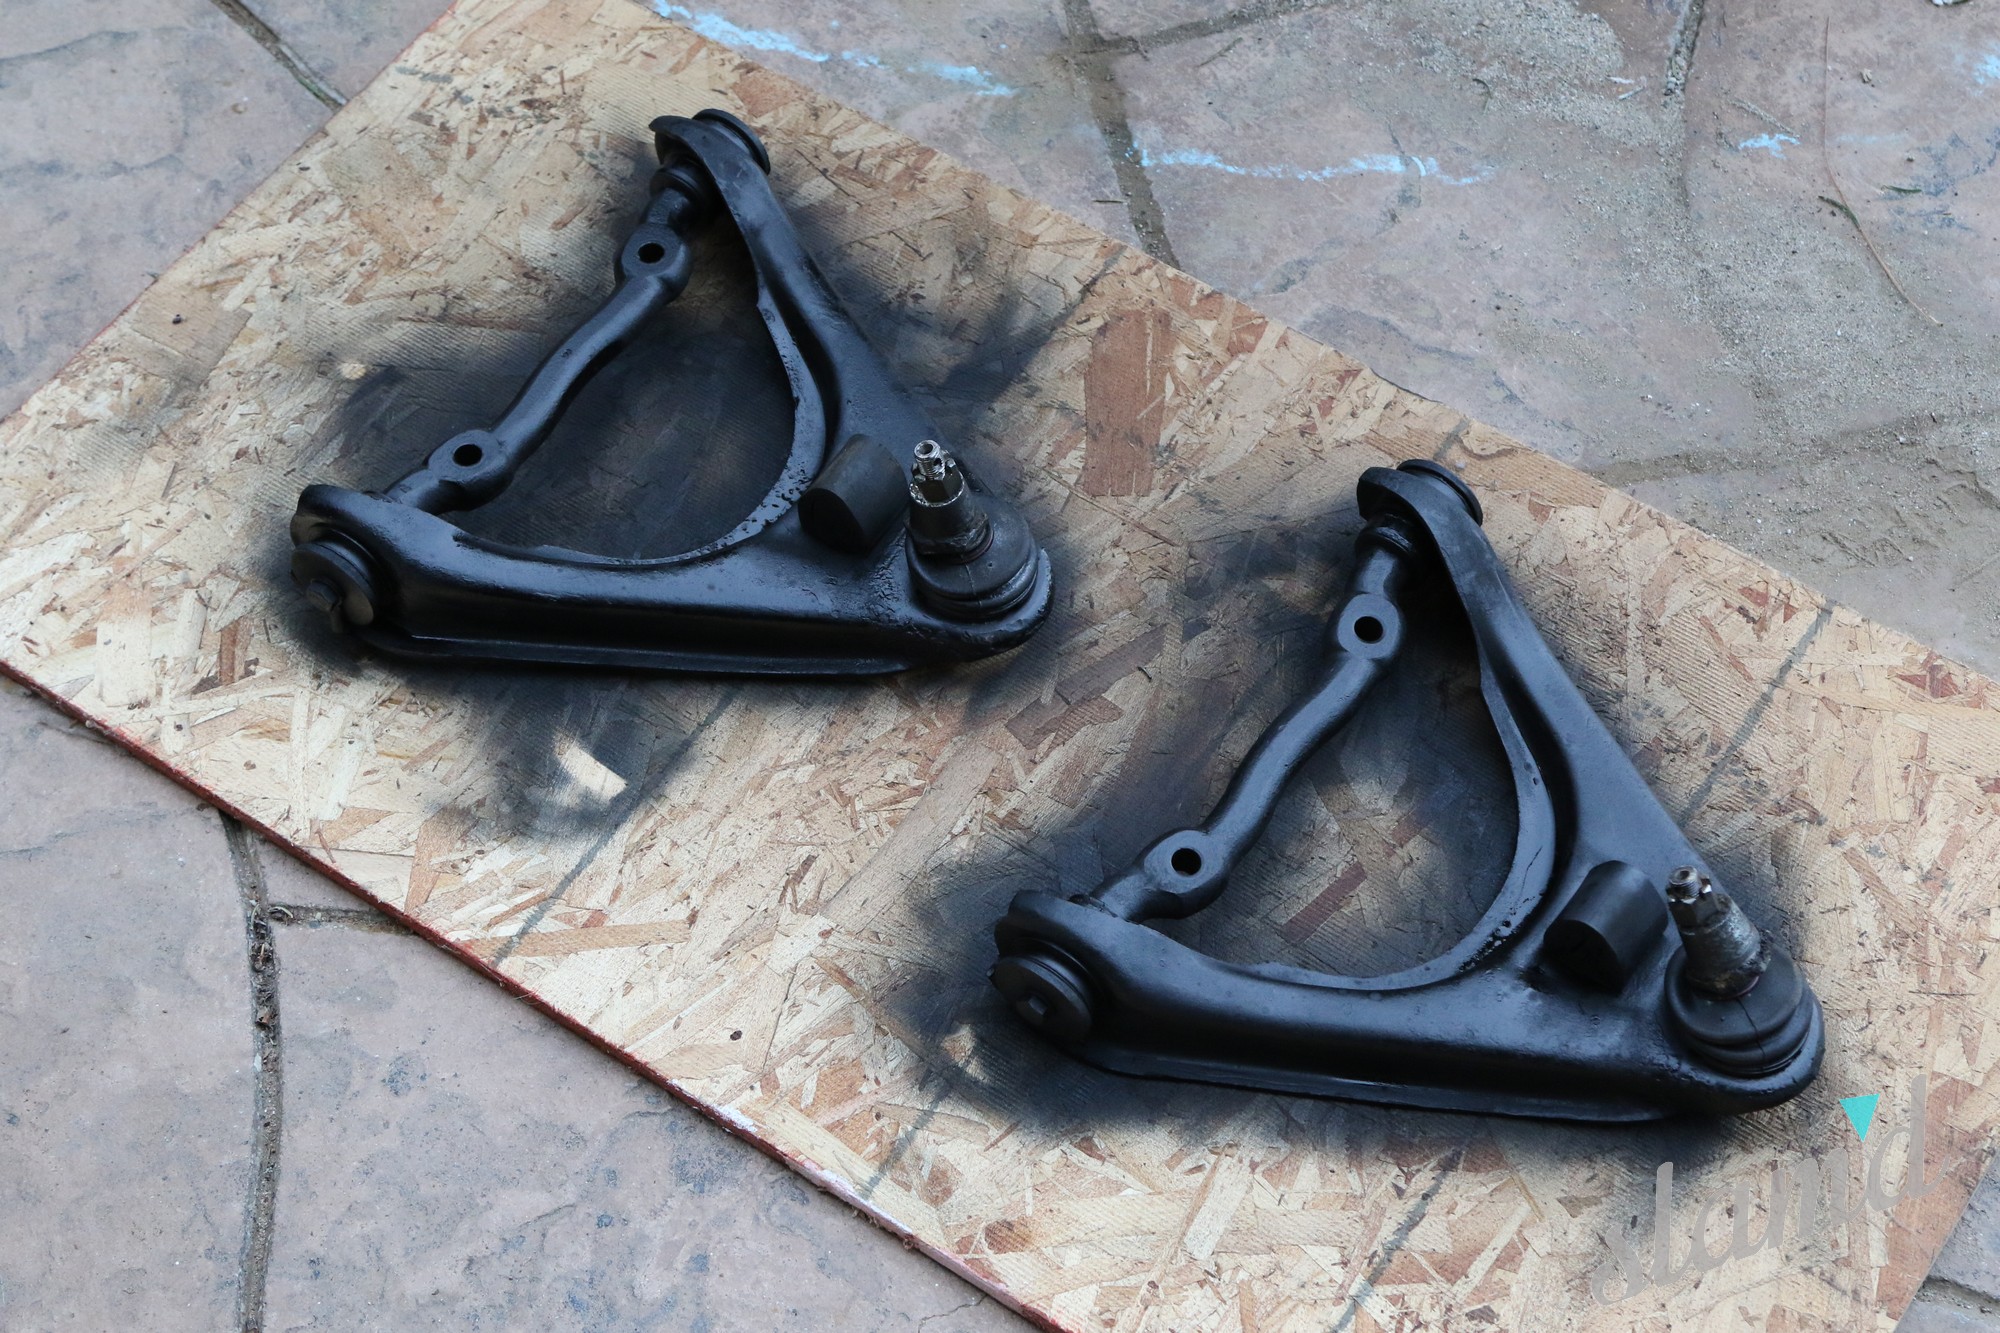
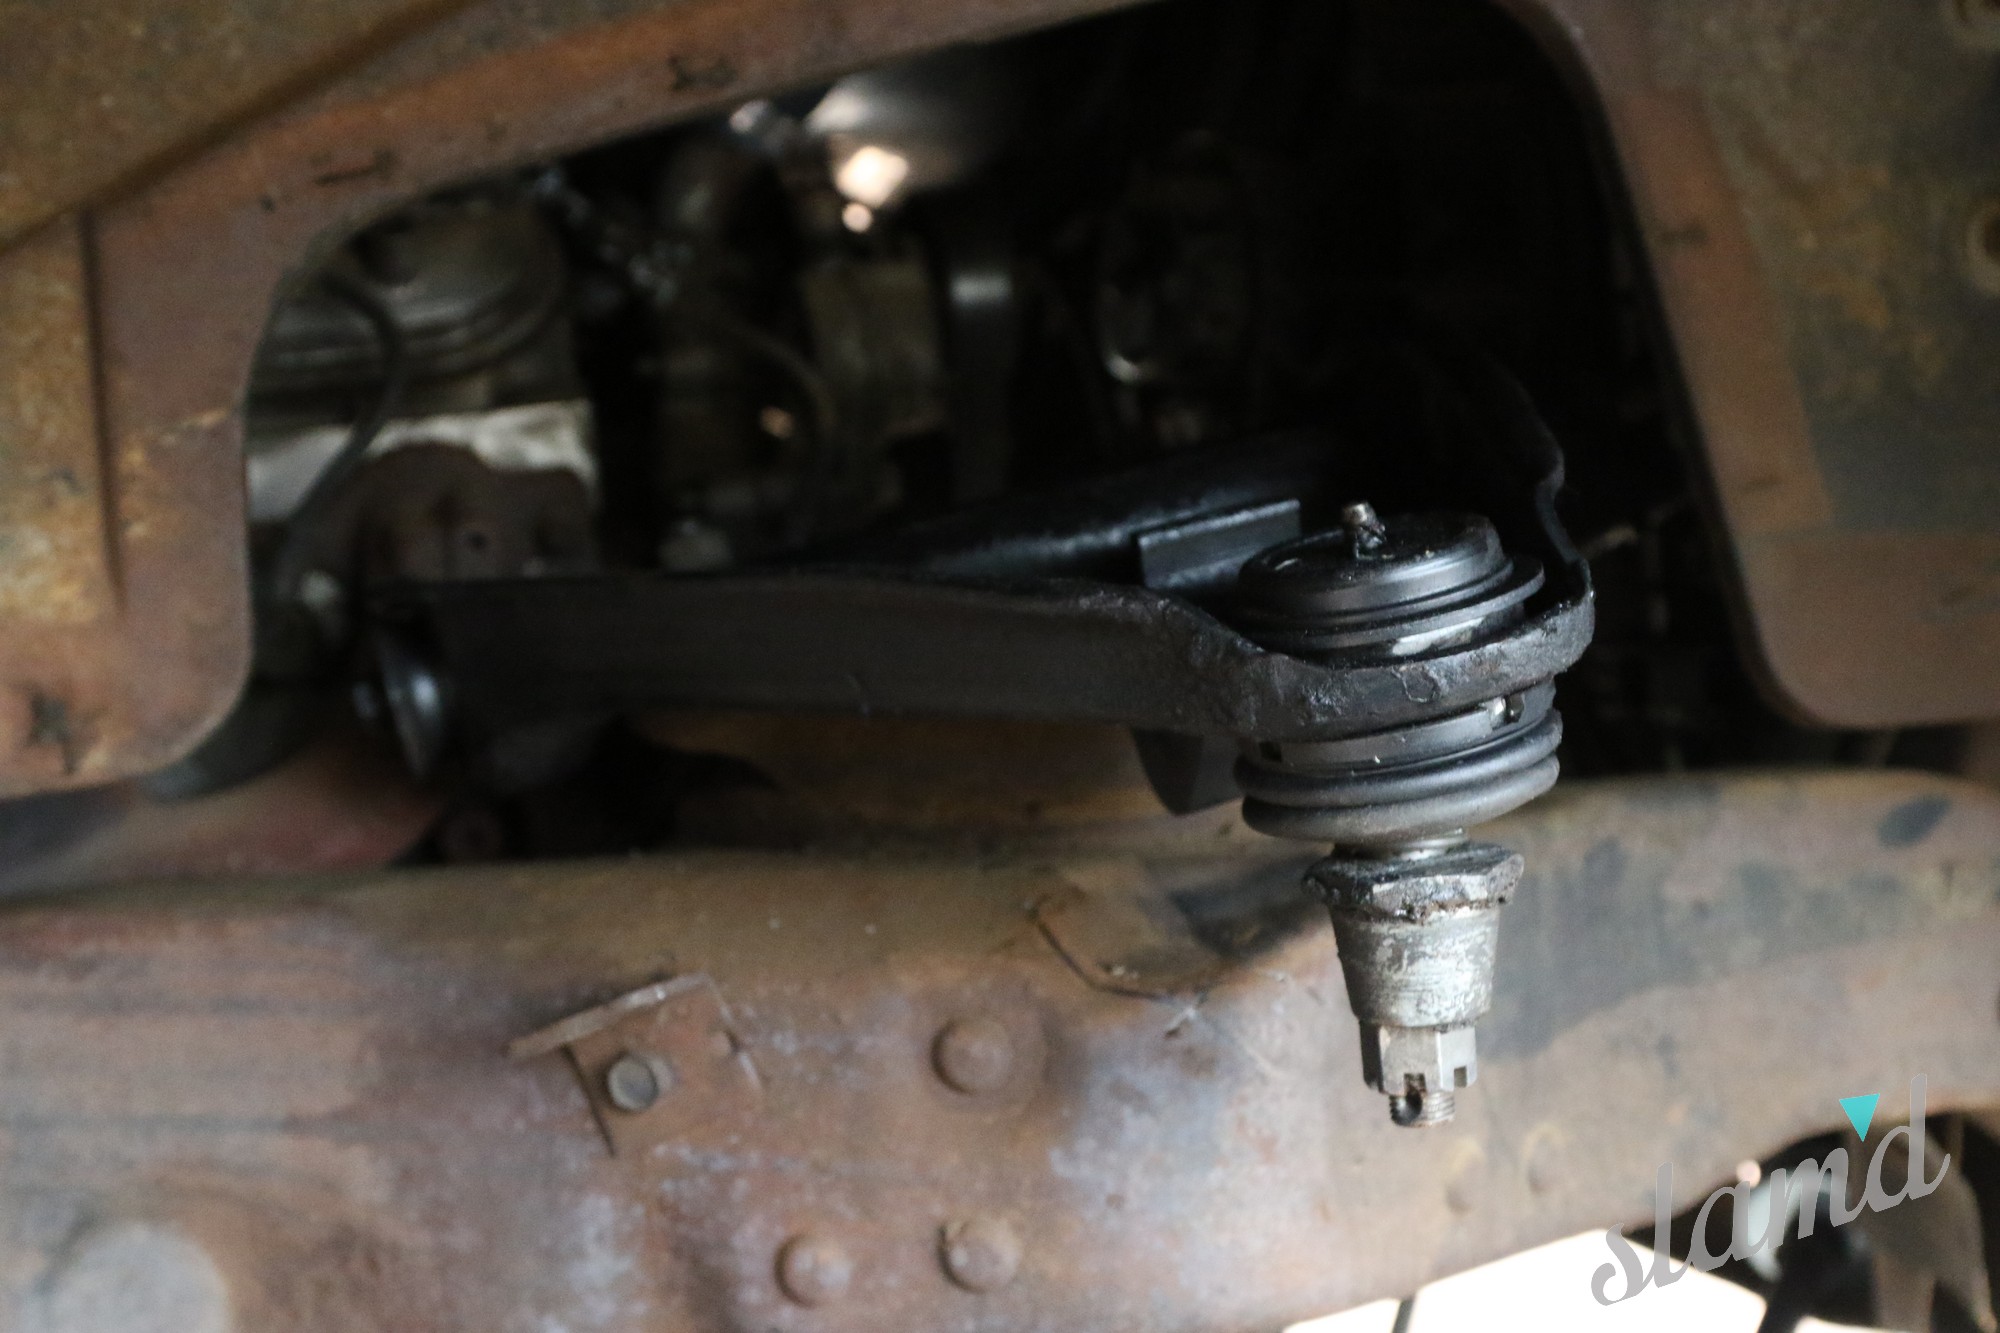
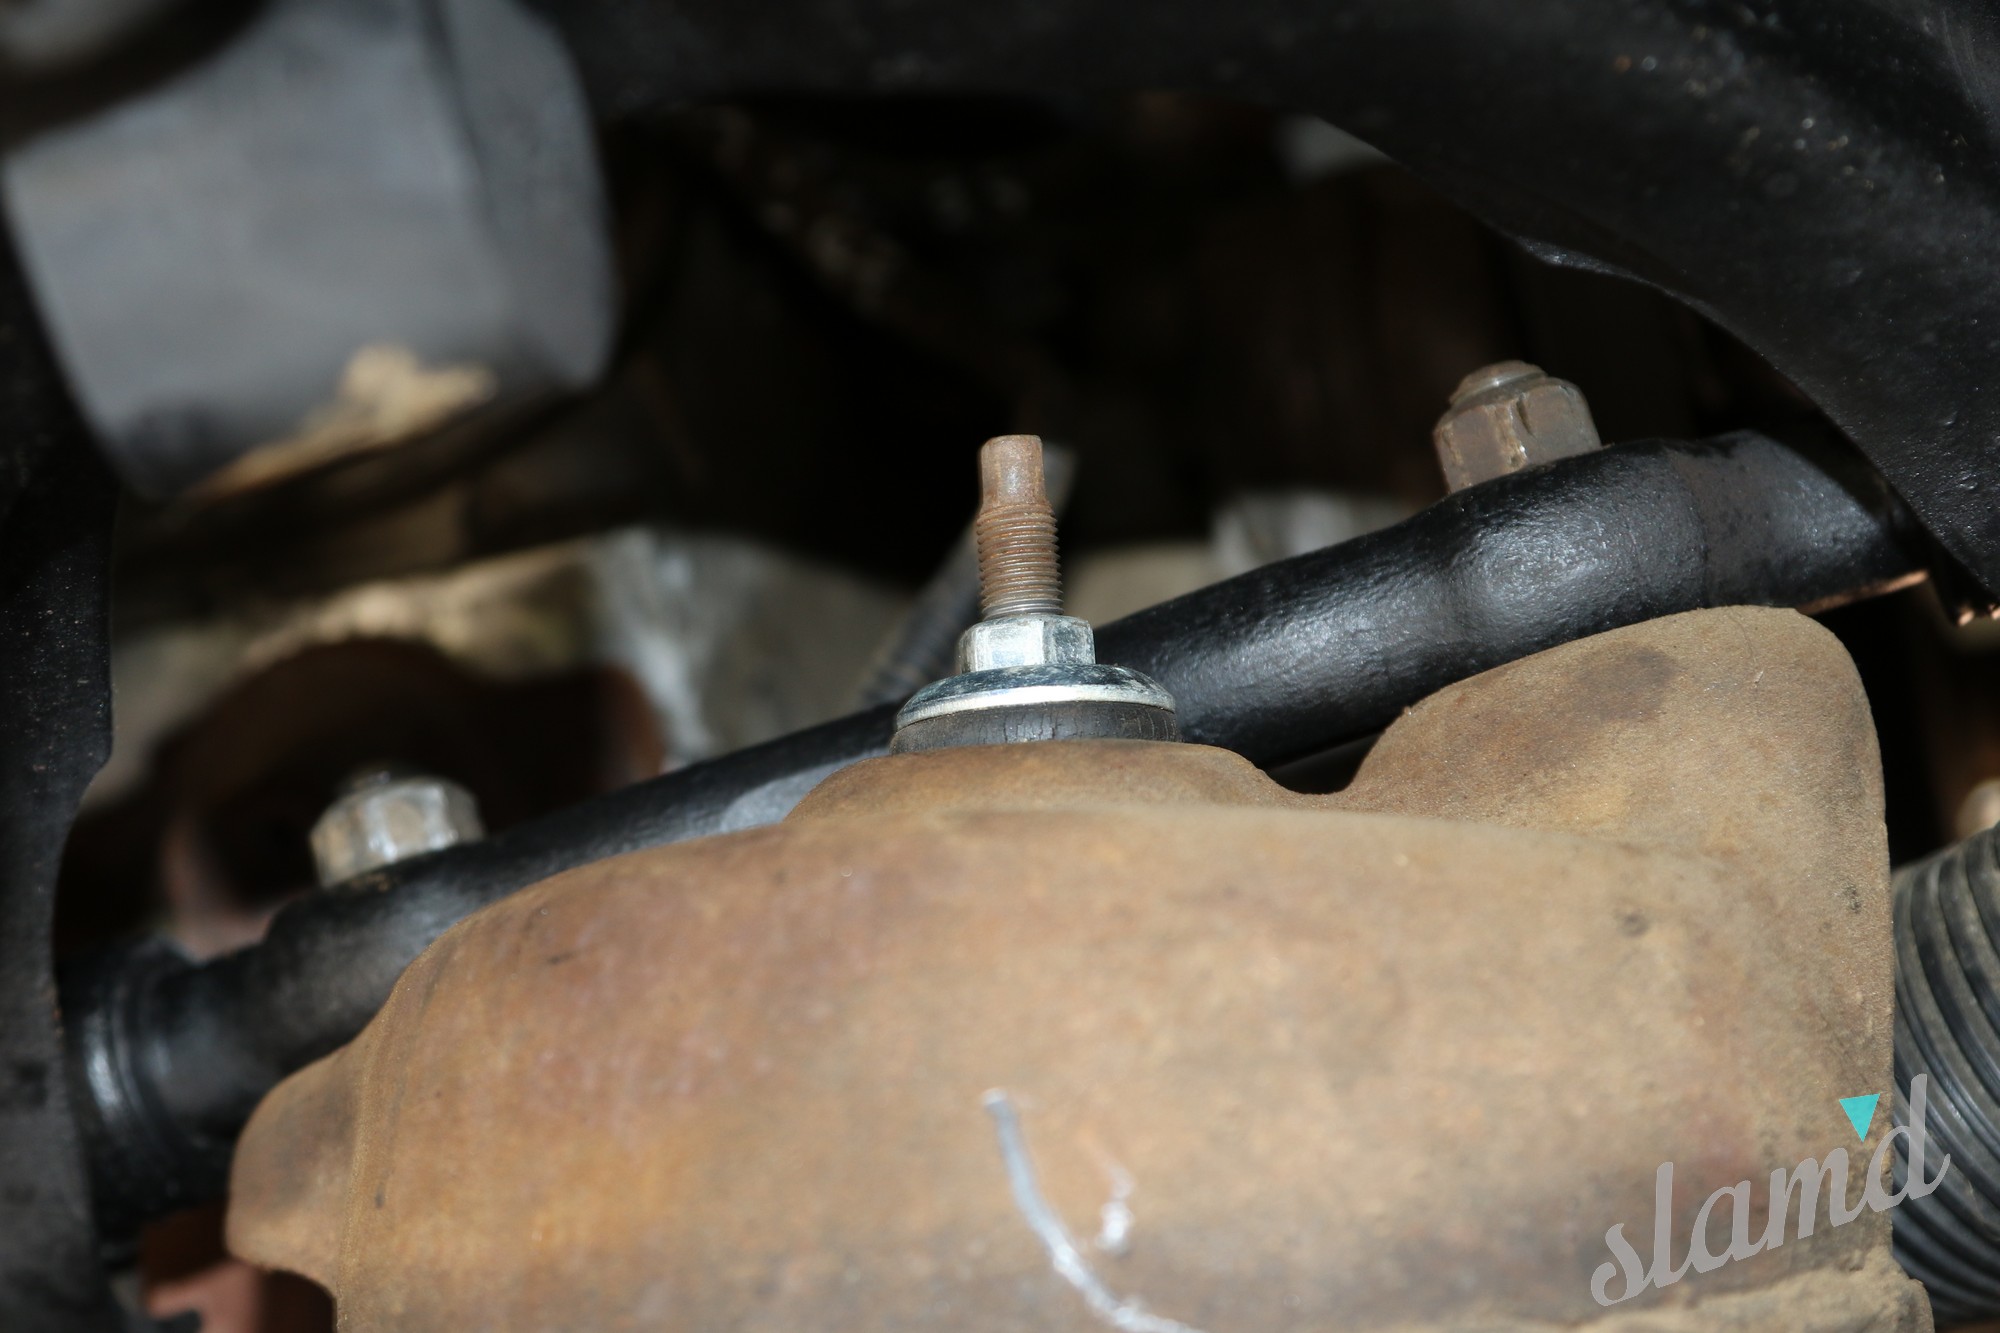
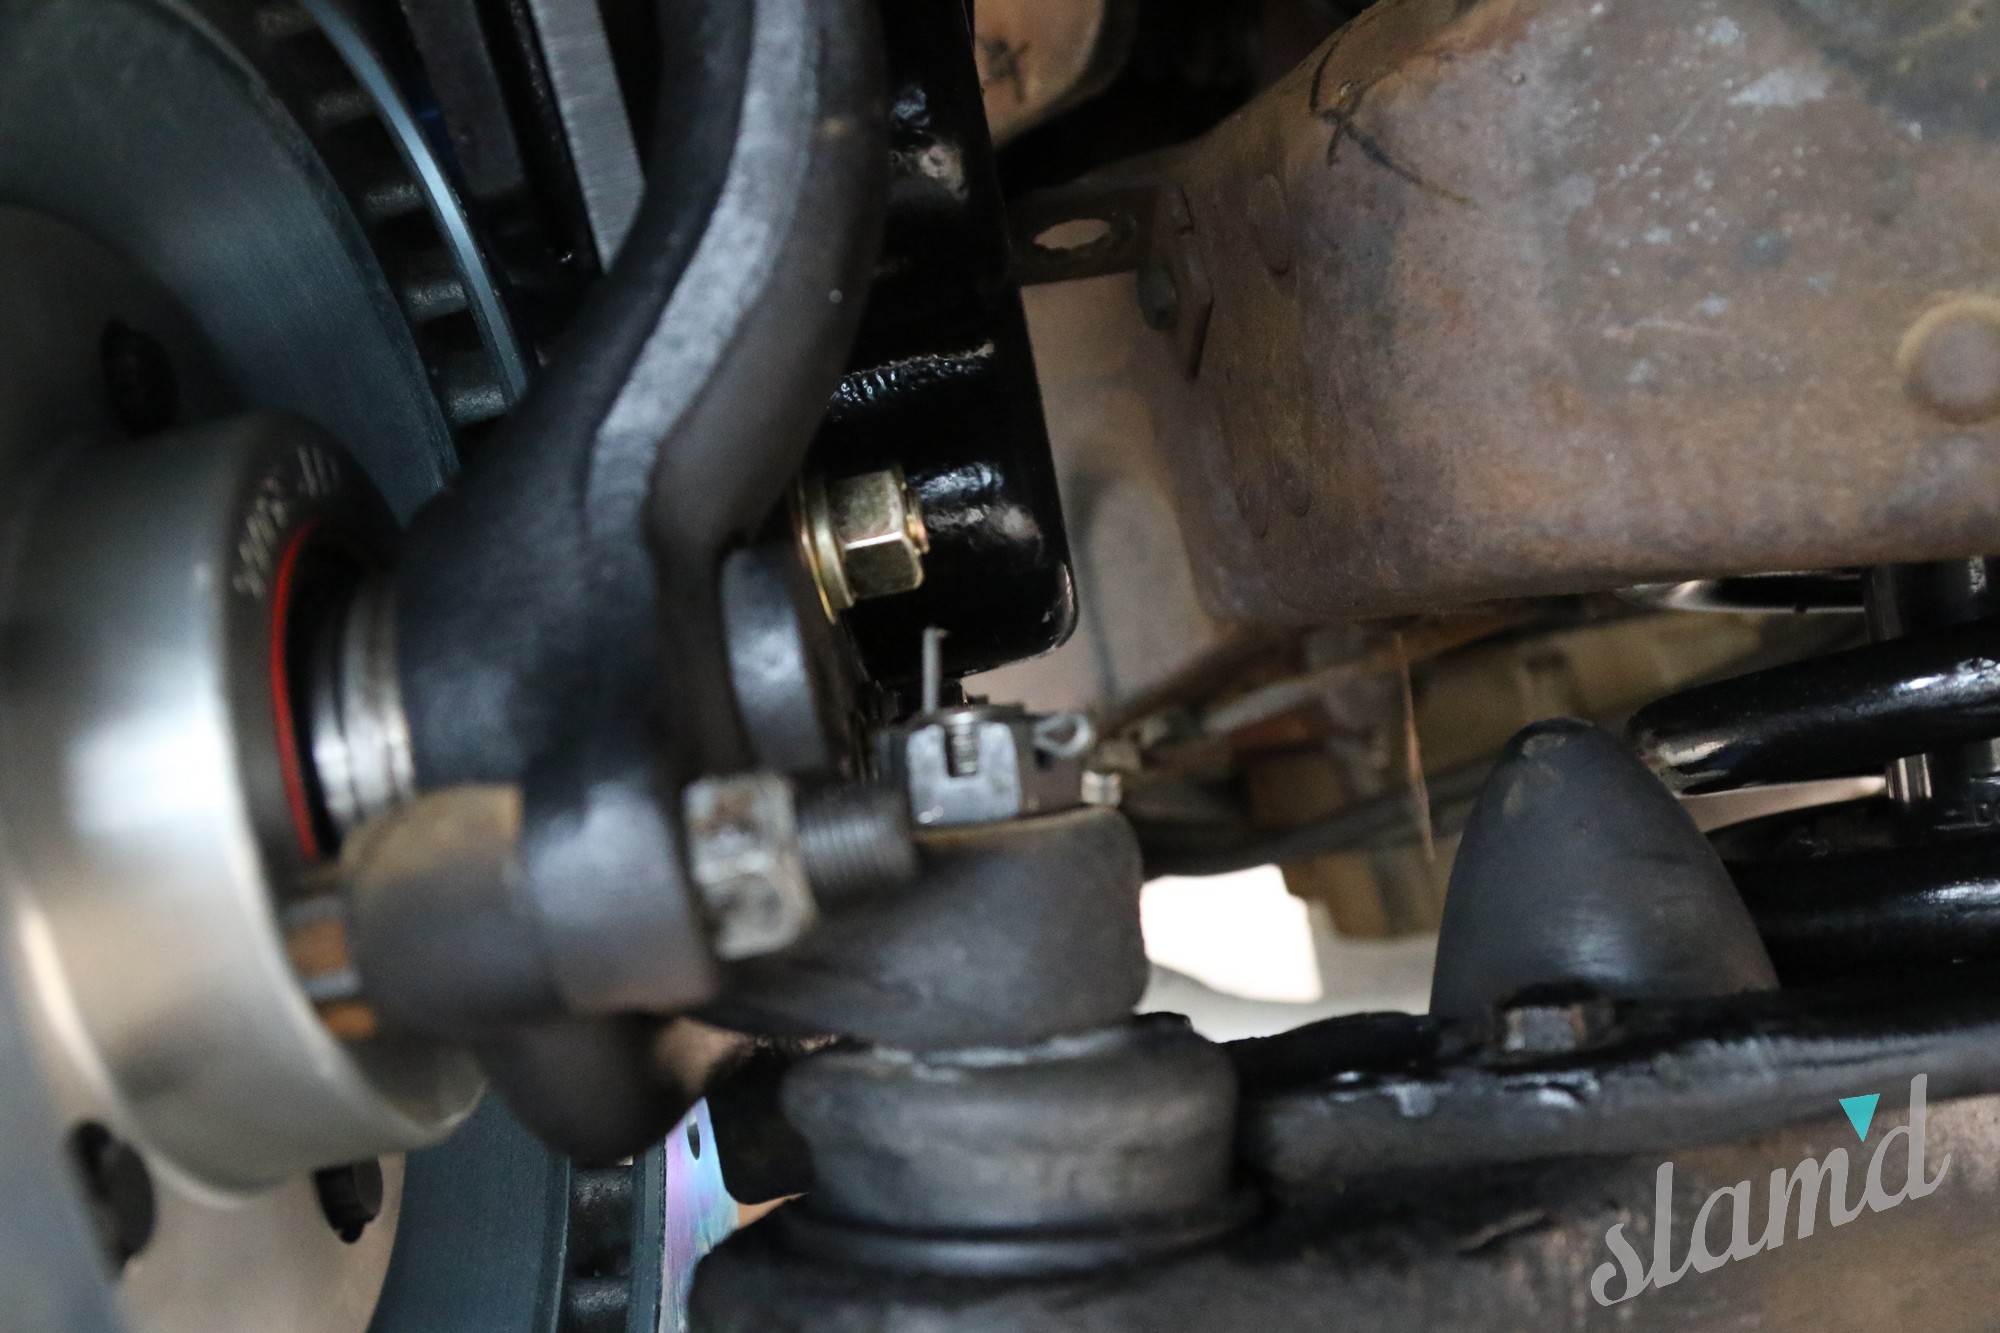
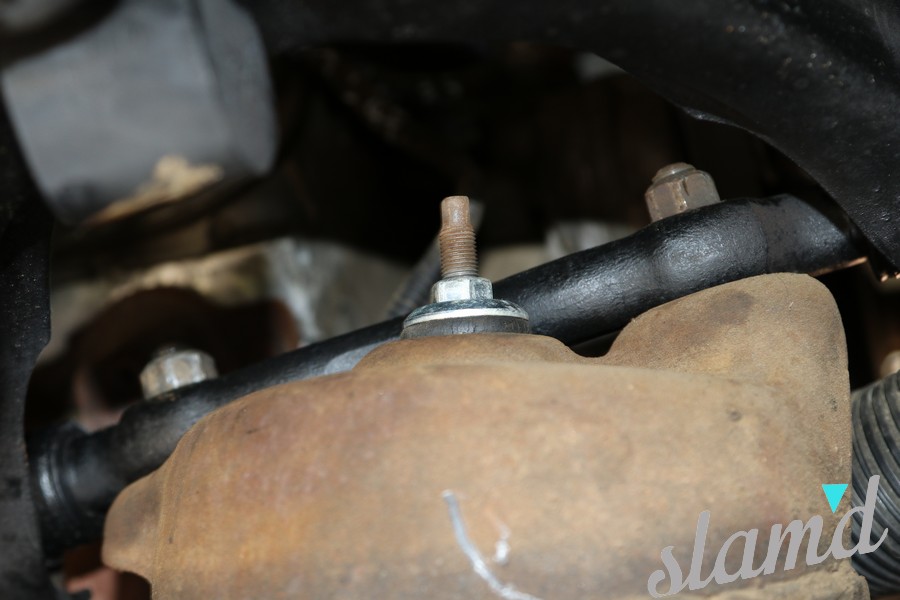
The front suspension proved to be a bit more difficult than the rear, but not by much. We started by removing the shocks followed by the tie rods from the spindles for easier access. Loosening up the castle nut on the lower control arm allowed the balljoint to pop loose followed by knocking the upper balljoint loose. Using a floor jack we carefully swung up the upper control arm and removed the spindle assembly from the car. Lowering the jack we released the tension on the spring and then removed it.
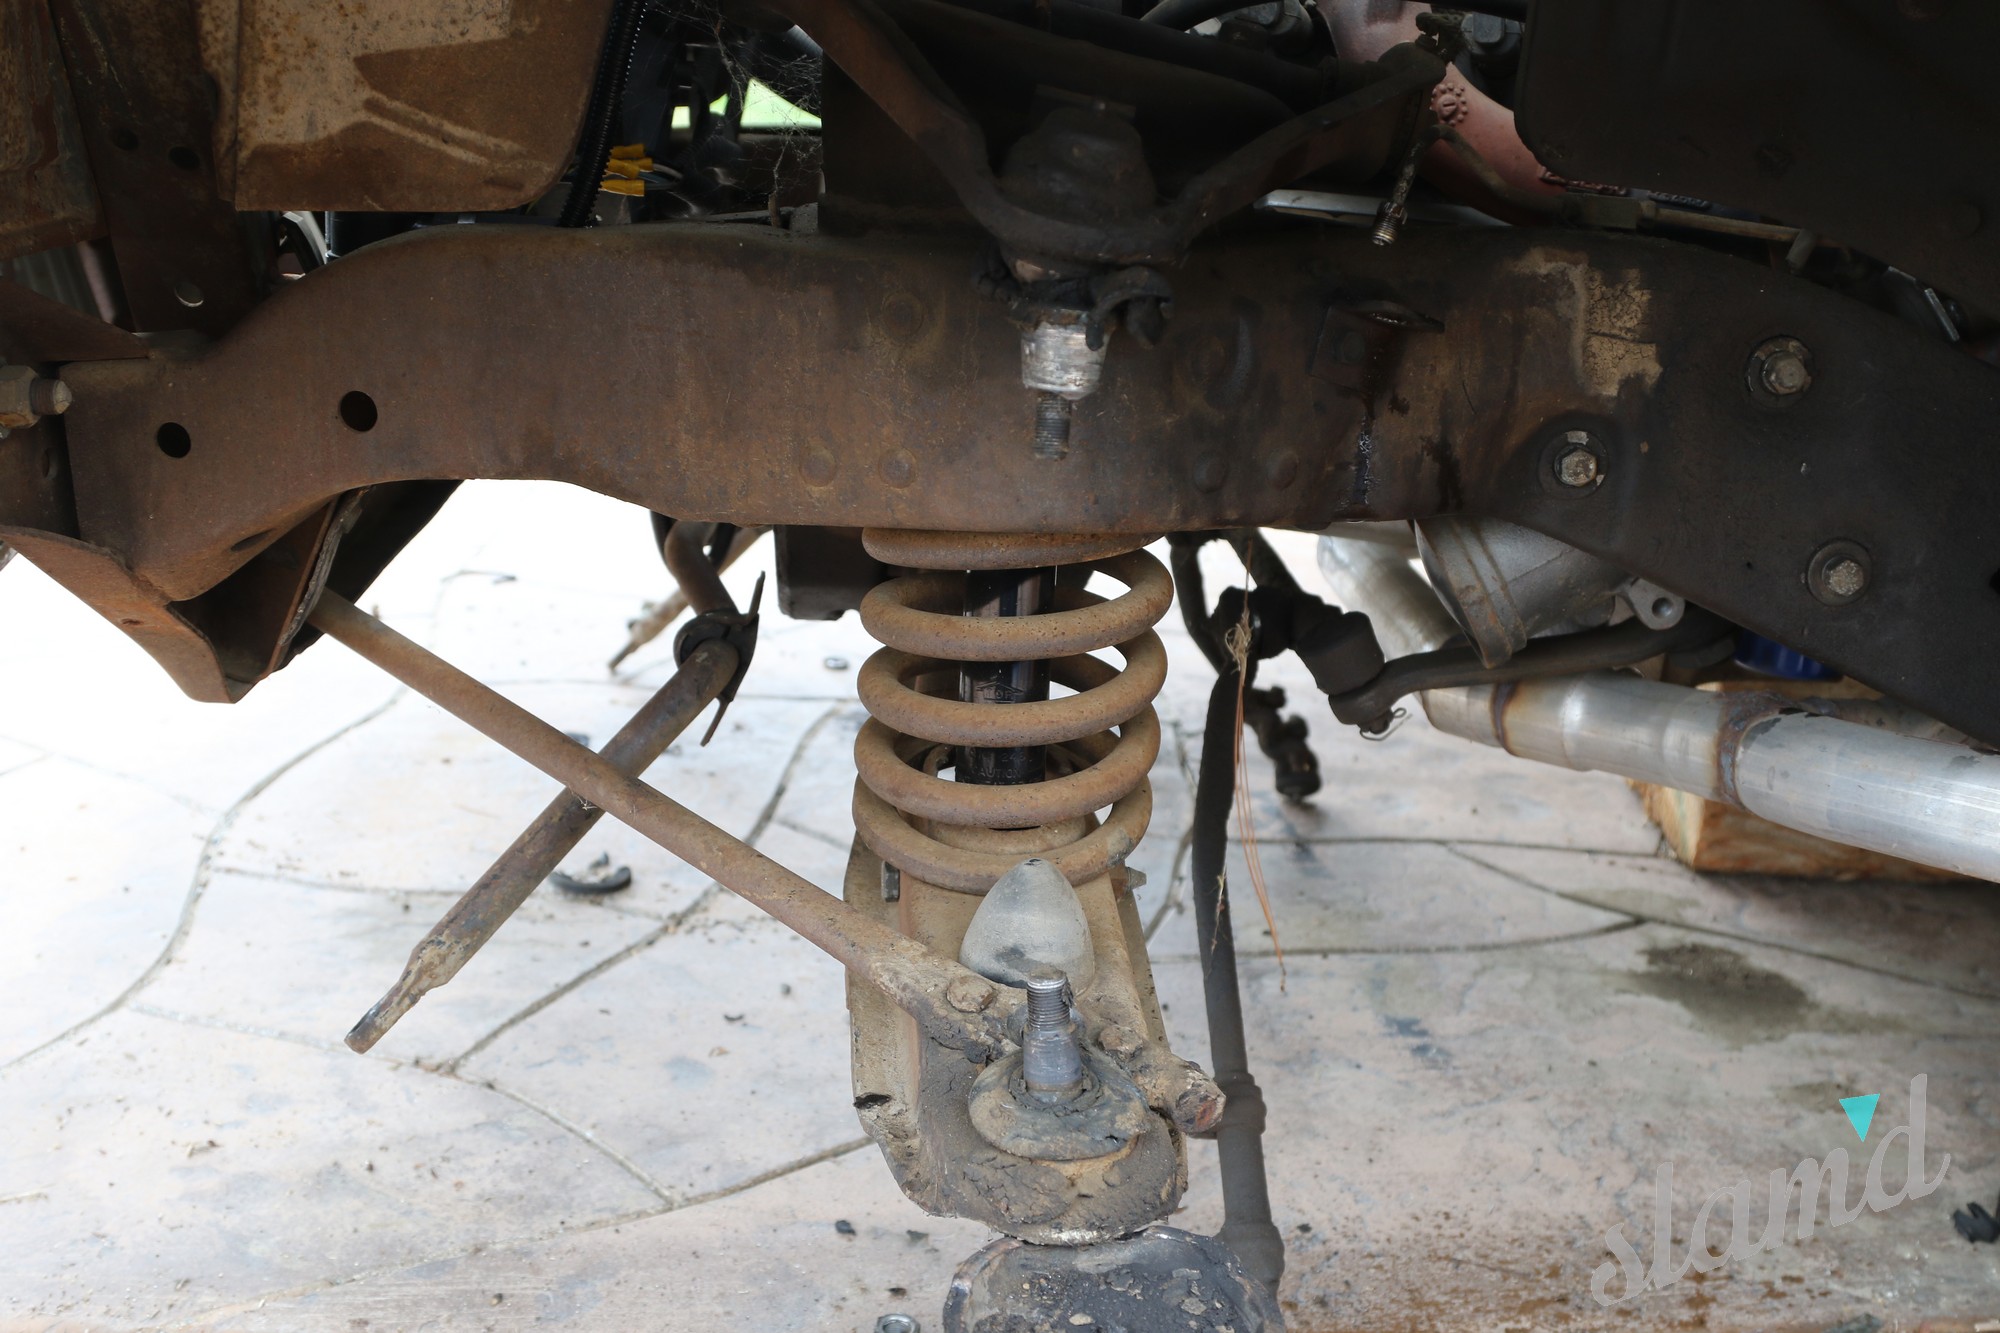
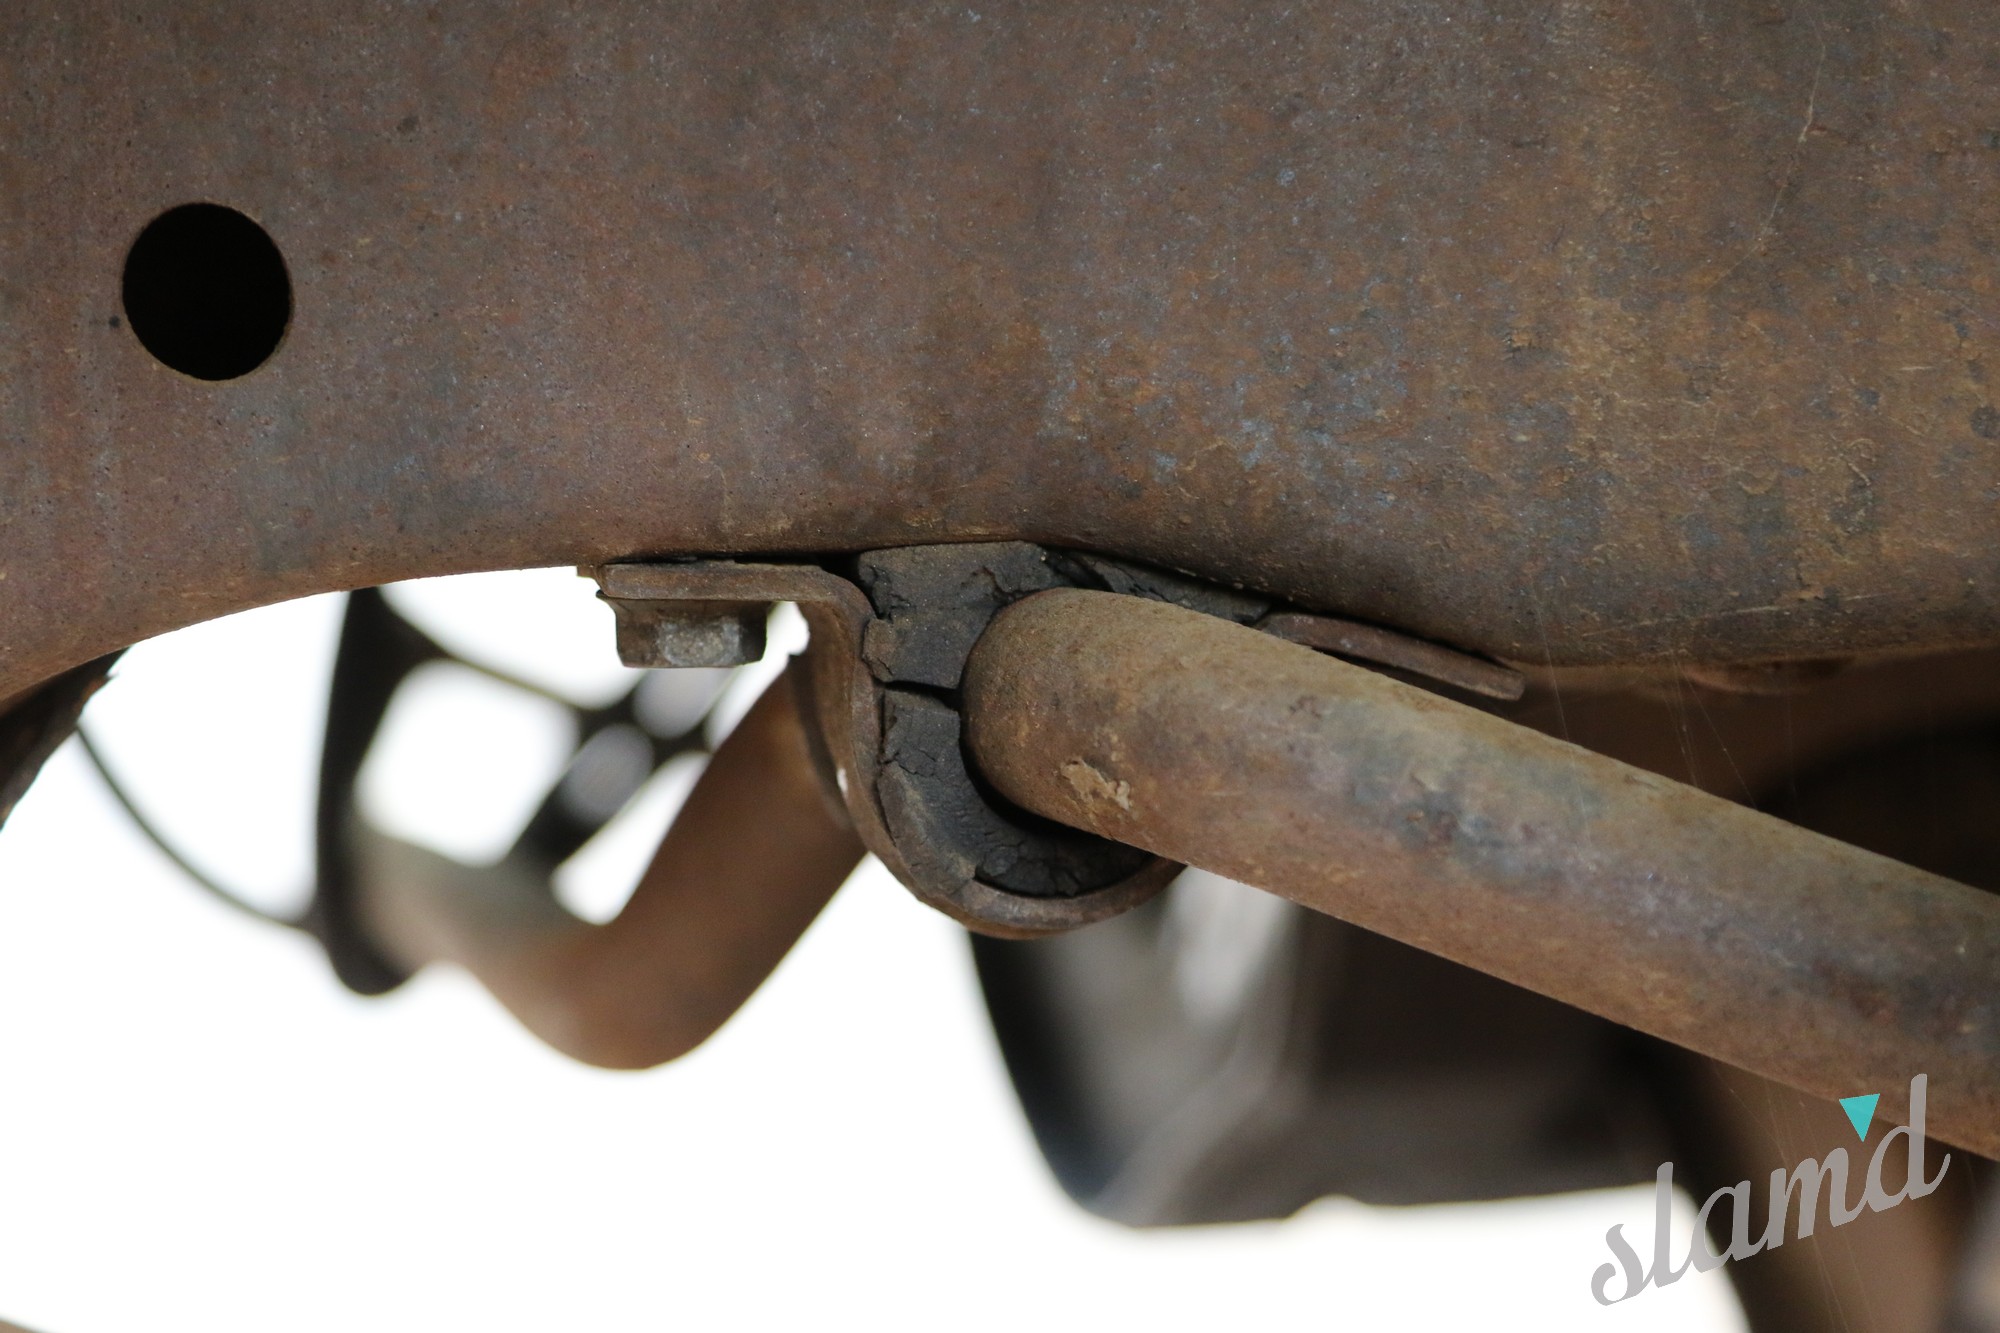
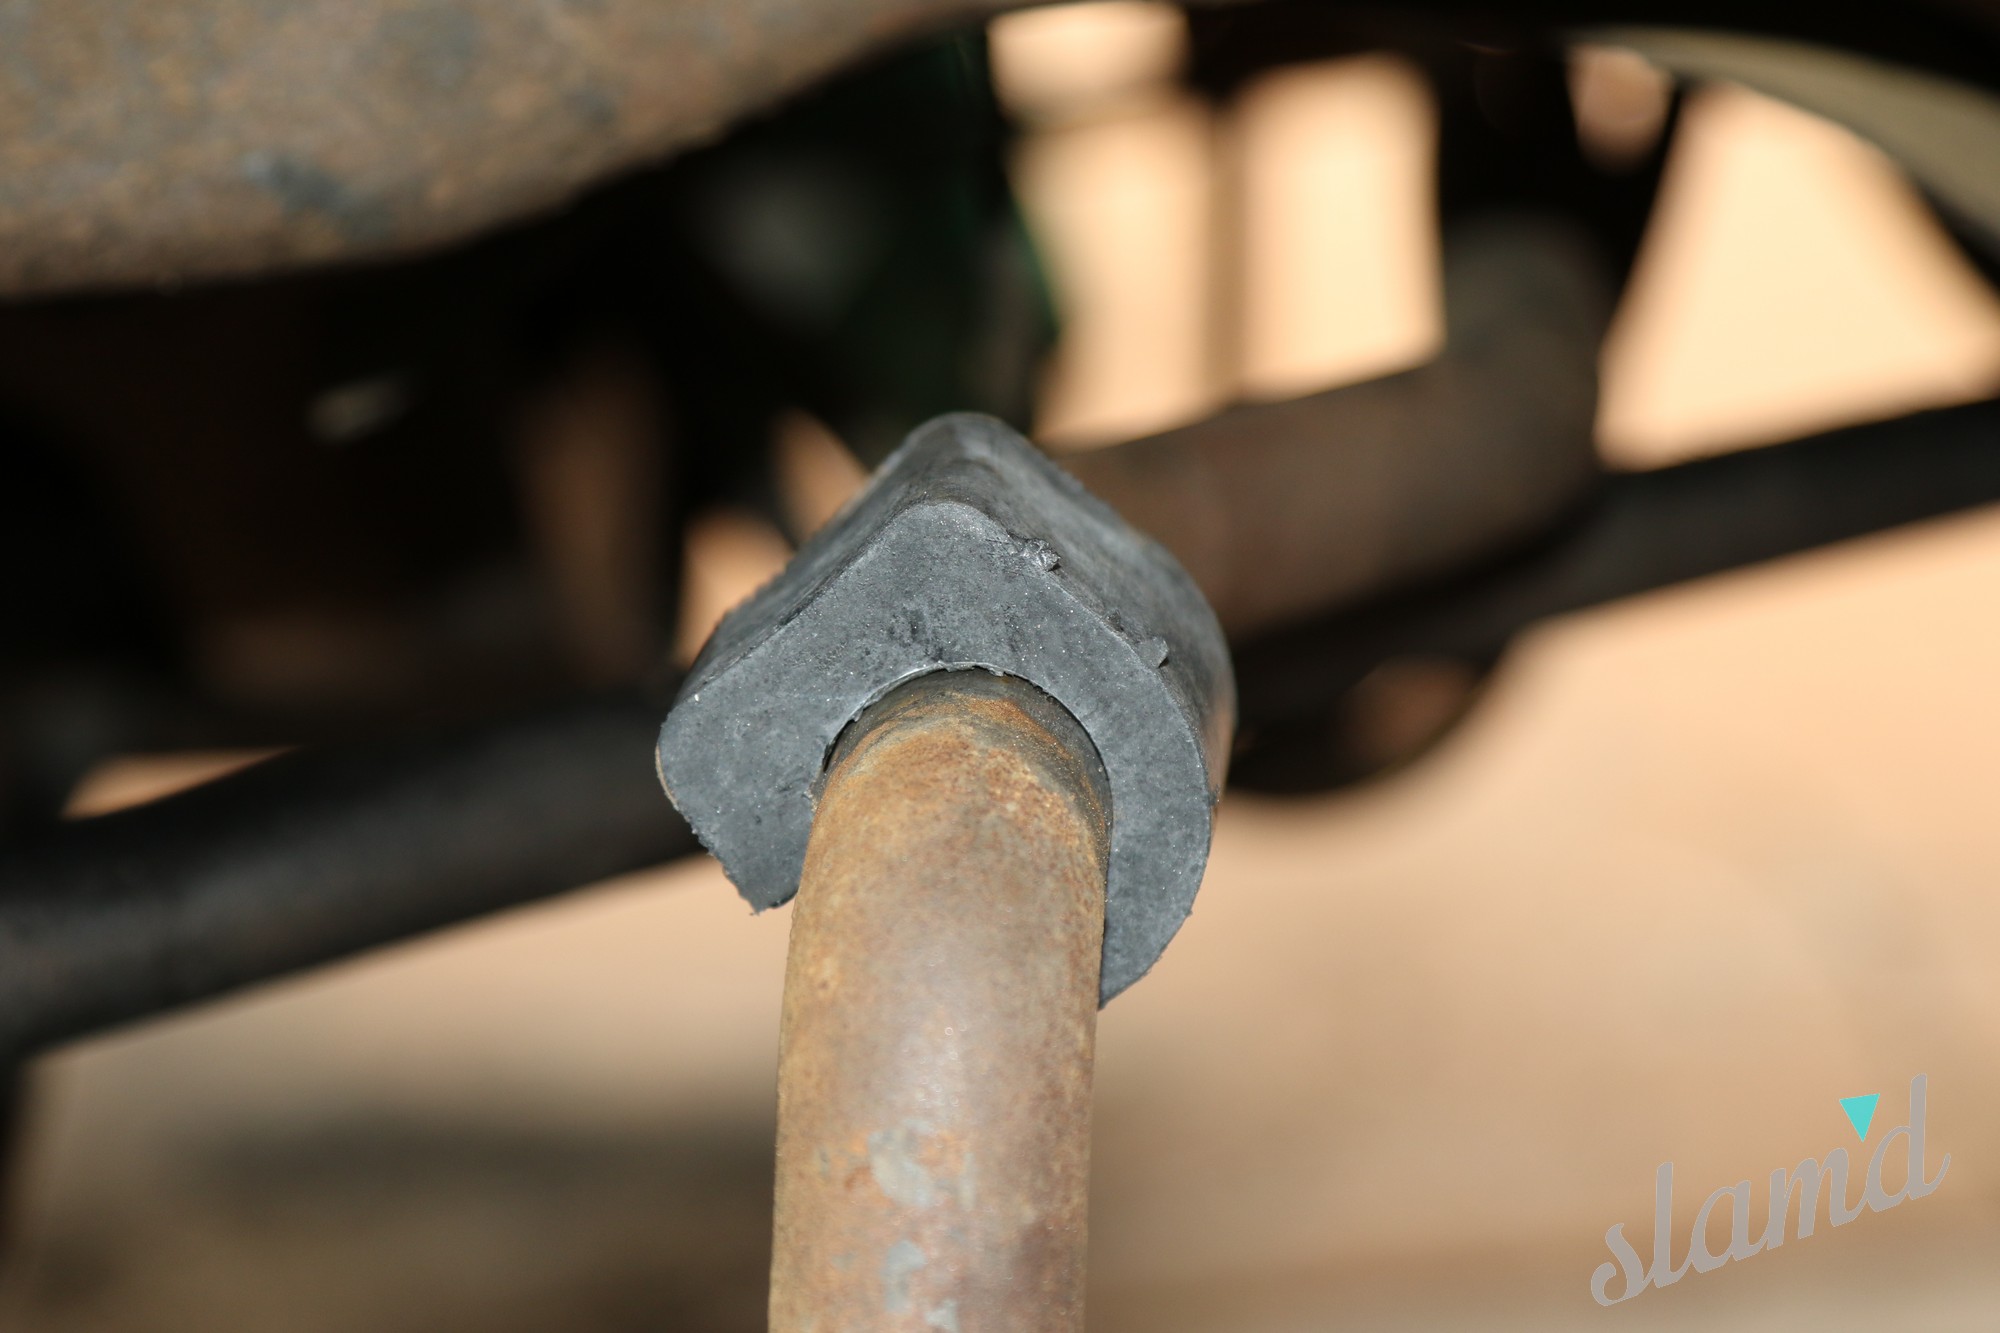
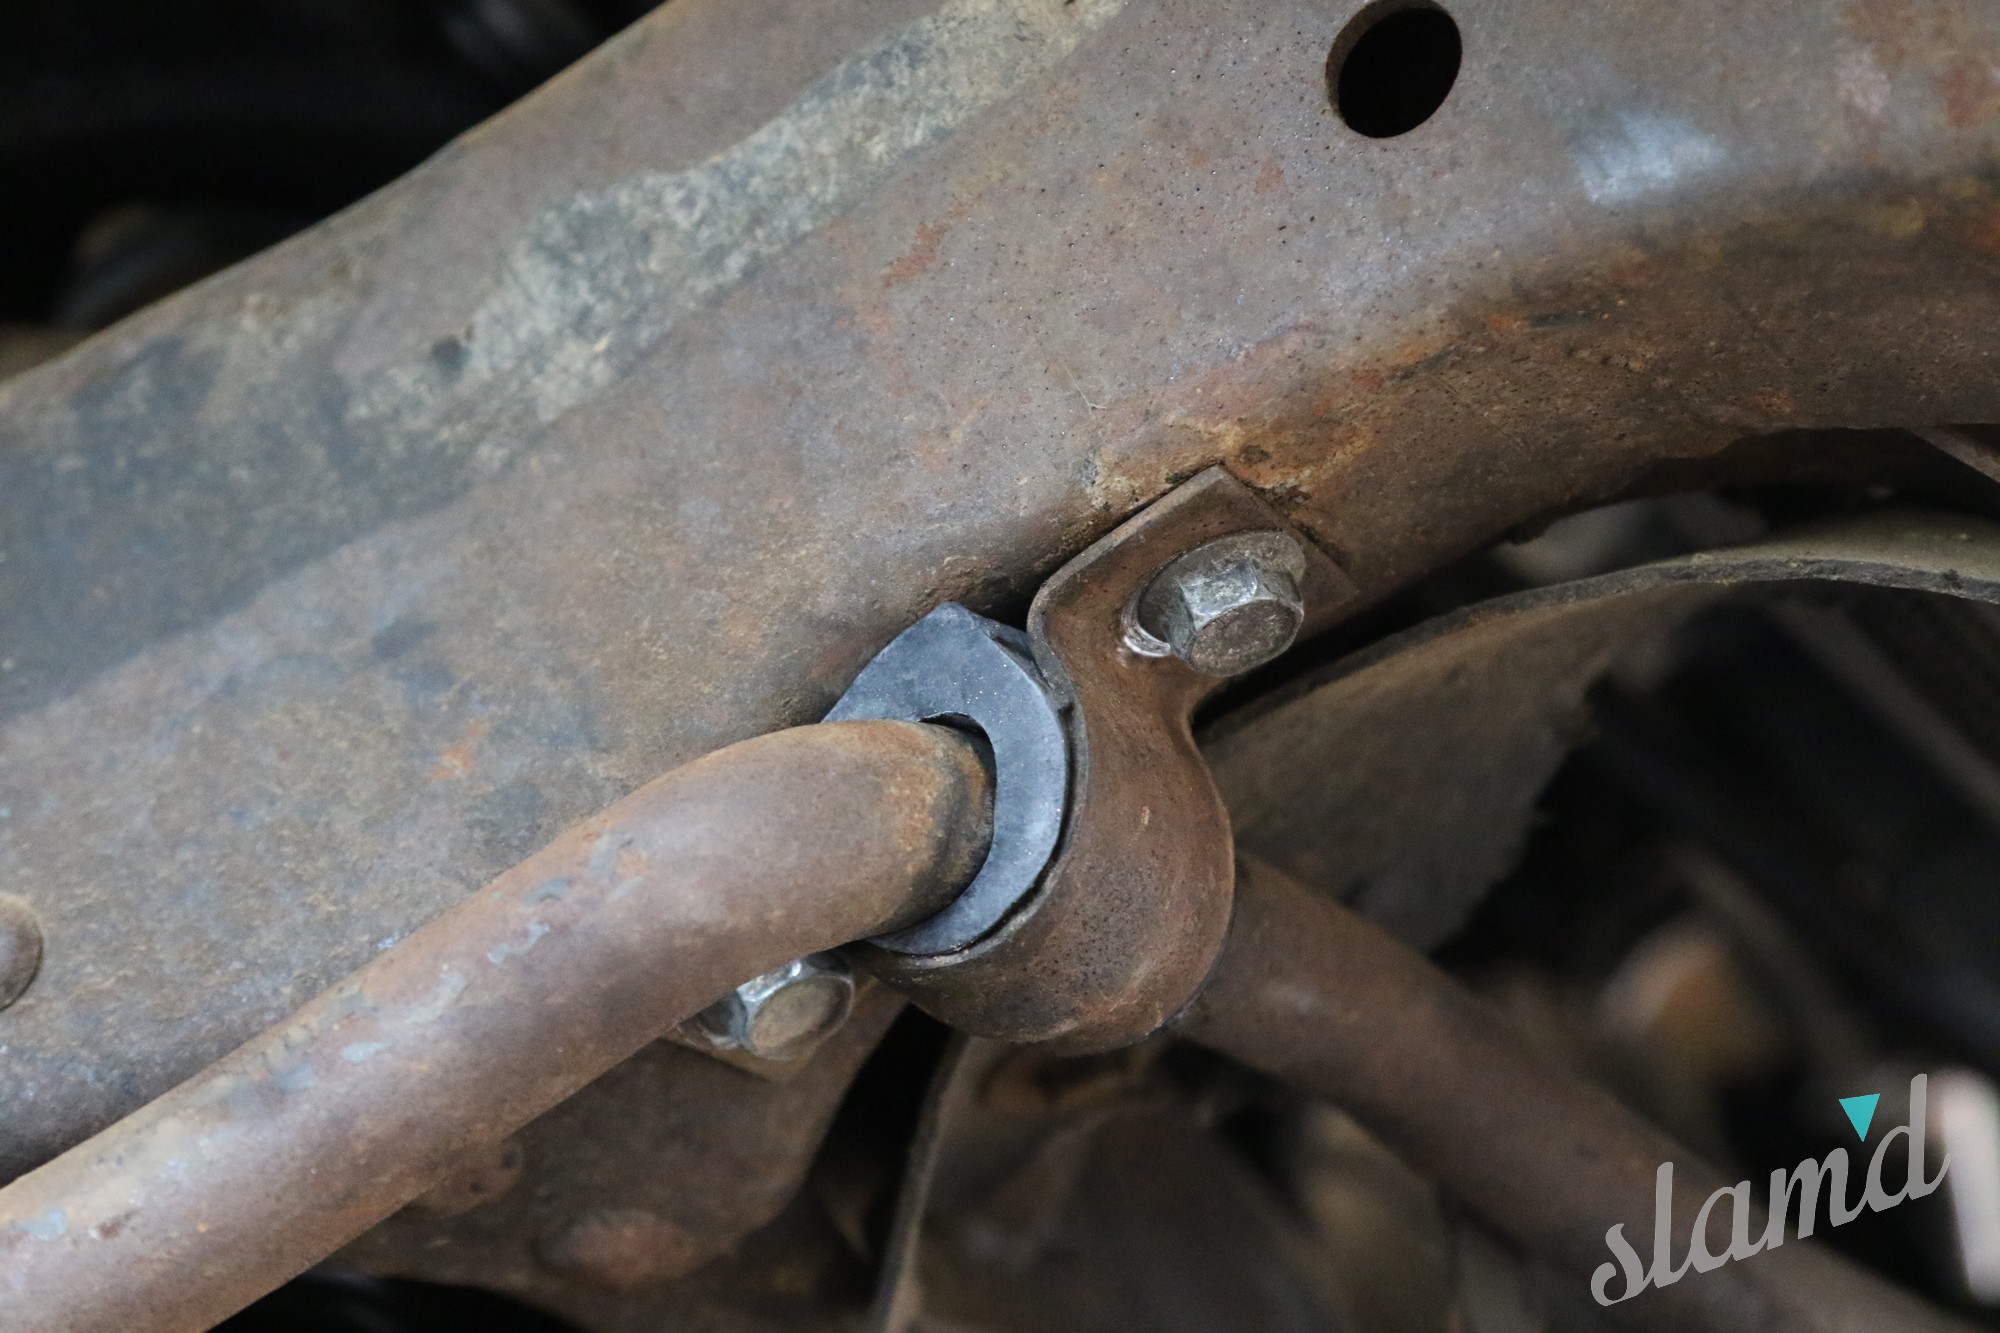
Moving on, we unbolted the upper control arm, which was held in with two bolts. The lower control arm required us to unbolt the strut bar and the last part of disassembly was to pop loose the steering linkage from the frame and steering box, followed by removing the sway bar.
Rebuilding Greatness
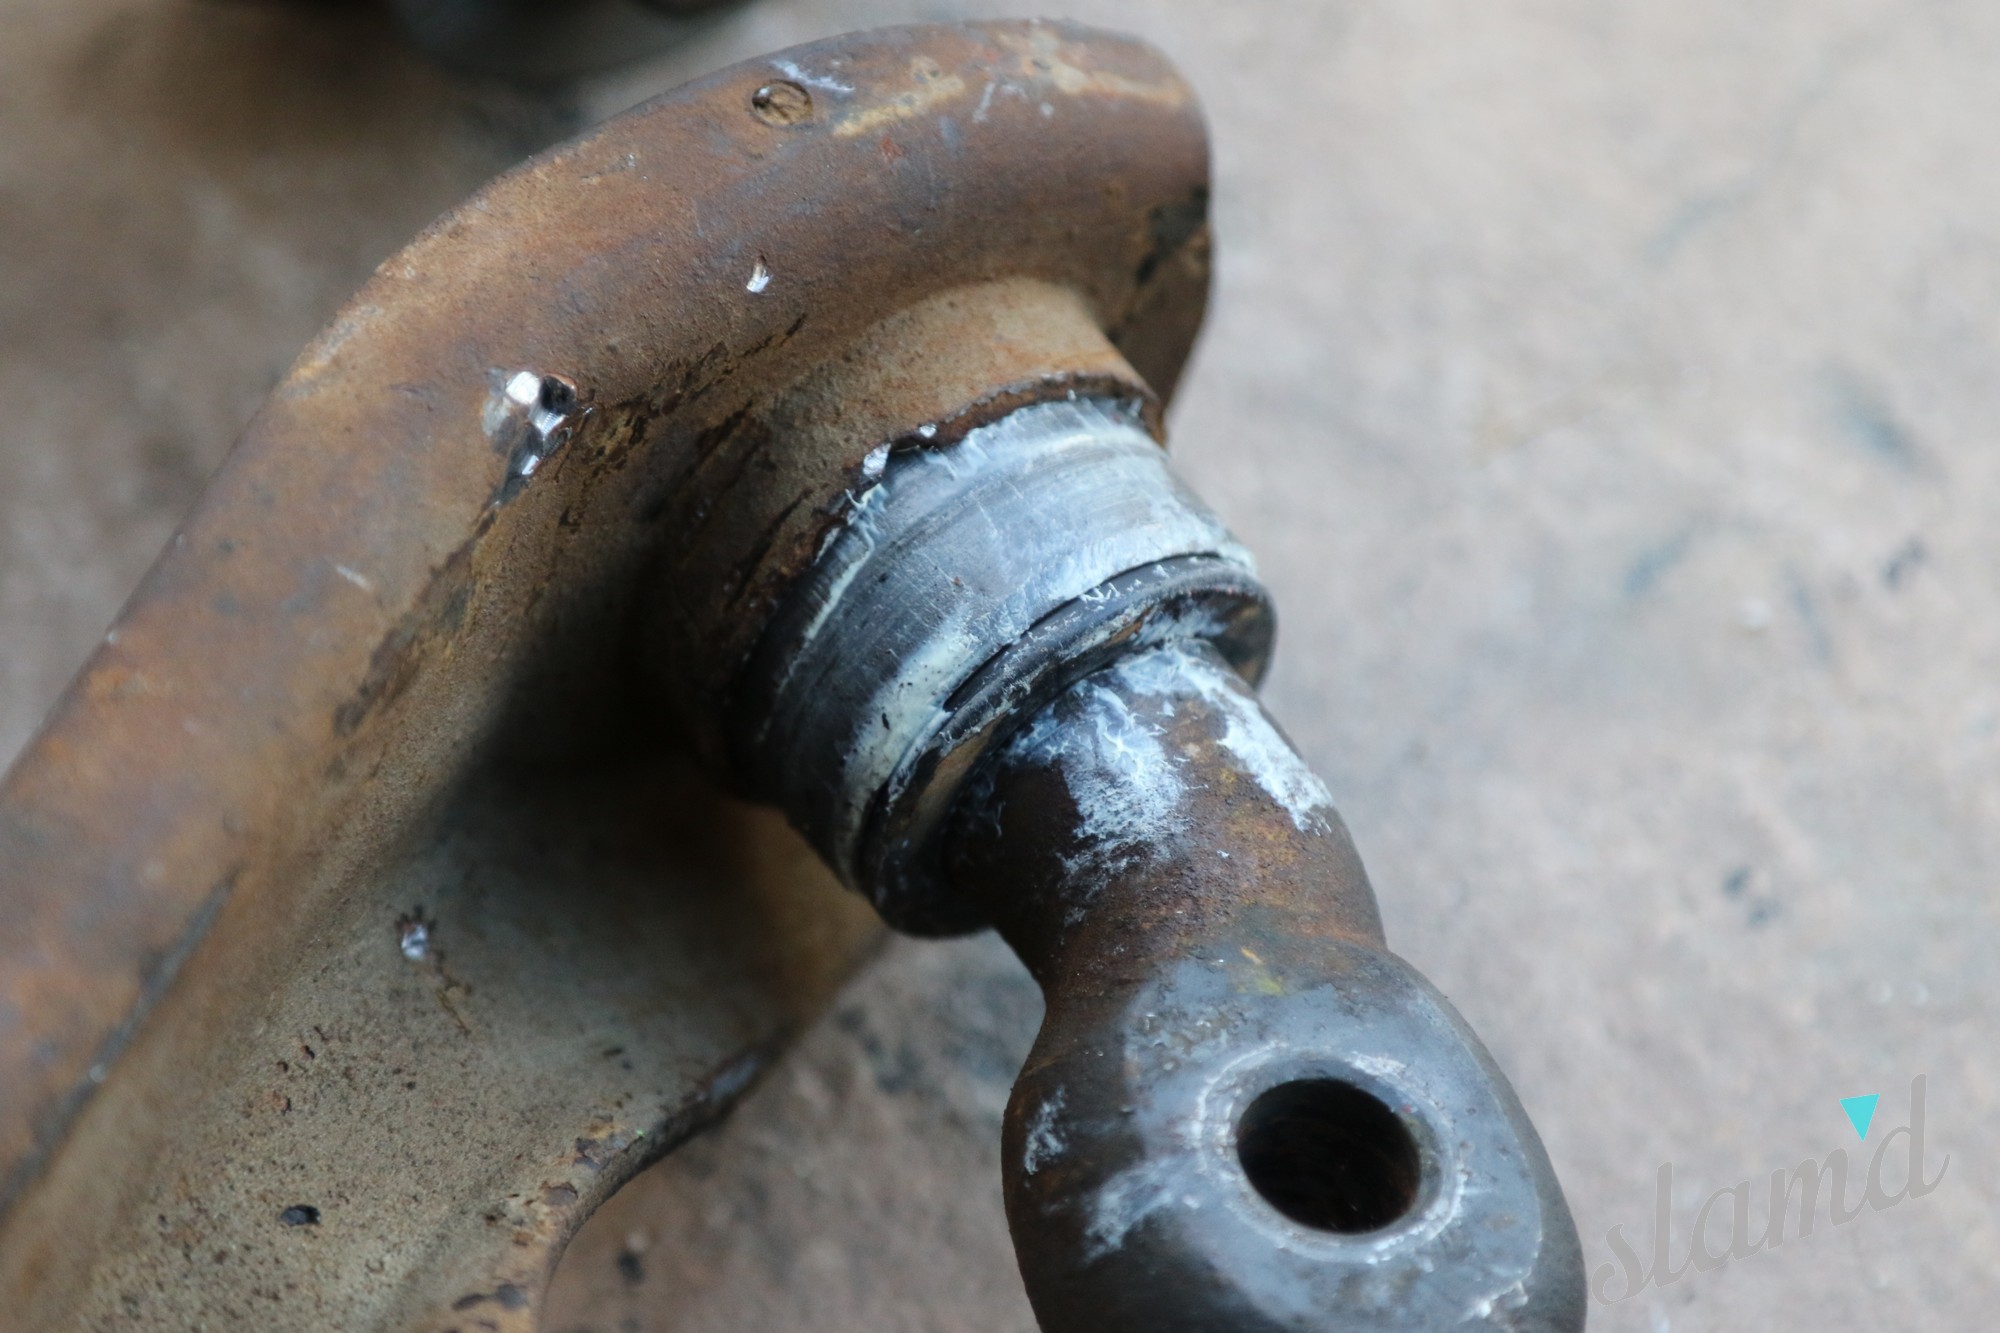
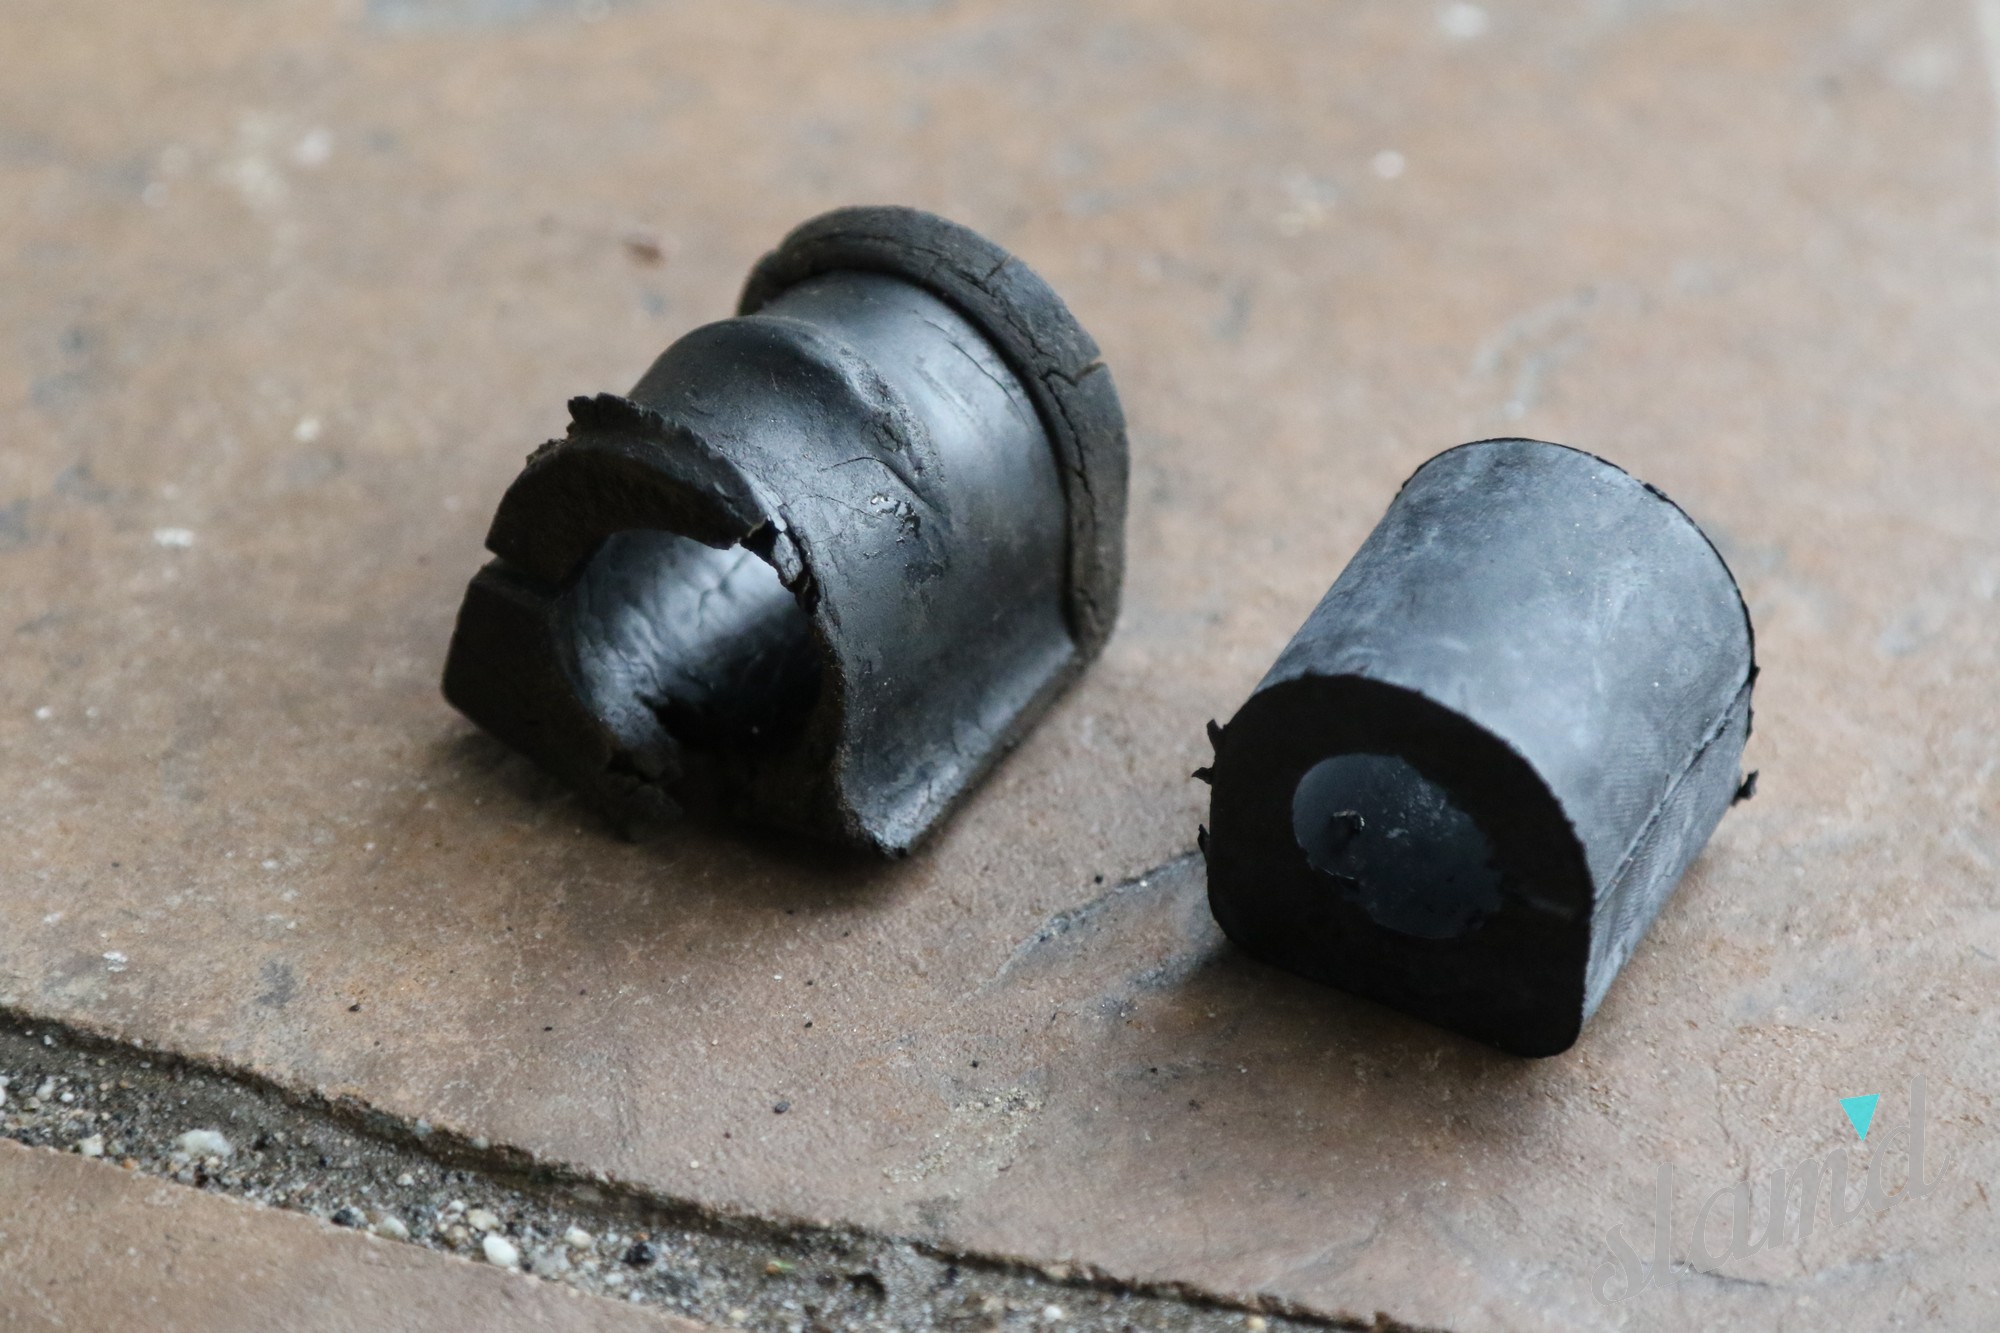
With all the suspension removed, it was time for the rebuild. Before we tore into the suspension bushings and balljoints, we wanted to find out a bit more by calling up Jeremy Cheeseman of Rare Parts. “We tend to stockpile NOS parts with some parts being on our shelf for over 20 years,” explained Jeremy. If they can’t get their hands on OEM parts, they will just make them in house. “We can make just about any part you can imagine, generally in less than a month,” continued Jeremy. We asked him what makes Rare Parts of higher caliber and his answer was simple. “At Rare Parts we don’t just recreate the part. We take the part and make it stronger and make the tolerances tighter than OEM to produce a higher quality part. If a manufacturer uses a nylon sleeve, we might upgrade to a steel bushing to ensure a longer lasting part,” shared Jeremy. What it boils down to is parts that not only fit, but fit better than stock and last even longer.
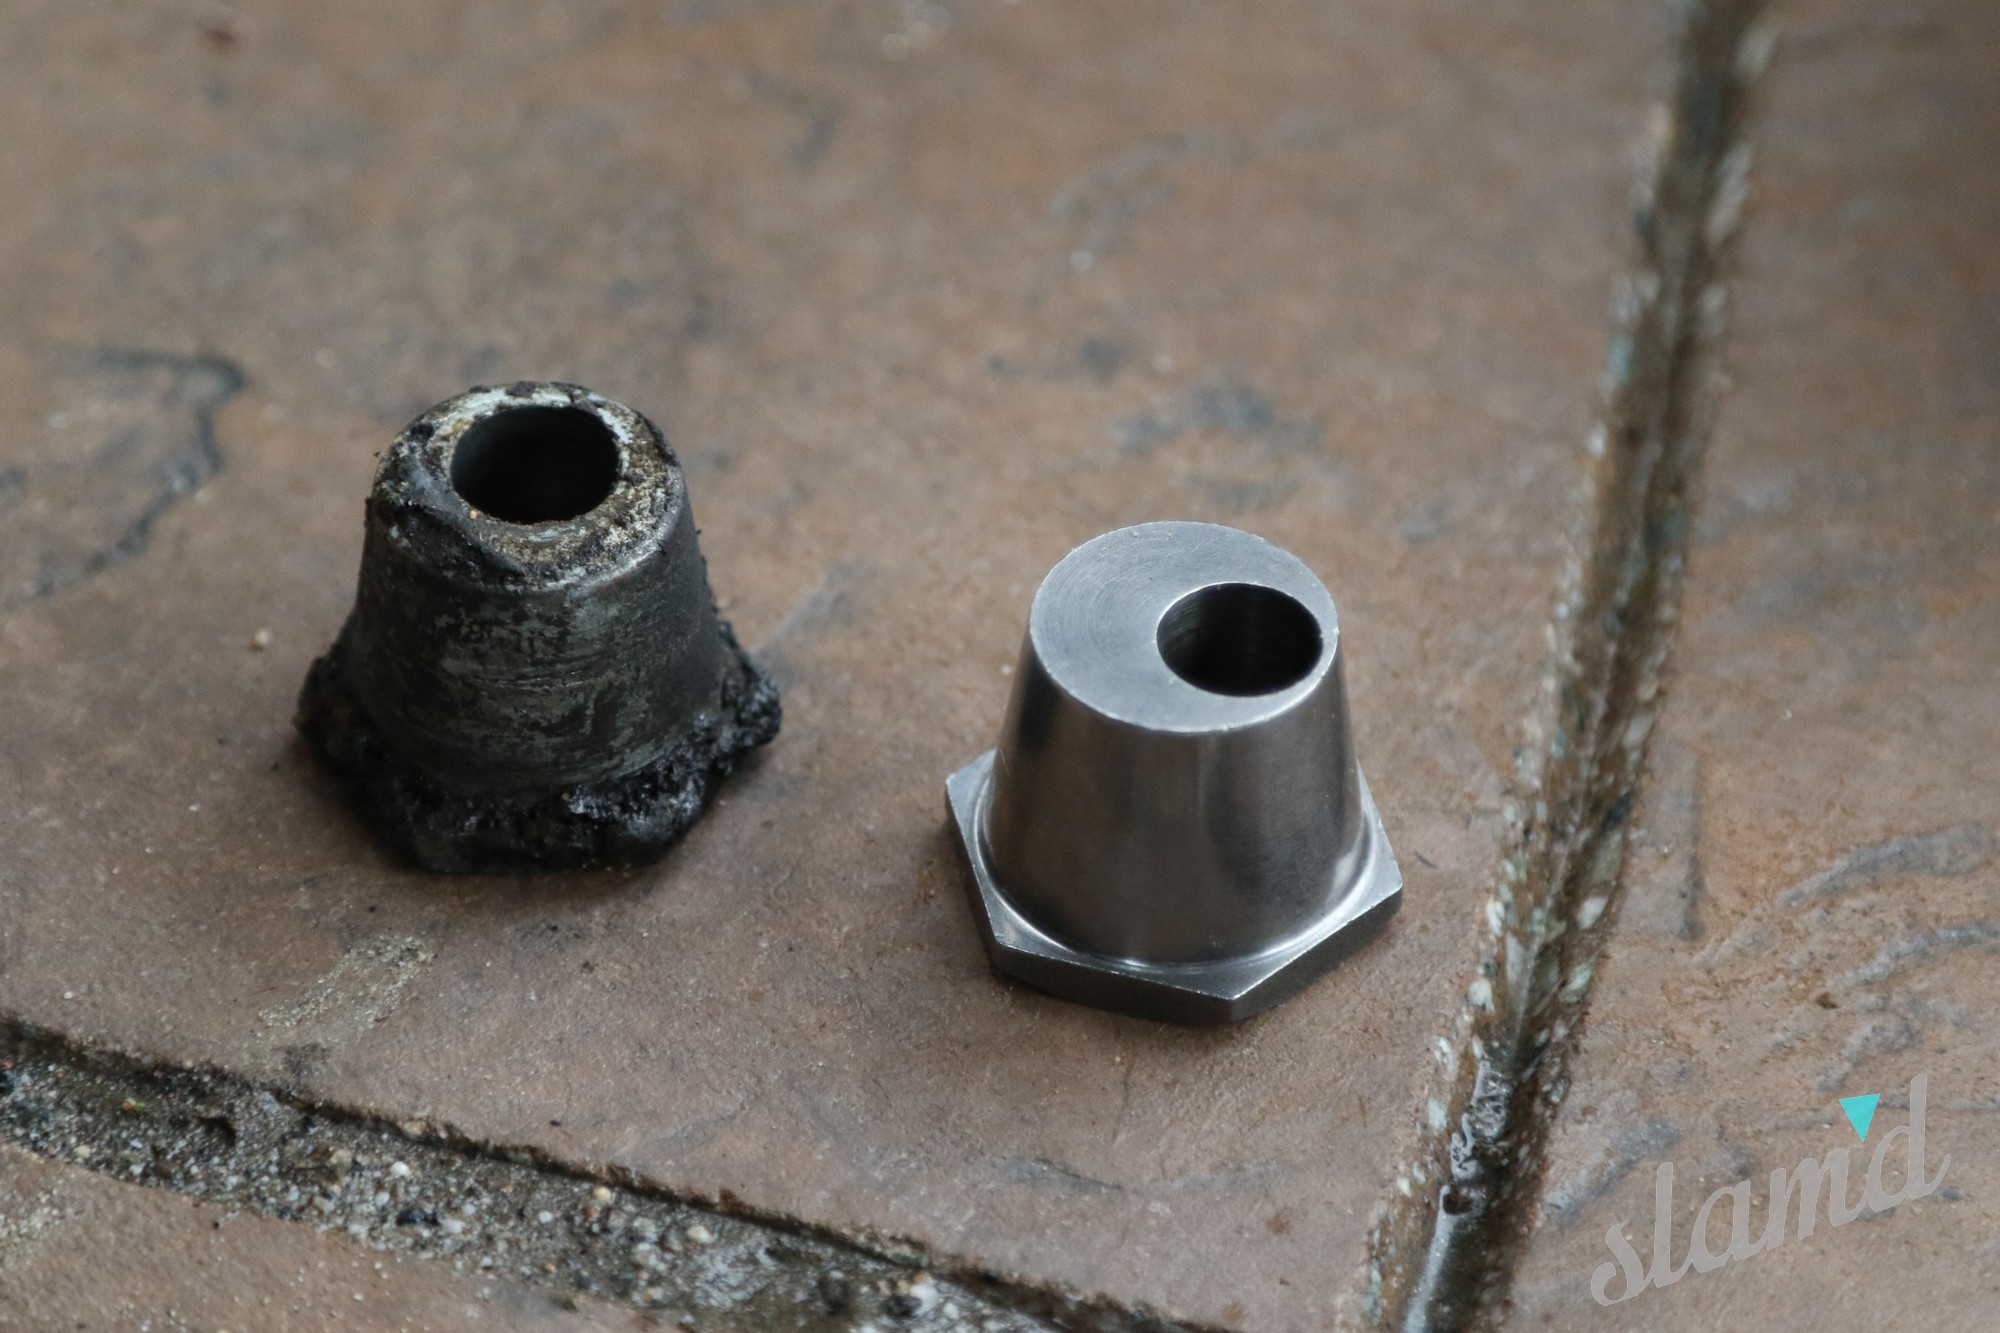
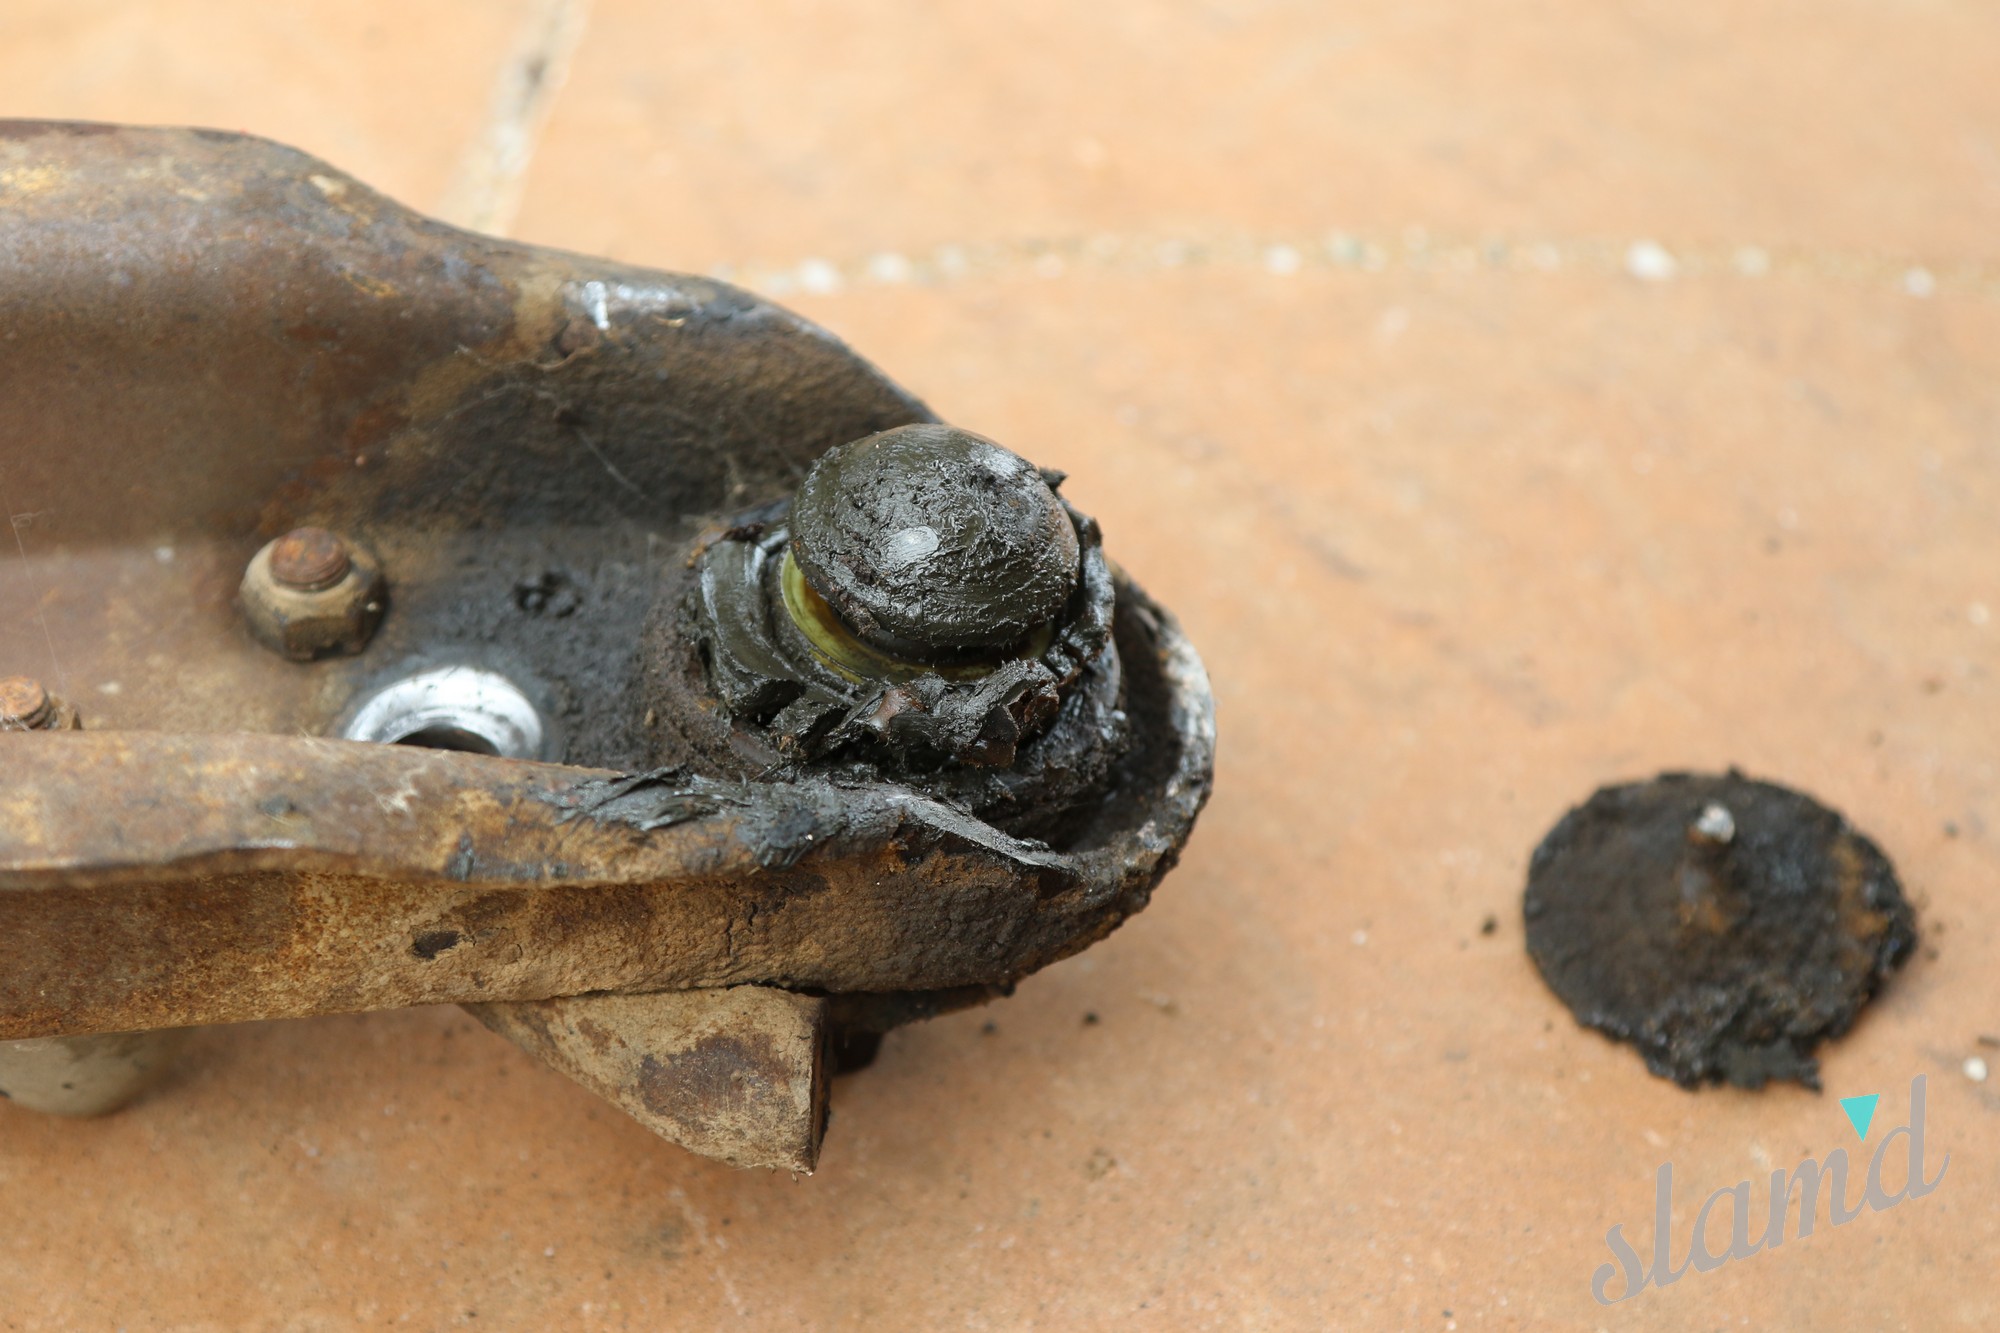
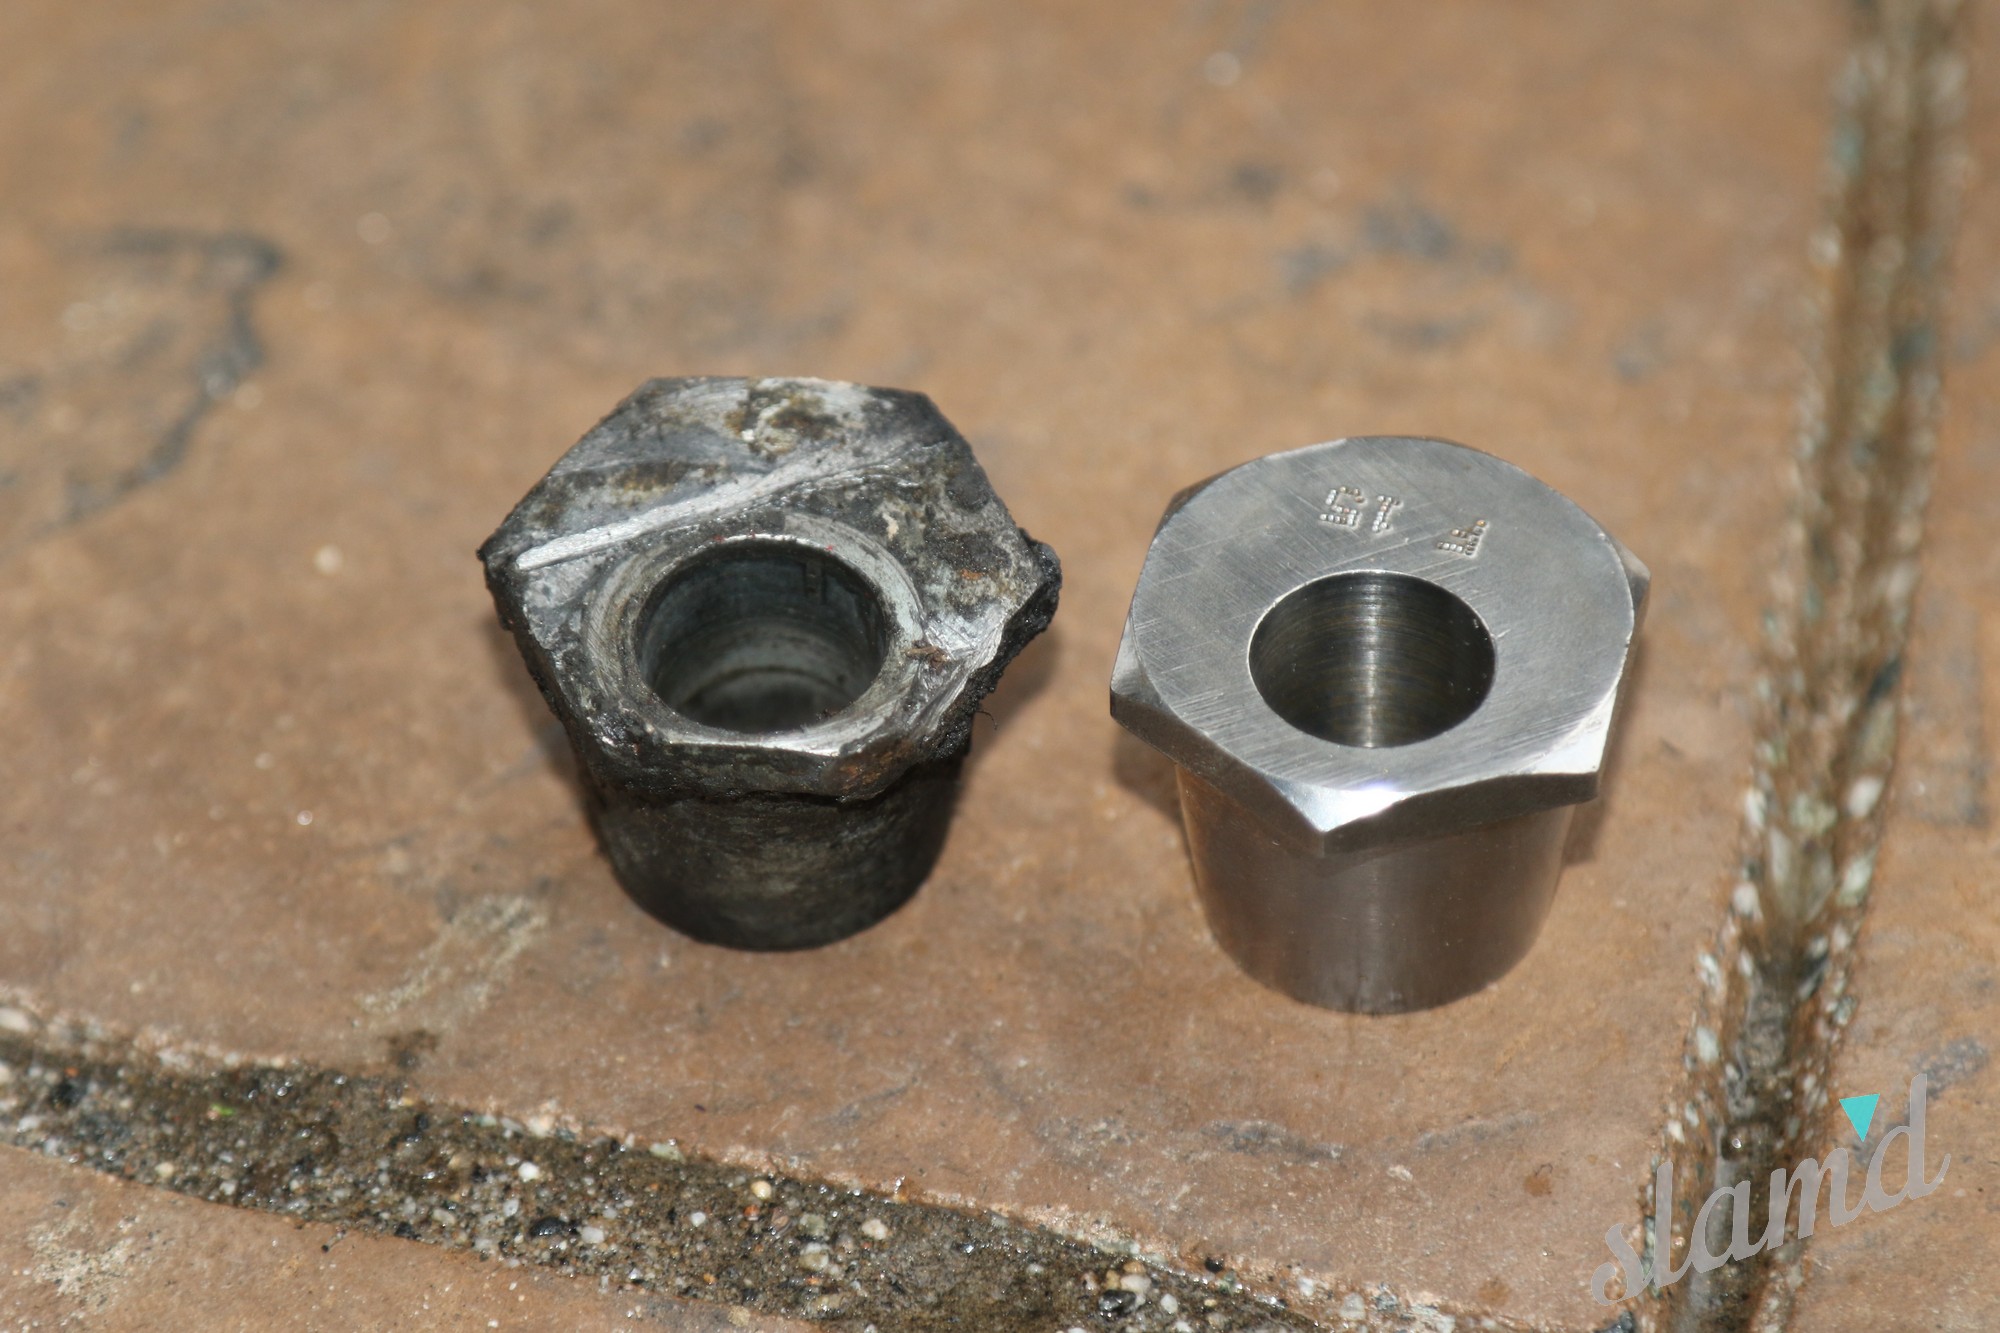
We compared all the old worn out parts to the new ones and it was easy to see just how the new parts blew the stock parts out of the water – even on a simple part such as a camber eccentric, a part that fits between the upper balljoint and spindle. The old one didn’t even fit snugly, while the new Rare Parts counterpart was a tight fit with quality finish.
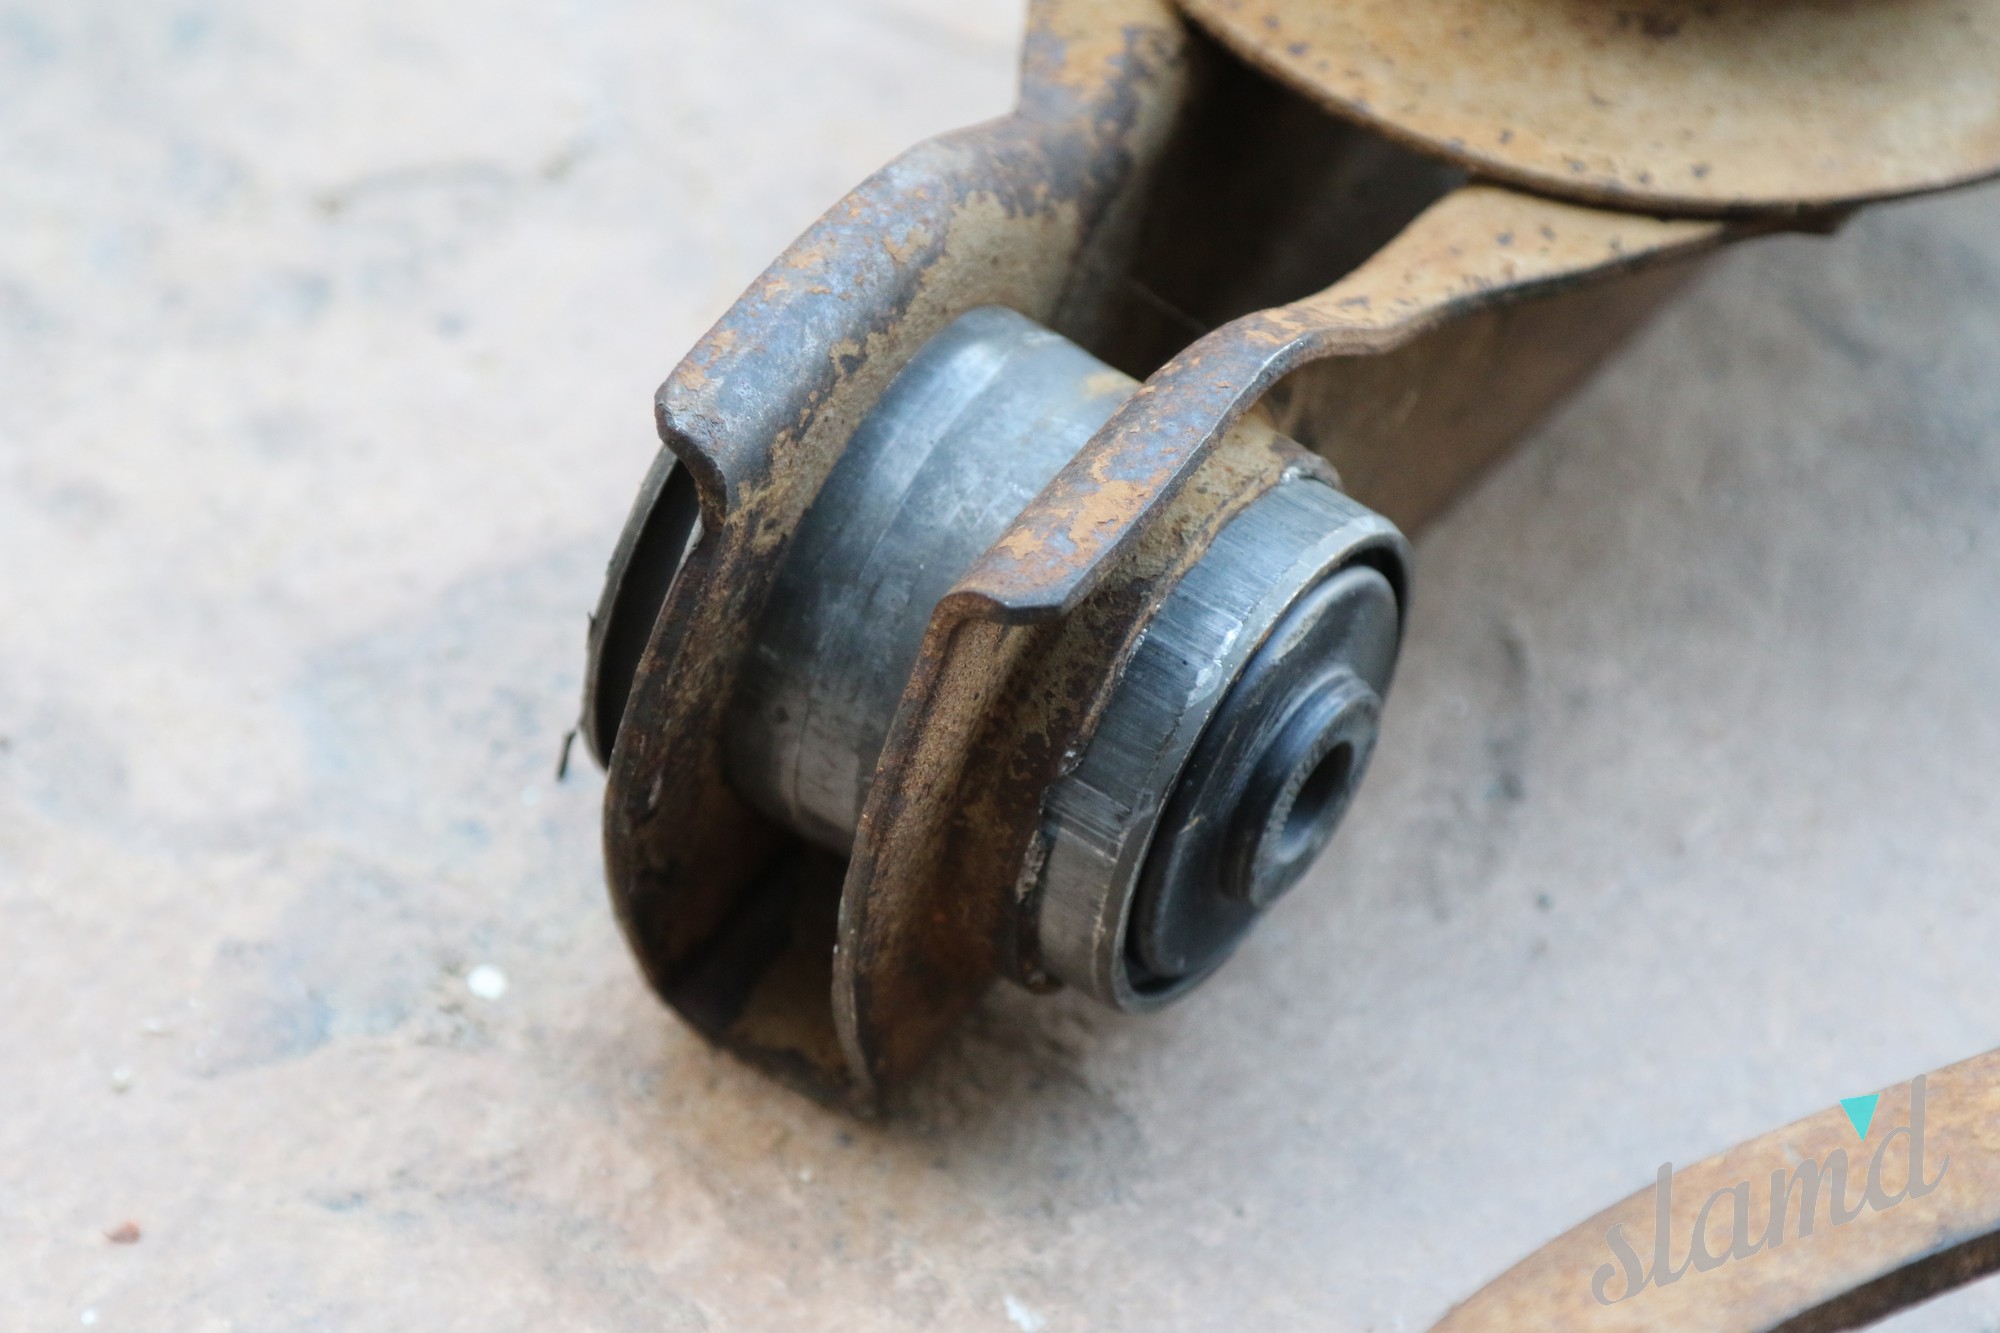
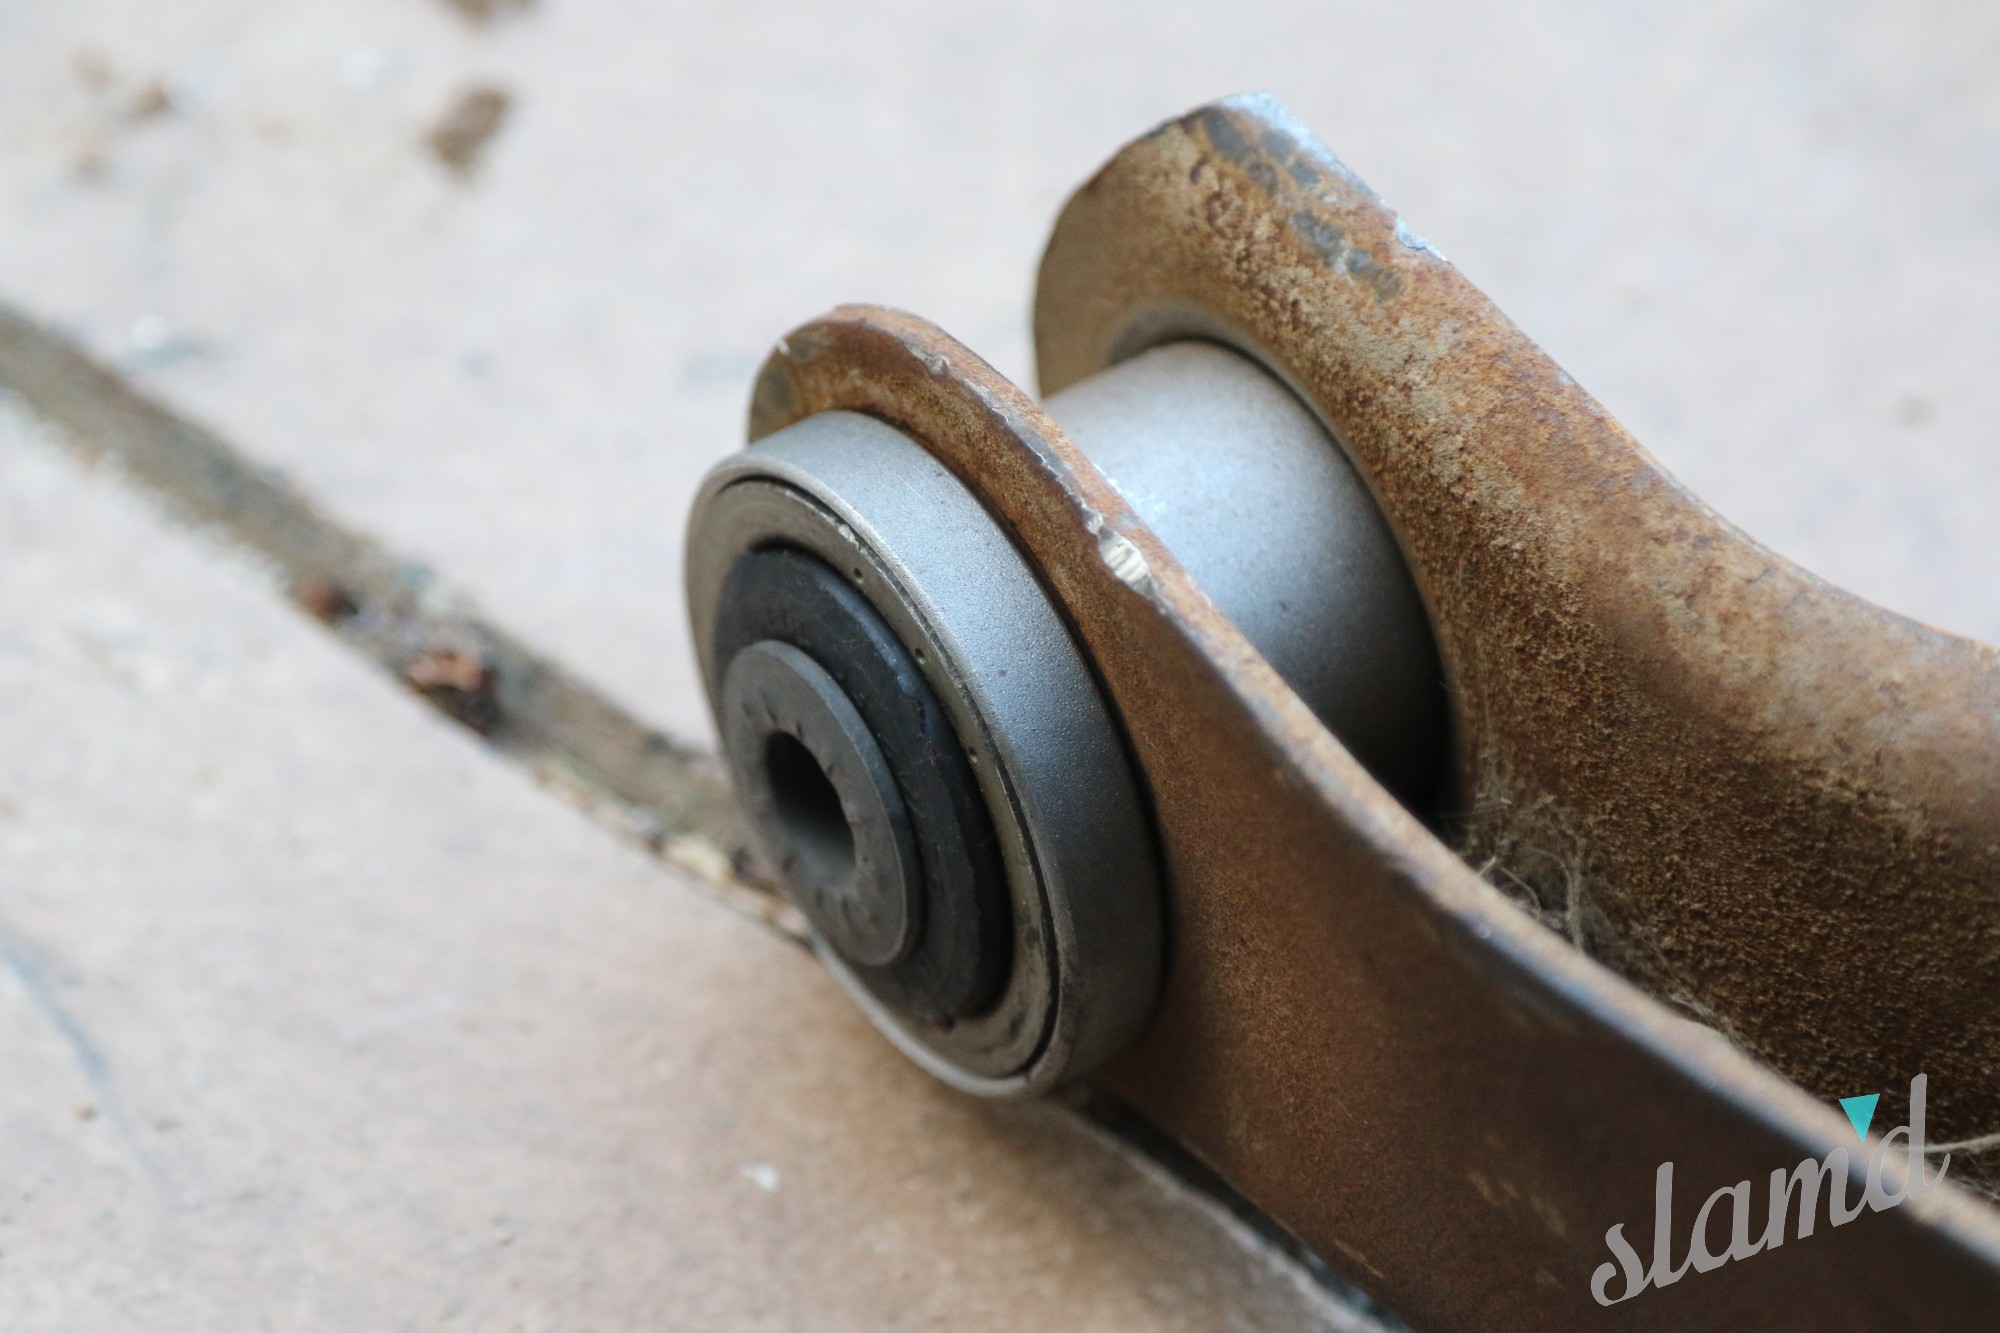
To start the rebuild we took all the control arms along with the new bushings and balljoints to a local mechanic with a hydraulic press to press the new bushings into the arms. We admit we took the easy way out on this, but work smarter not harder, right?! But before the reinstall we did take some time to sand down and shoot a bit of paint on the arms.
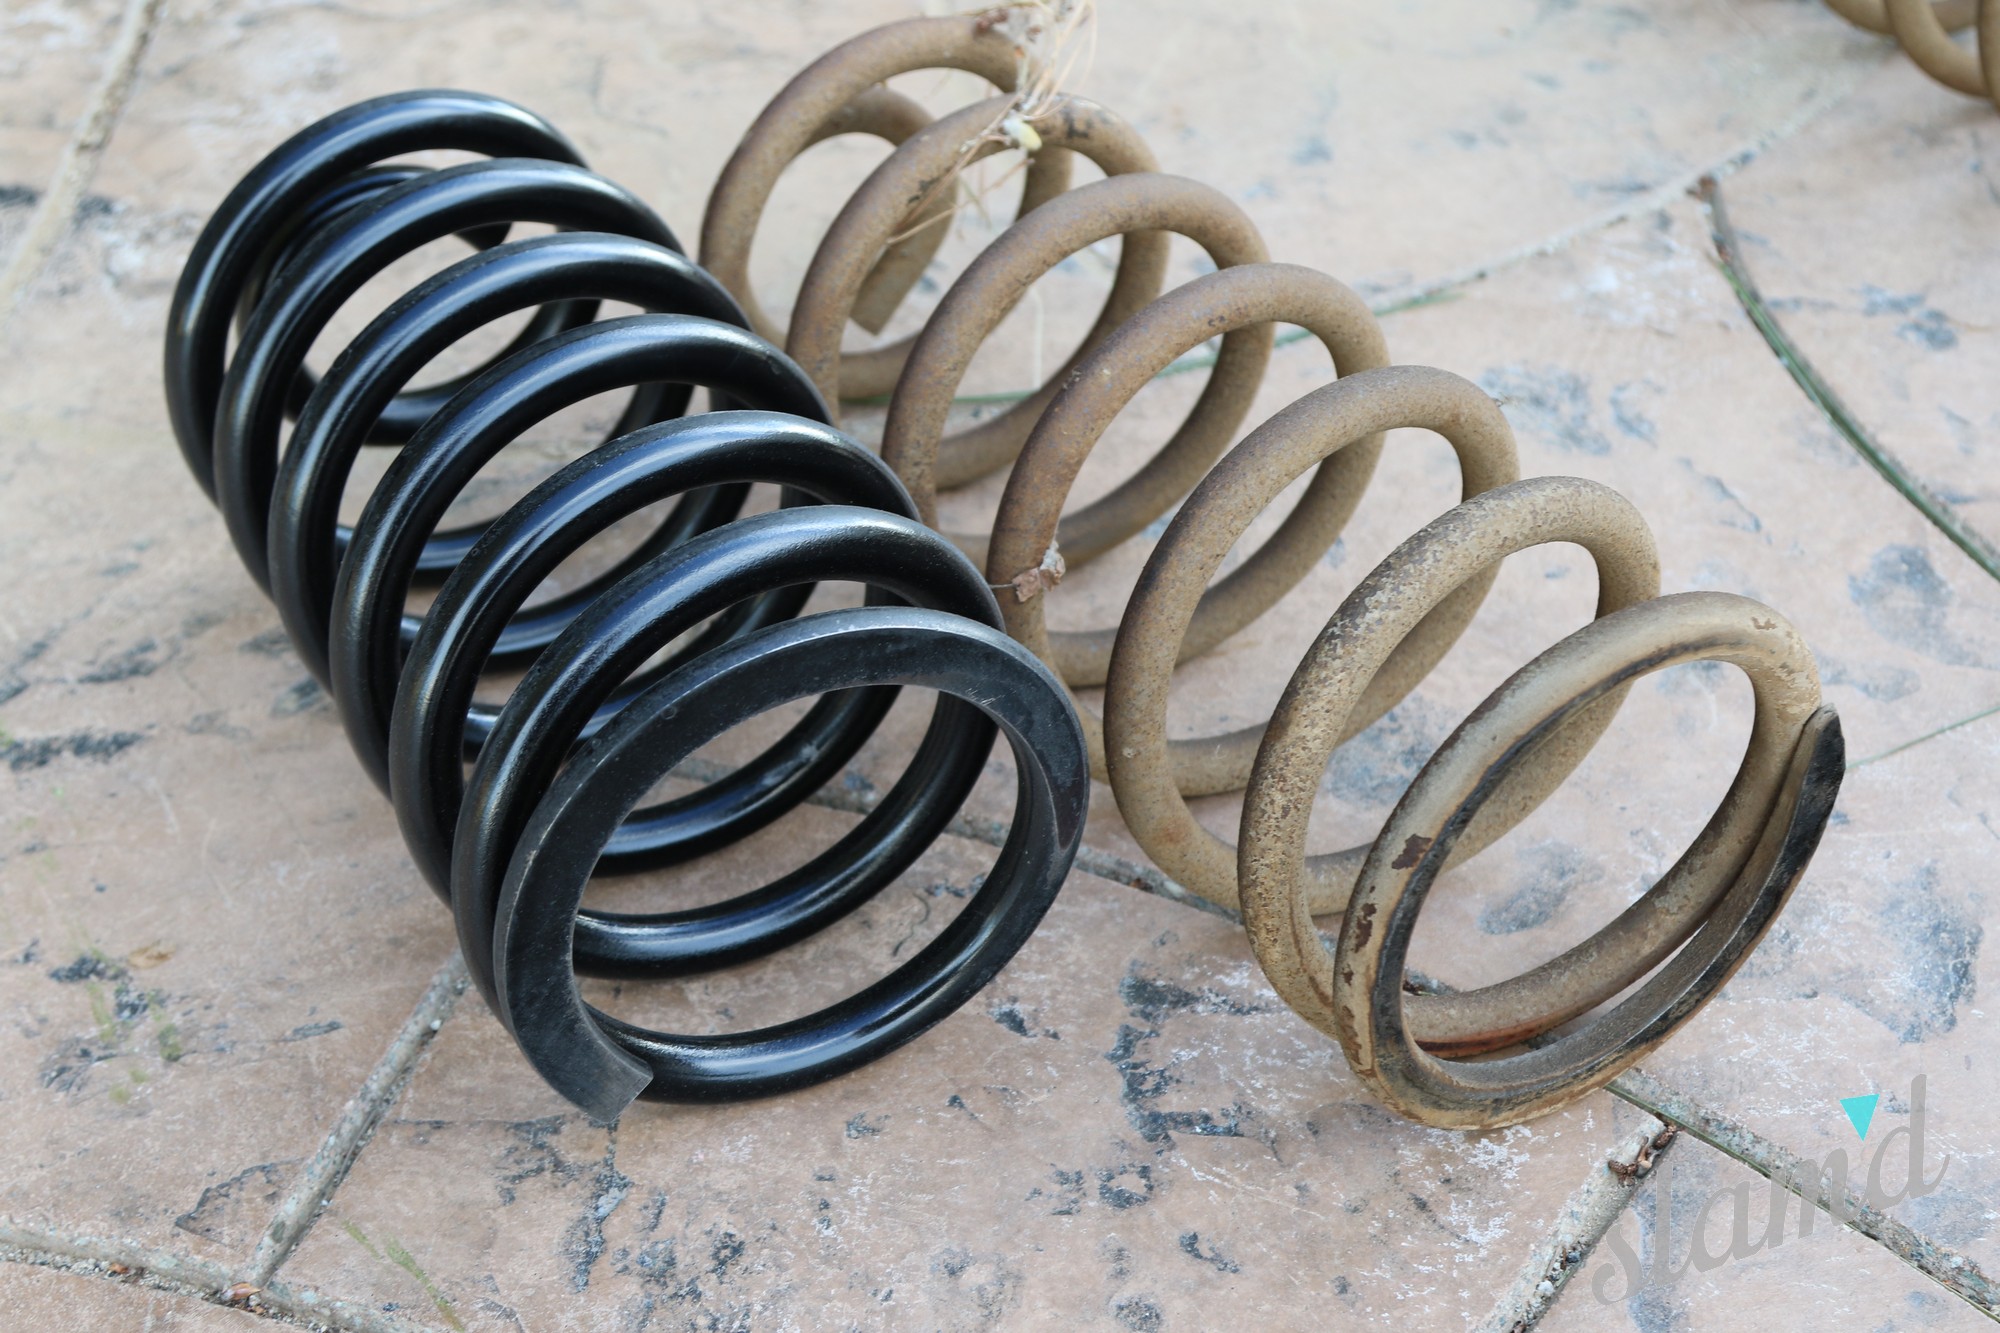
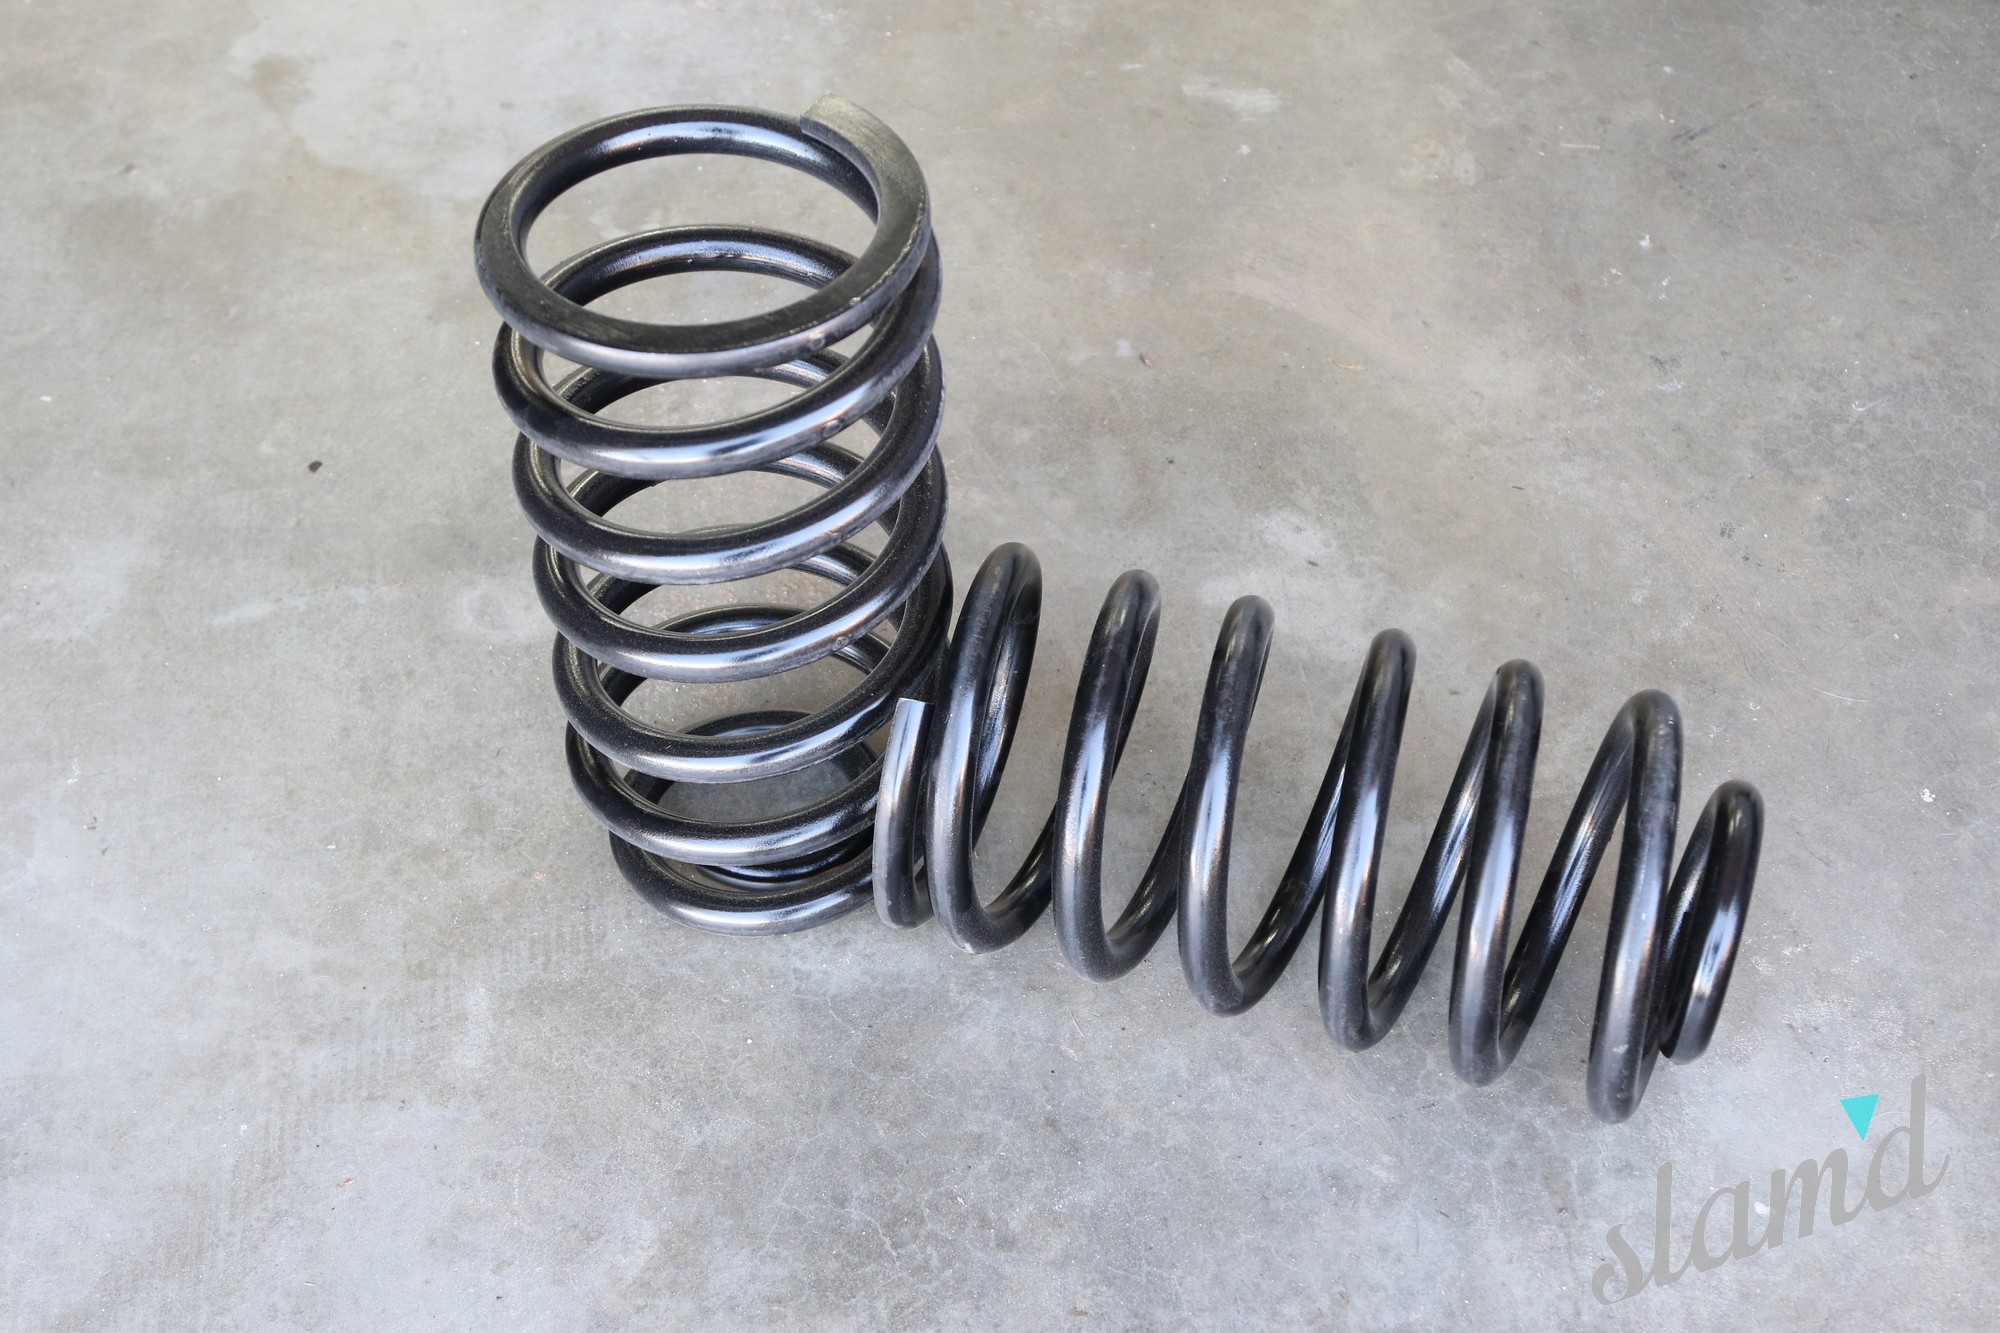
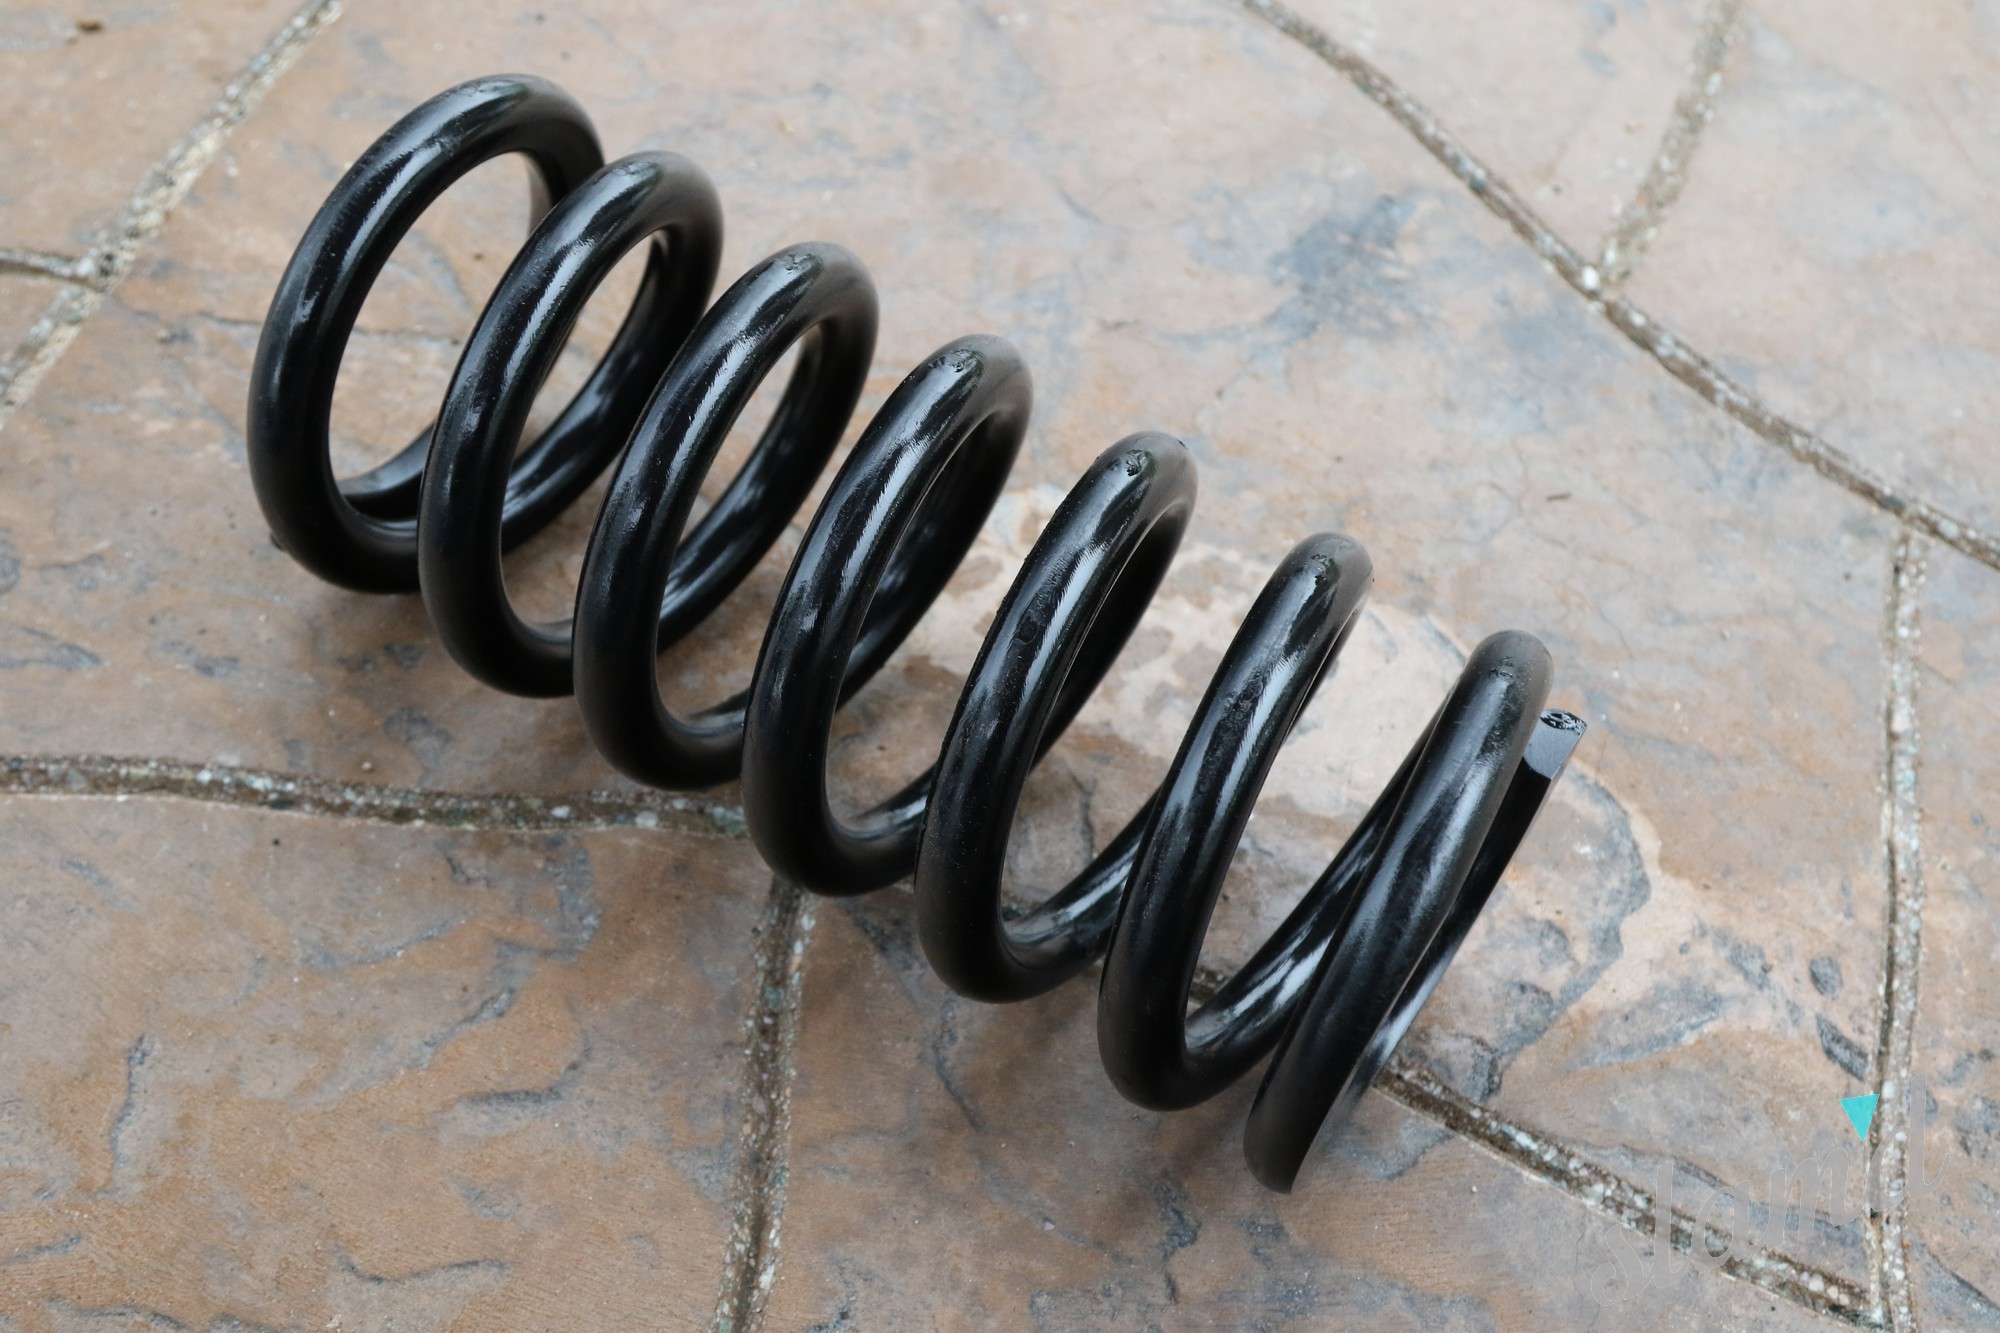
The rear suspension we figured would be the easiest but it turned out to be some work. Due to the original 50 year old bushings and the serrated ends of the inner sleeve, we had to grind down the tabs a bit so the arms could slide back in. Once the lowers were installed we grabbed our new Jamco Suspension 2-inch drop coils. When we stopped in to pick them up we caught up with Tony Genty, owner of Jamco Suspension.
“When a customer orders a set of coil springs, we make them specific for every vehicle, it’s not just an off-the-shelf item,” explained Tony. When we ordered these up he wanted to know exactly what car it was, what engine and trans were in it and anything else that might affect the weight of the vehicle. “All our springs are made here in the USA as well and only take a week or two to build, depending on the current demand,” shared Tony. Comparing the Jamco springs to the old springs we could see the attention to detail. Things such as the correct pigtail on the bottom, and being ground smooth on the top for proper fitment. We’ve been contemplating ‘bagging the car, but we decided we wanted something cost effective and simple (for now).

After sliding the rear springs in place we lifted the rearend up and connected the shocks and driveshaft. The last step was to get the upper control arm with the new Rare Parts bushings and balljoint installed and tightened back down.
Make Her Stop
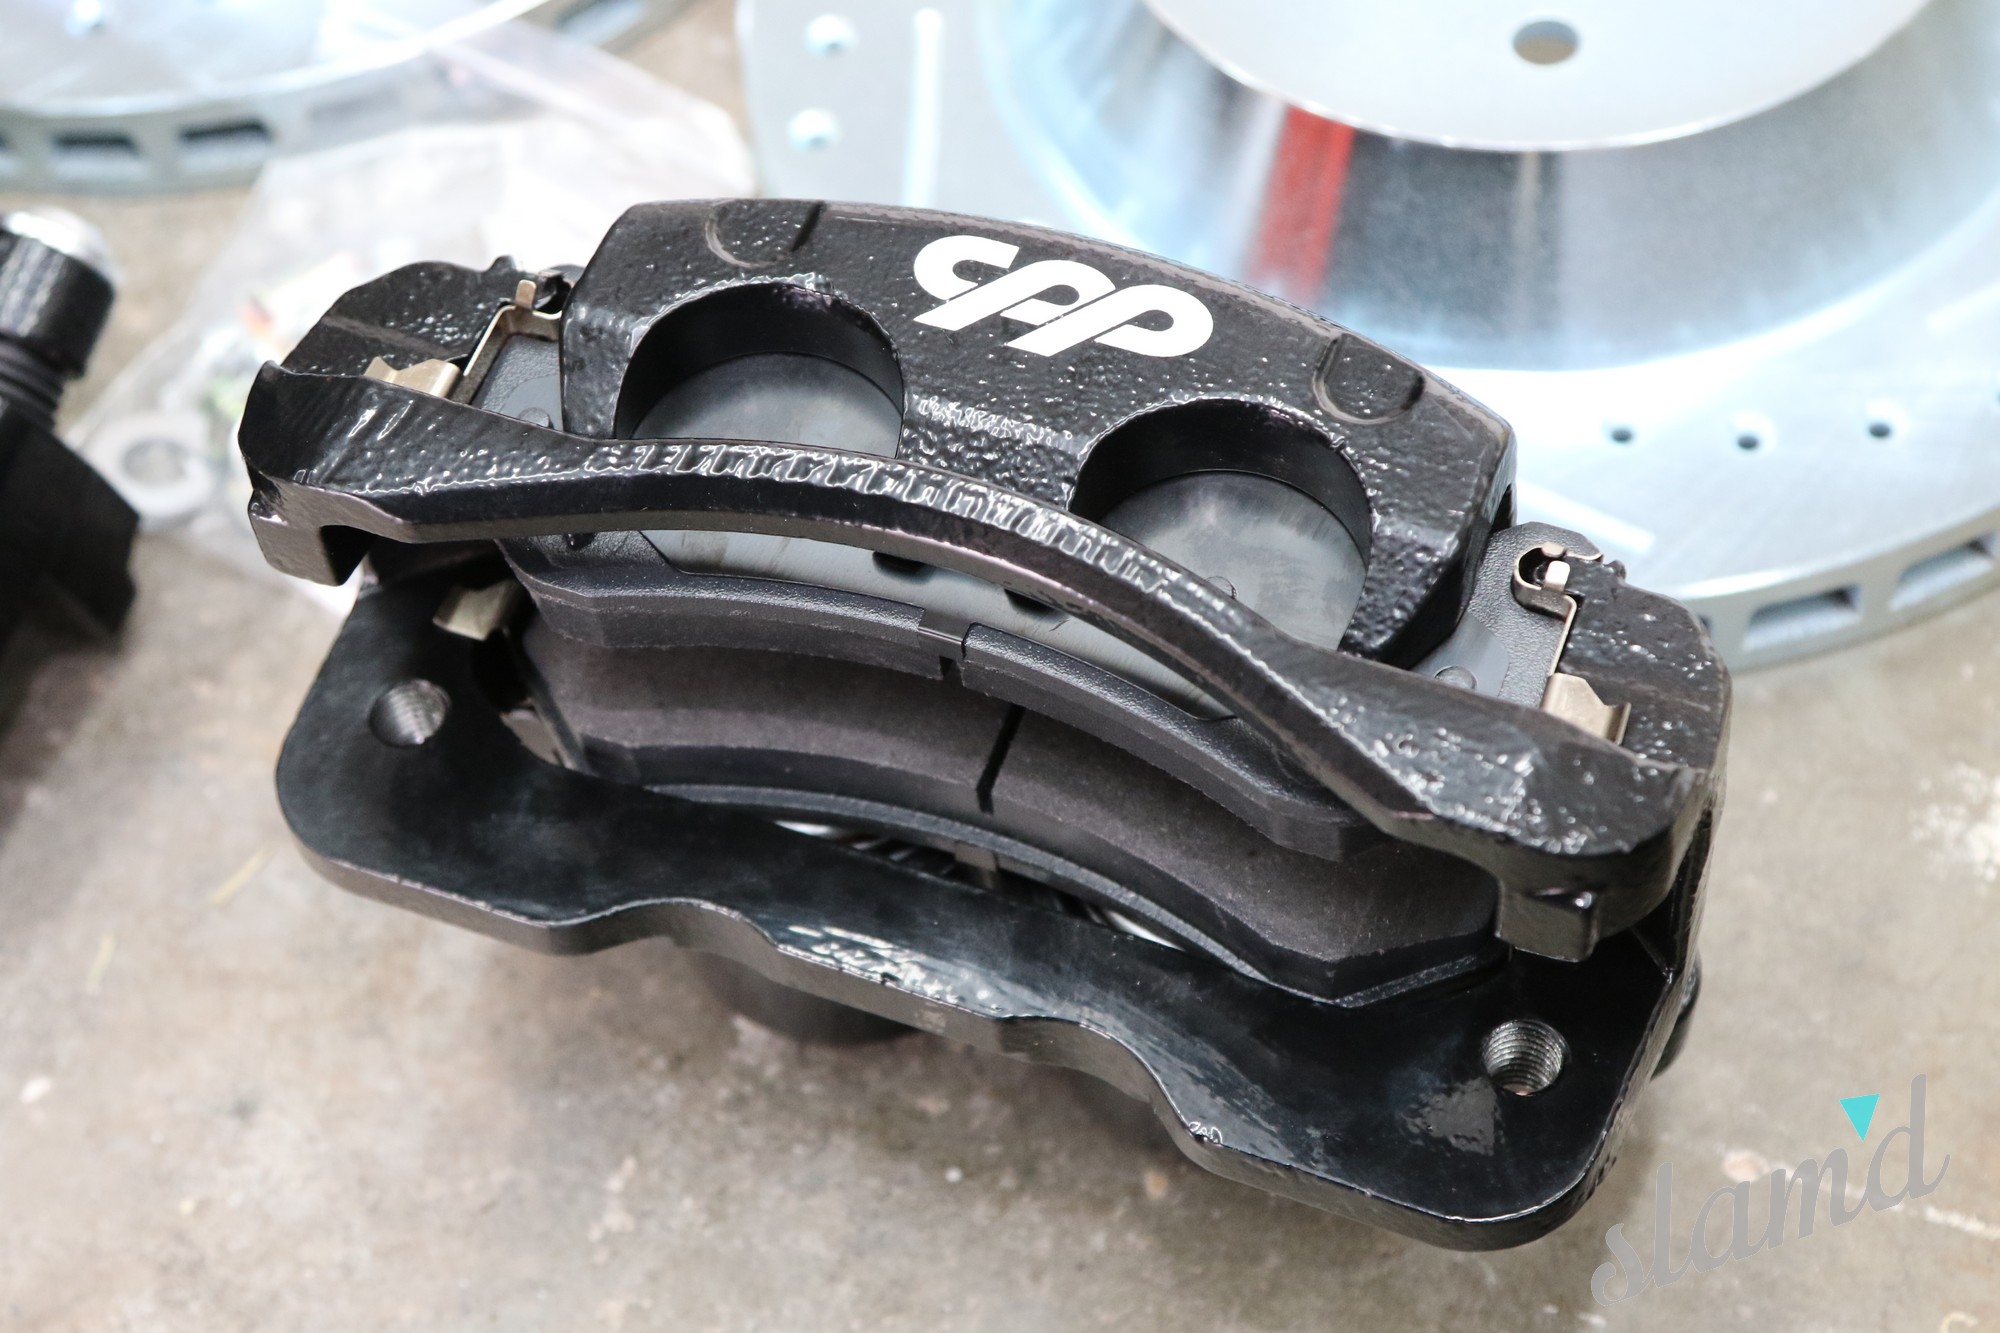
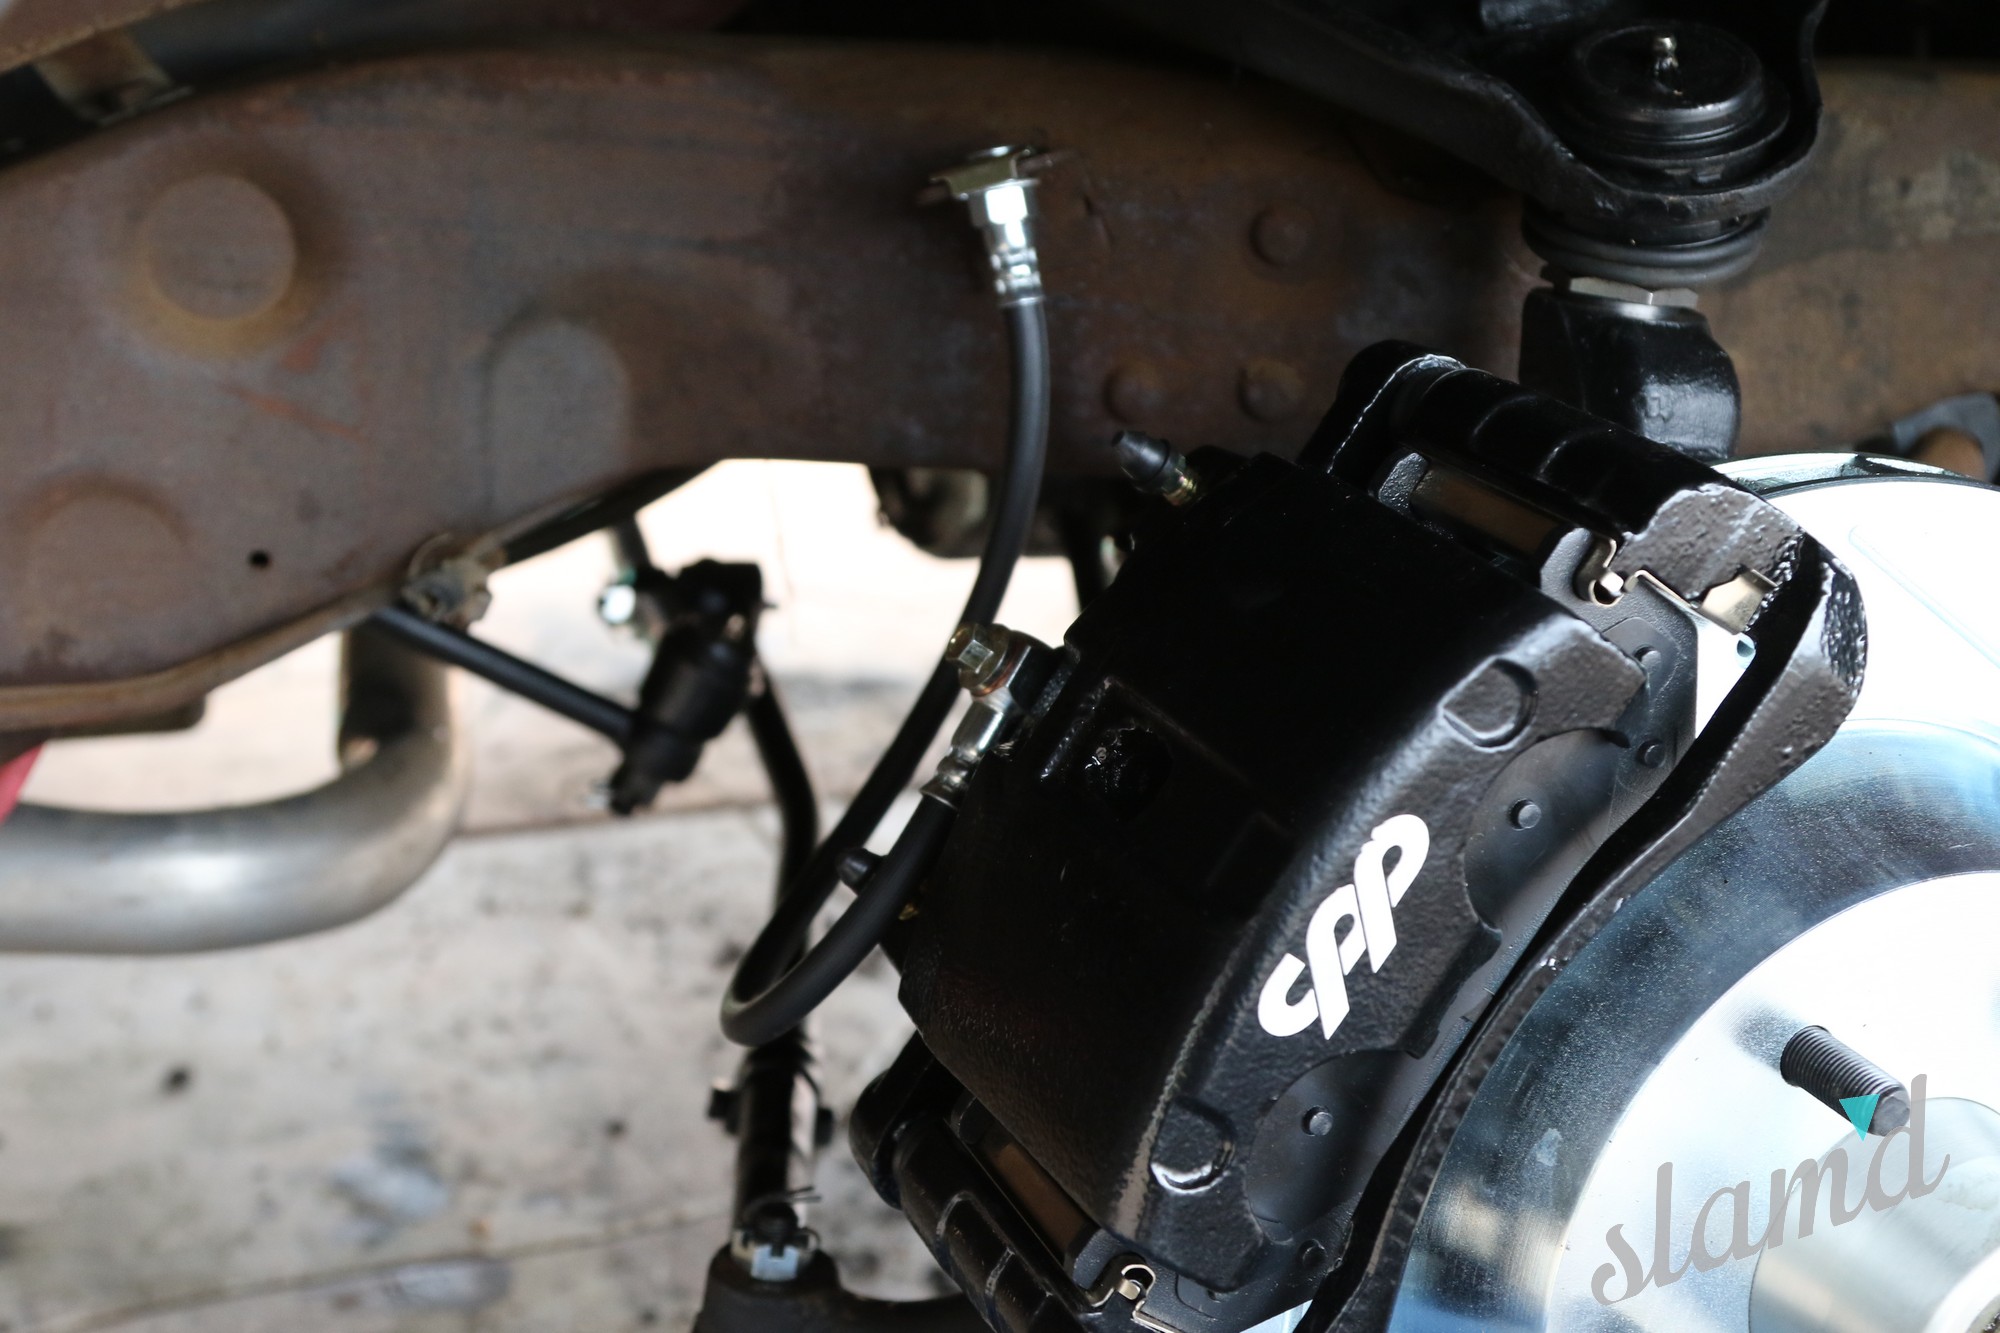
Moving to the front we started with the CPP disc brake conversion. When we ordered these up we talked to the folks at CPP and asked them a few questions. We all know that switching to disc brakes is a huge upgrade, but we noticed that not a lot have been installed on these classic Cadillac’s. “For many years, the Cadillac line seemed to fall through the cracks when it came to a disc brake conversion kit being available. Full size Chevrolet cars have had the opportunity to upgrade to a modern disc brake setup but not the Cads. Here at CPP we saw the need for our Cadillac customers and started to manufacture a few different brake kits to fit 1950-68 Cadillac stock drum spindles. We offer a standard as well as a big brake package. For the ’57-’68 customers we also offer a rear disc brake conversion kit for all rear wheel drive Cadillacs. Now, Cadillac owners can benefit also from these easy to install kits that truly make a difference compared to stock equipment,” explained CPP.
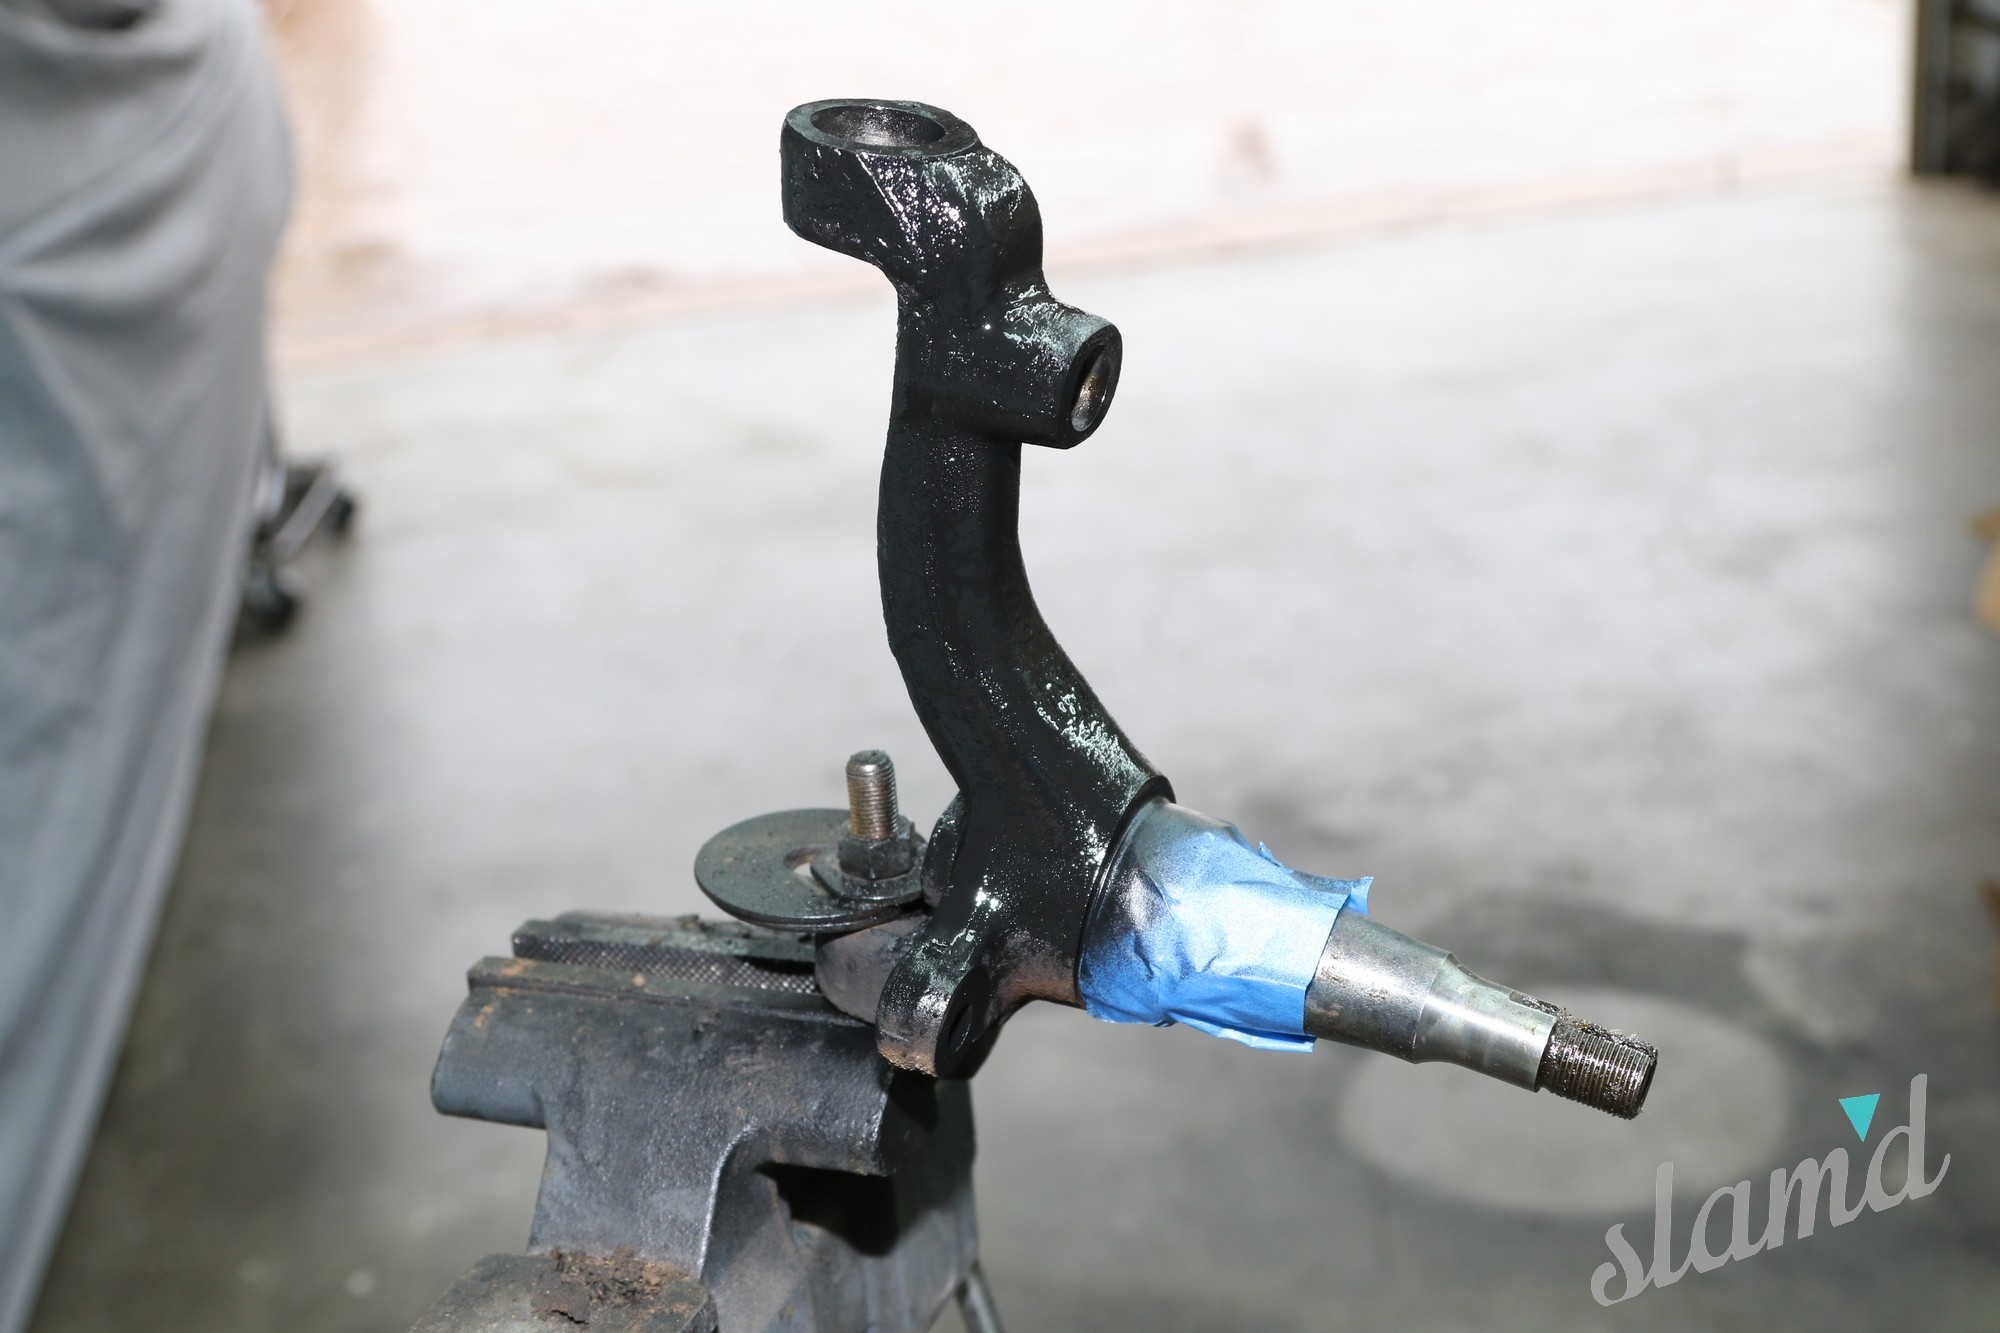
Starting the conversion required us to take the factory spindles and strip them of the drum brakes. Once we had a bare spindle we took a few minutes to scrape off the layer of grease. After a quick clean up and shot of paint, the assembly of the CPP brakes started.
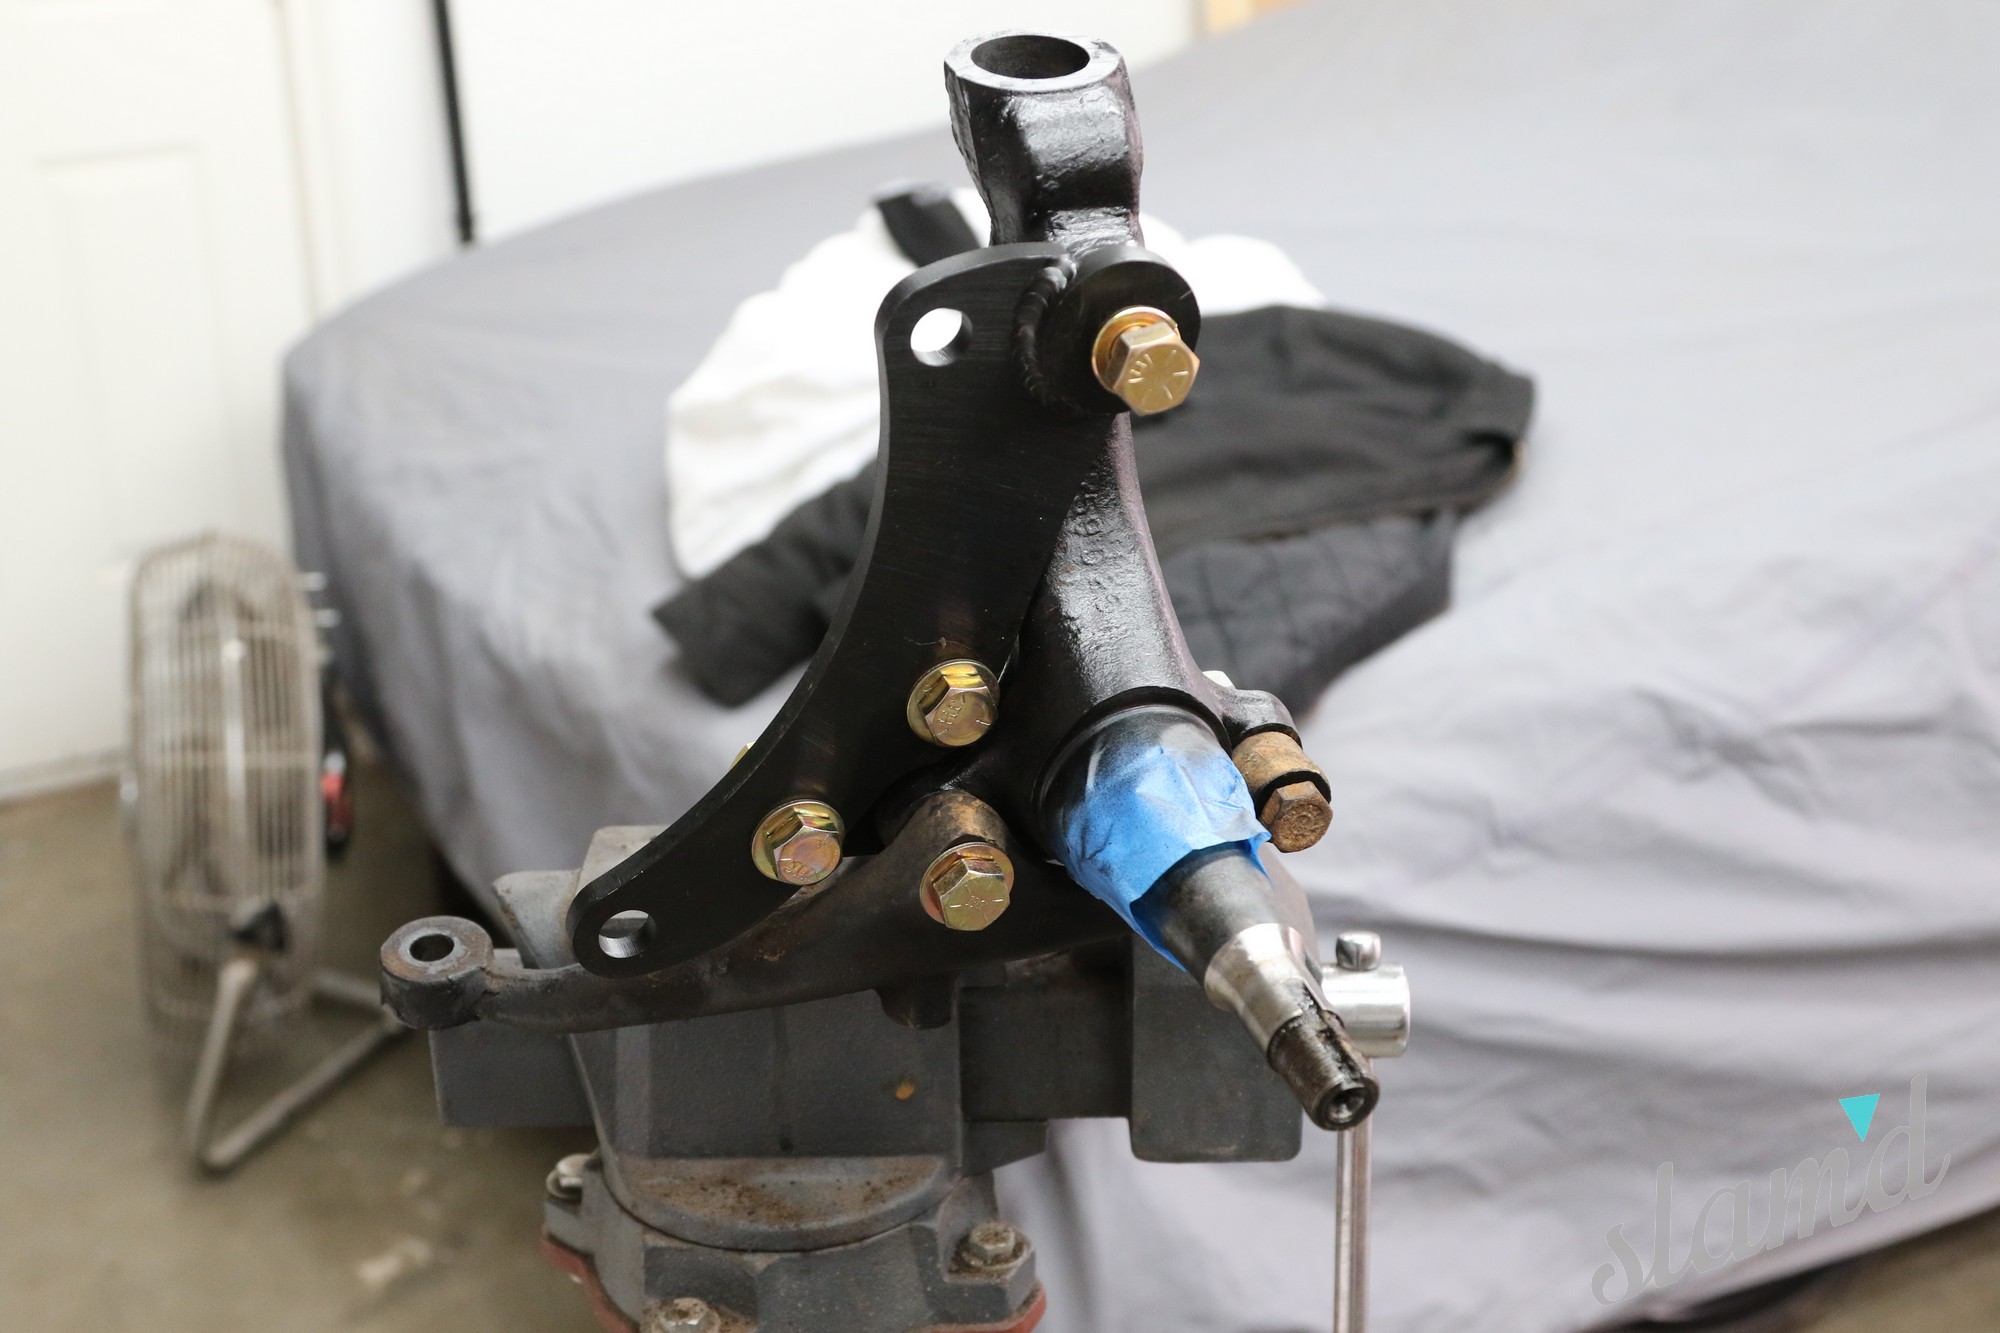
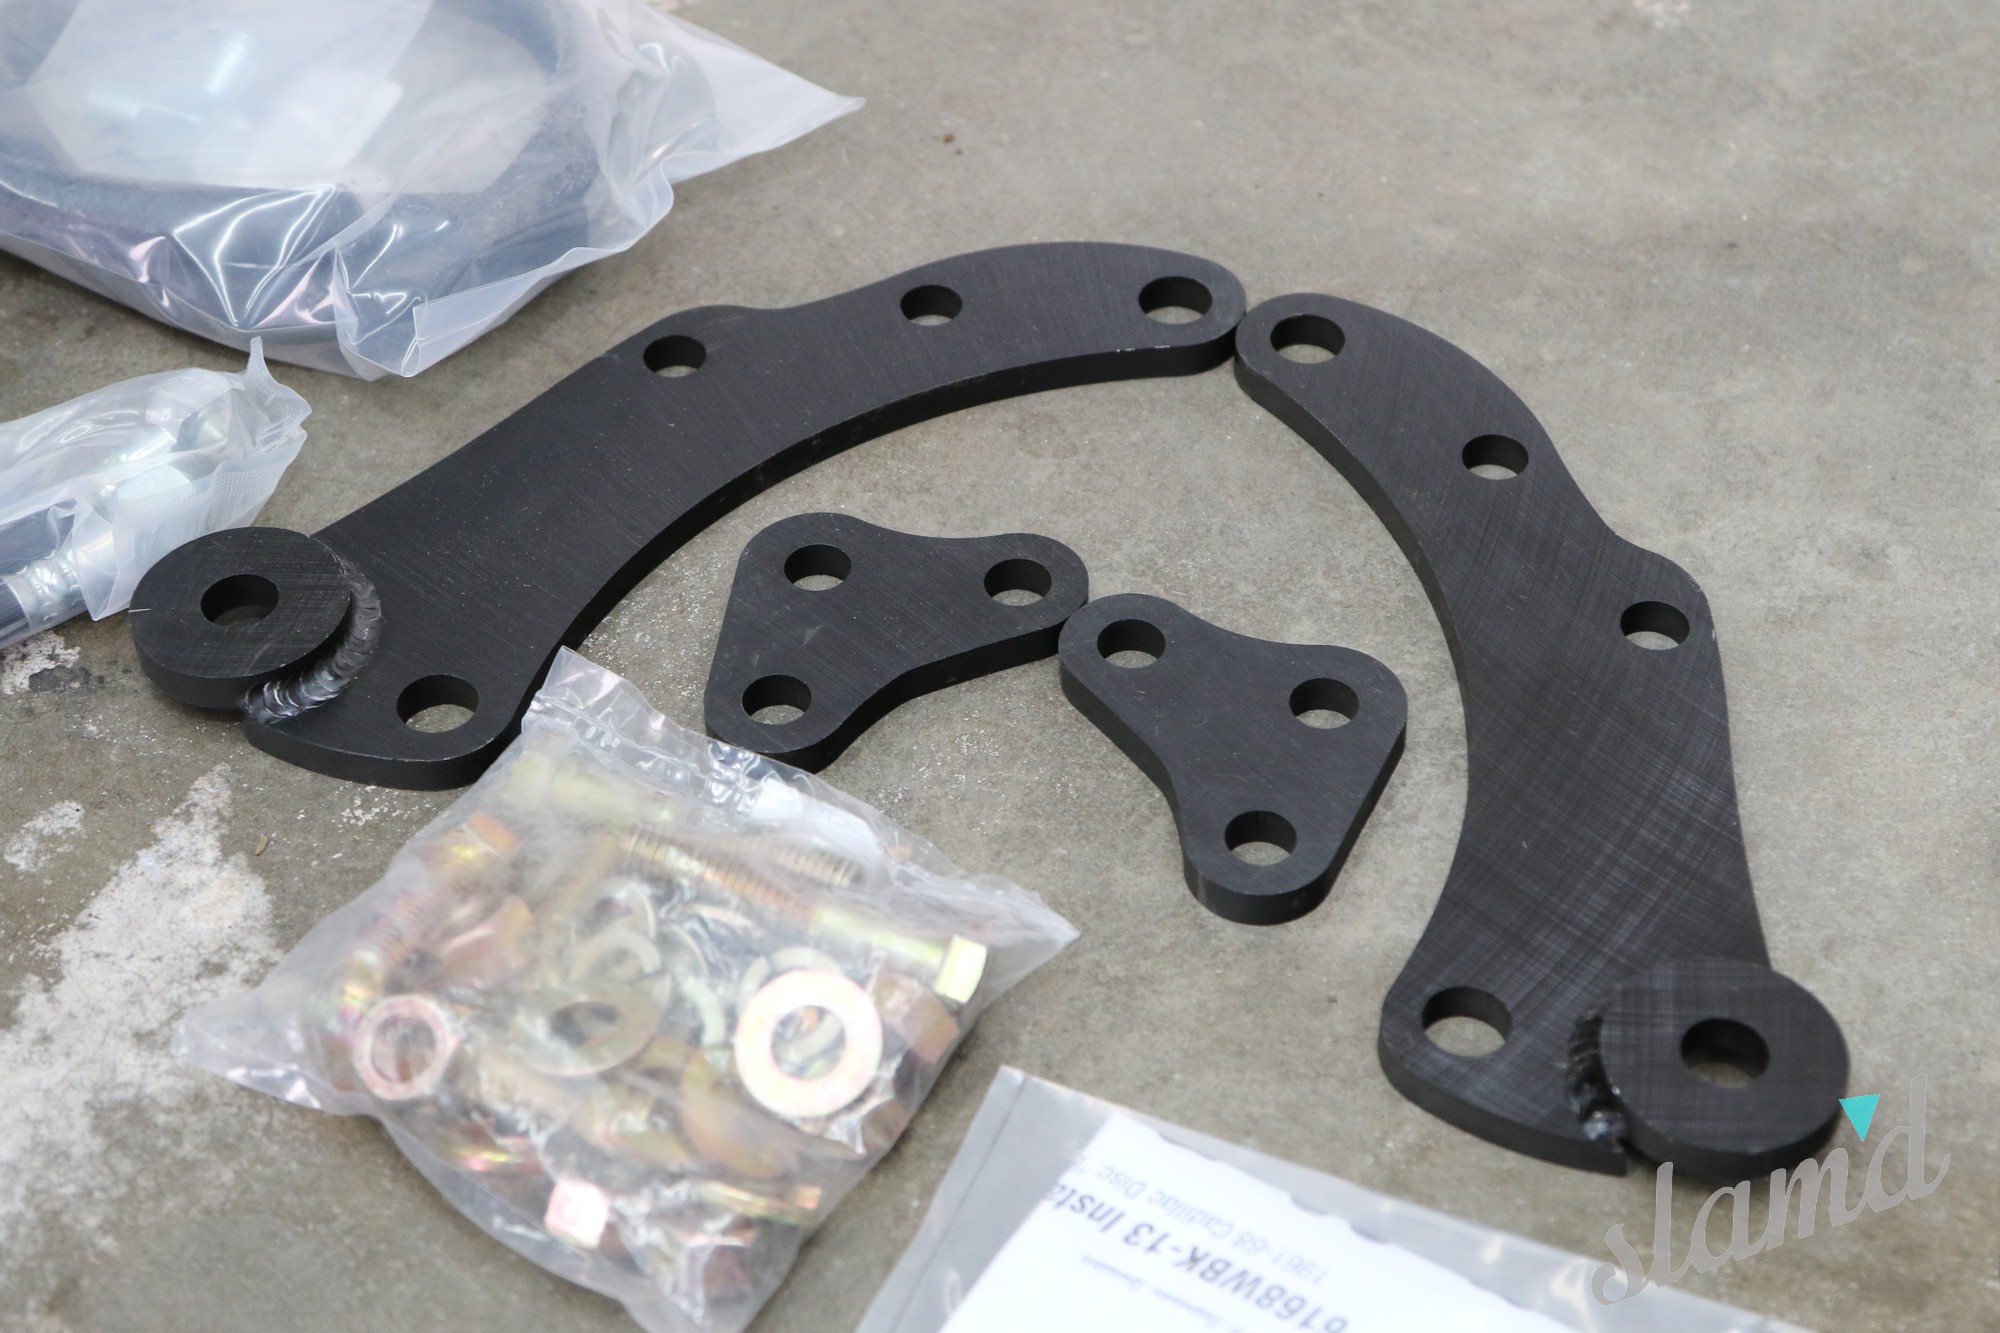
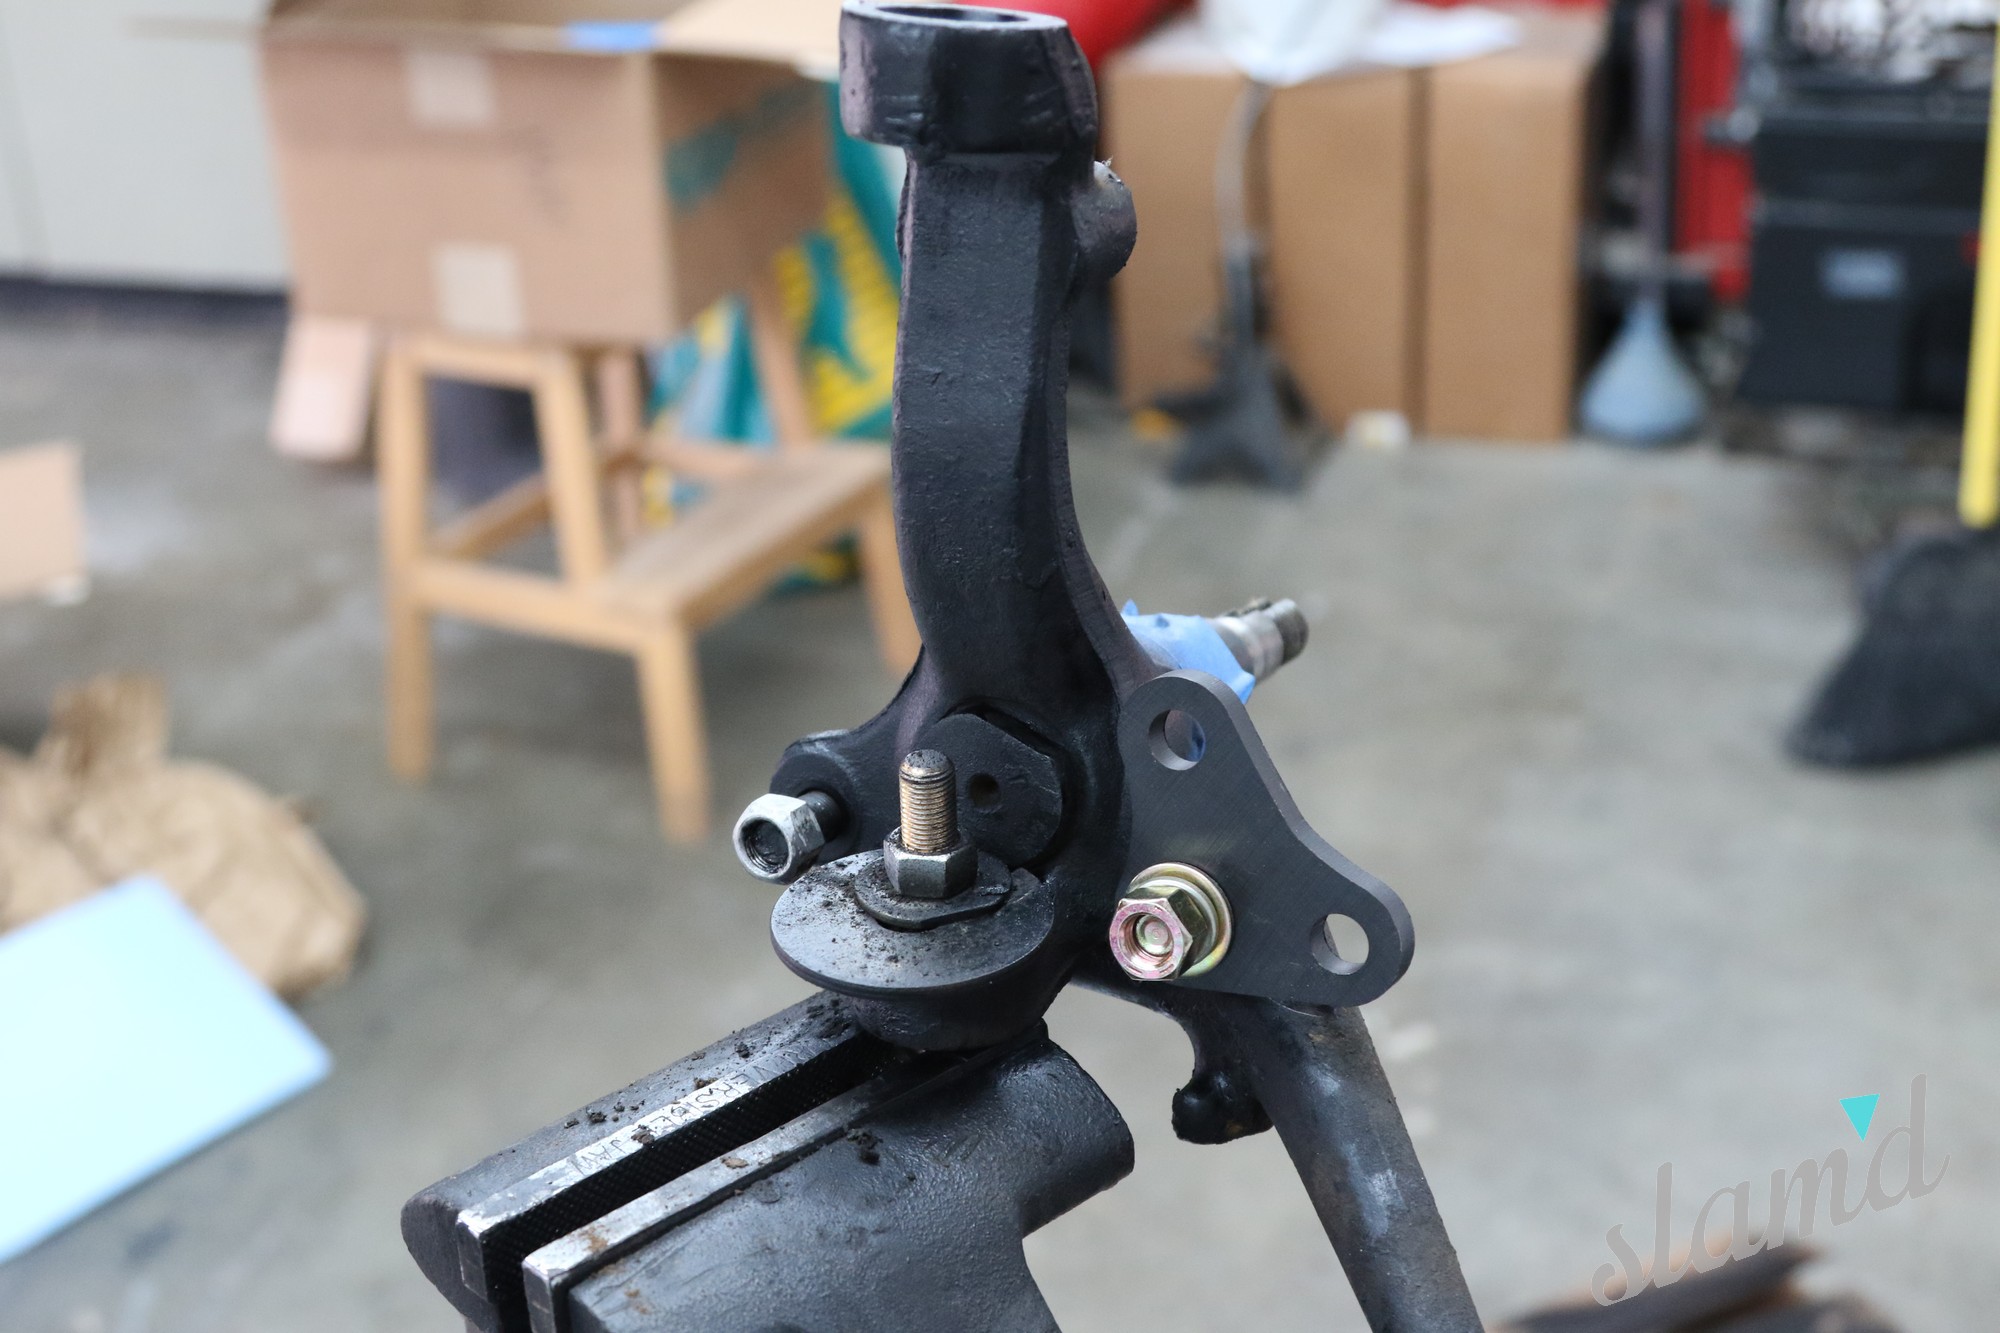
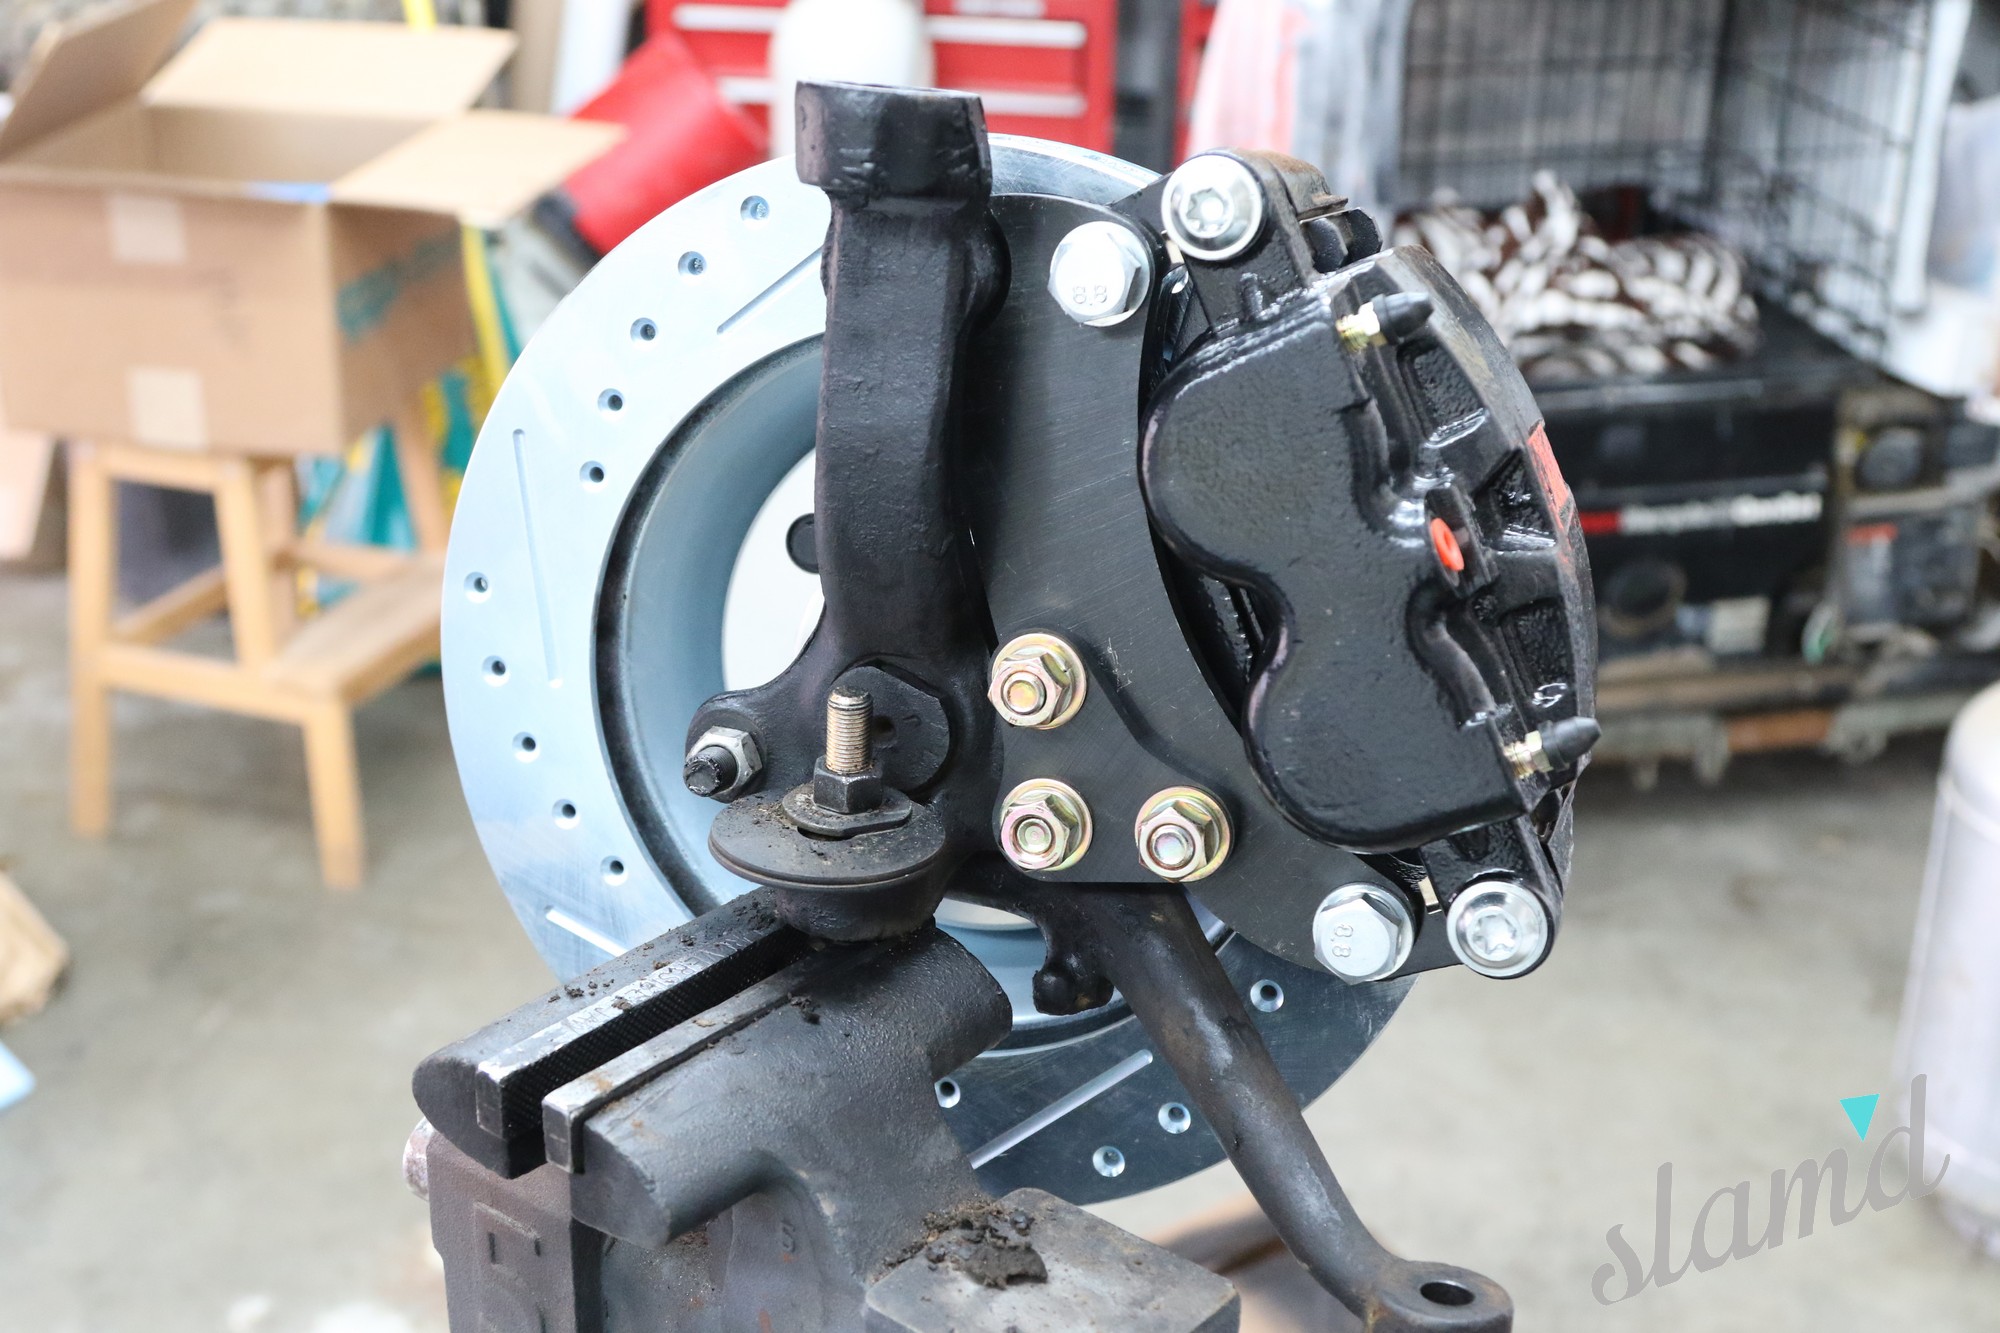
The first step was to install the caliper bracket. This is a the custom bracket made by CPP that allows the disc brake caliper to bolt to this stock drum spindle. During this process is when the steering arm gets reconnected to the spindle as well. The brackets are precise and use grade 8 hardware with lock washers throughout.
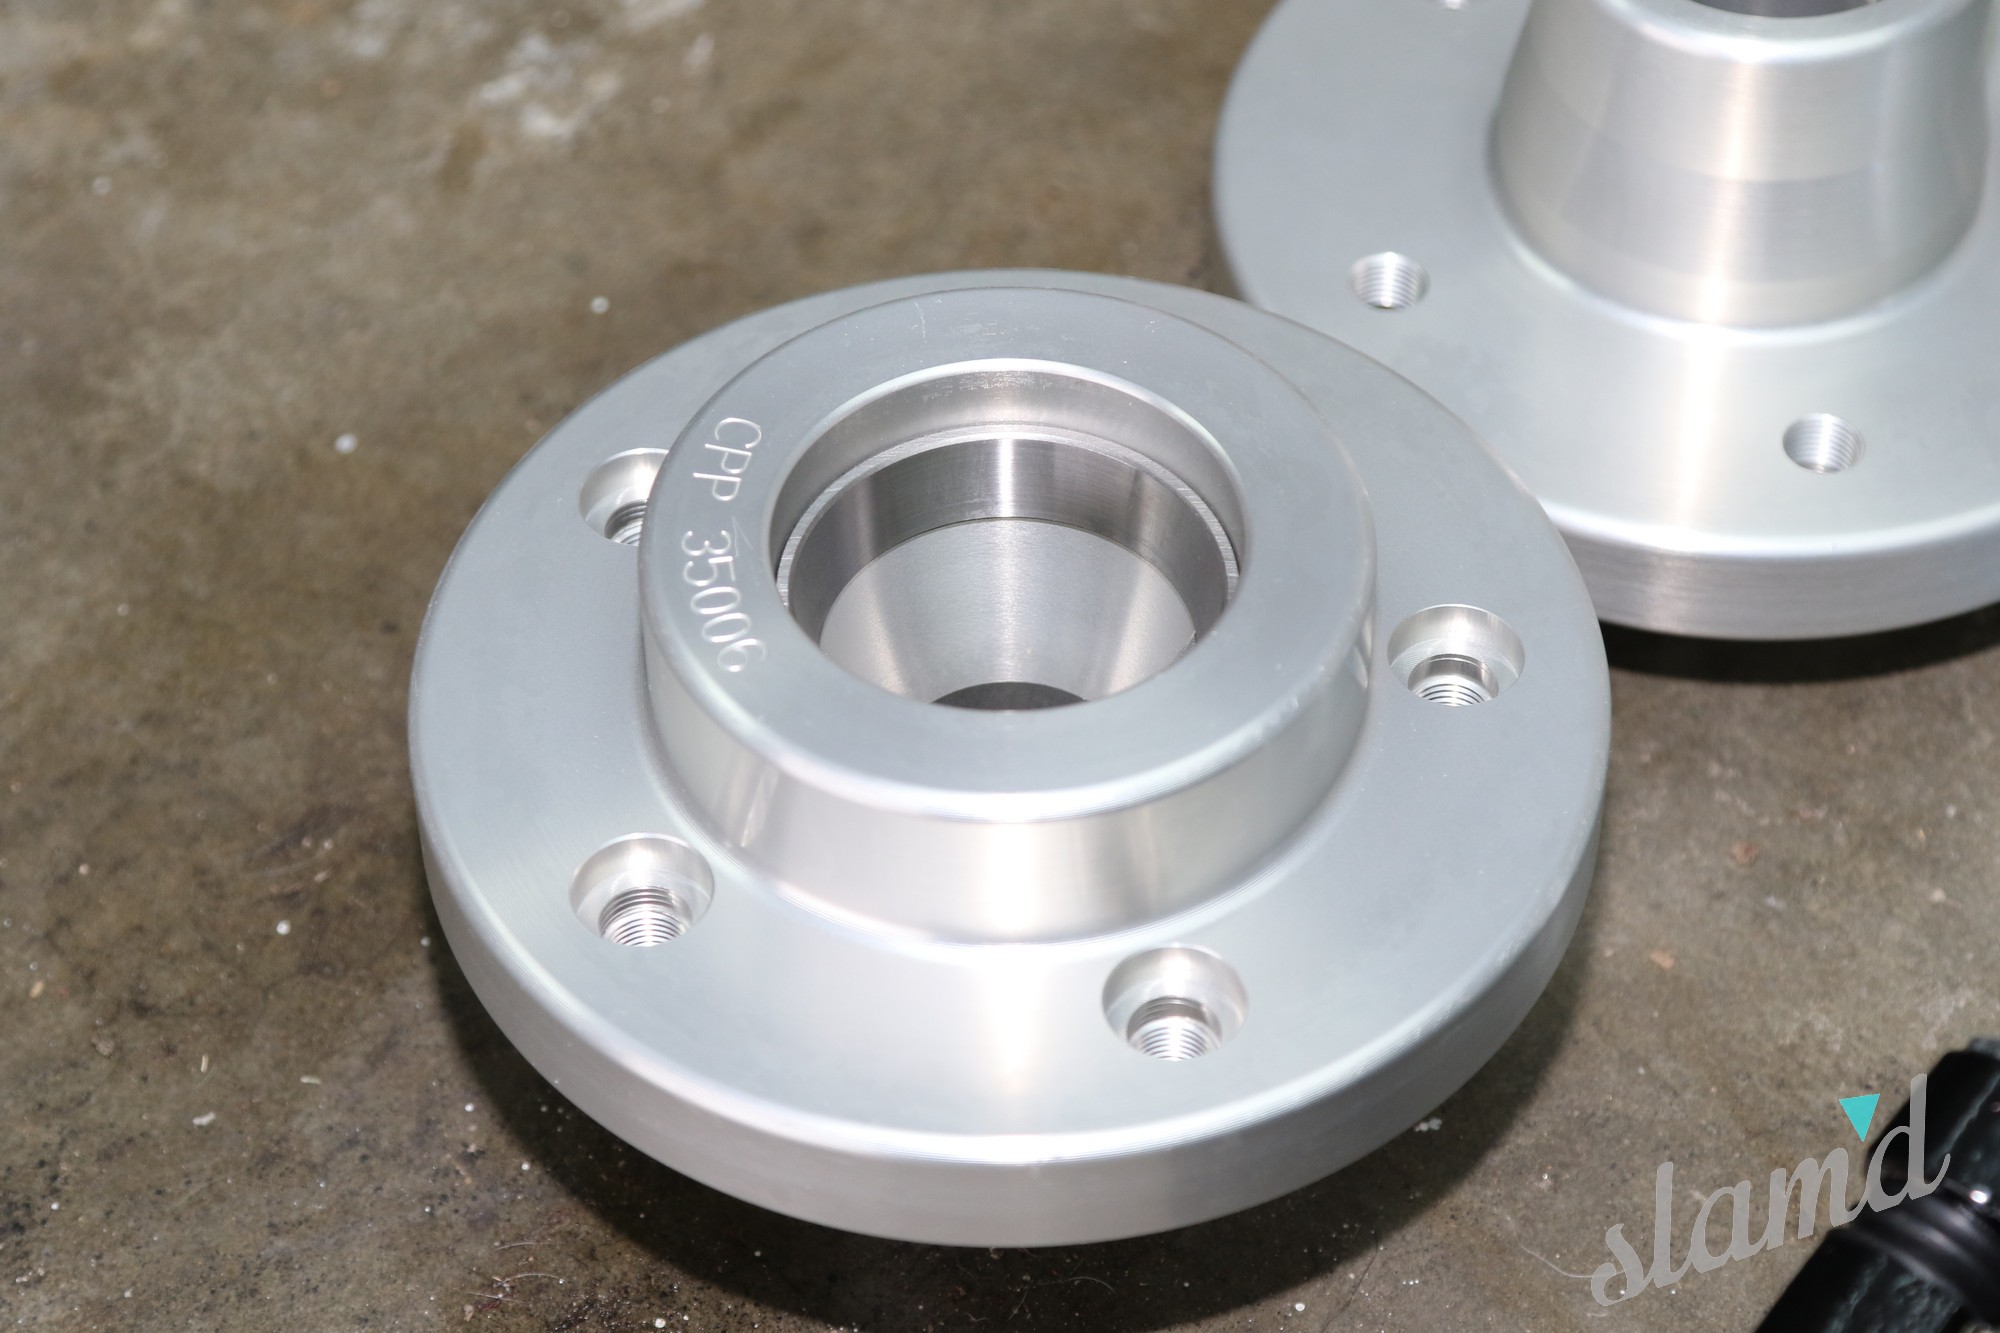
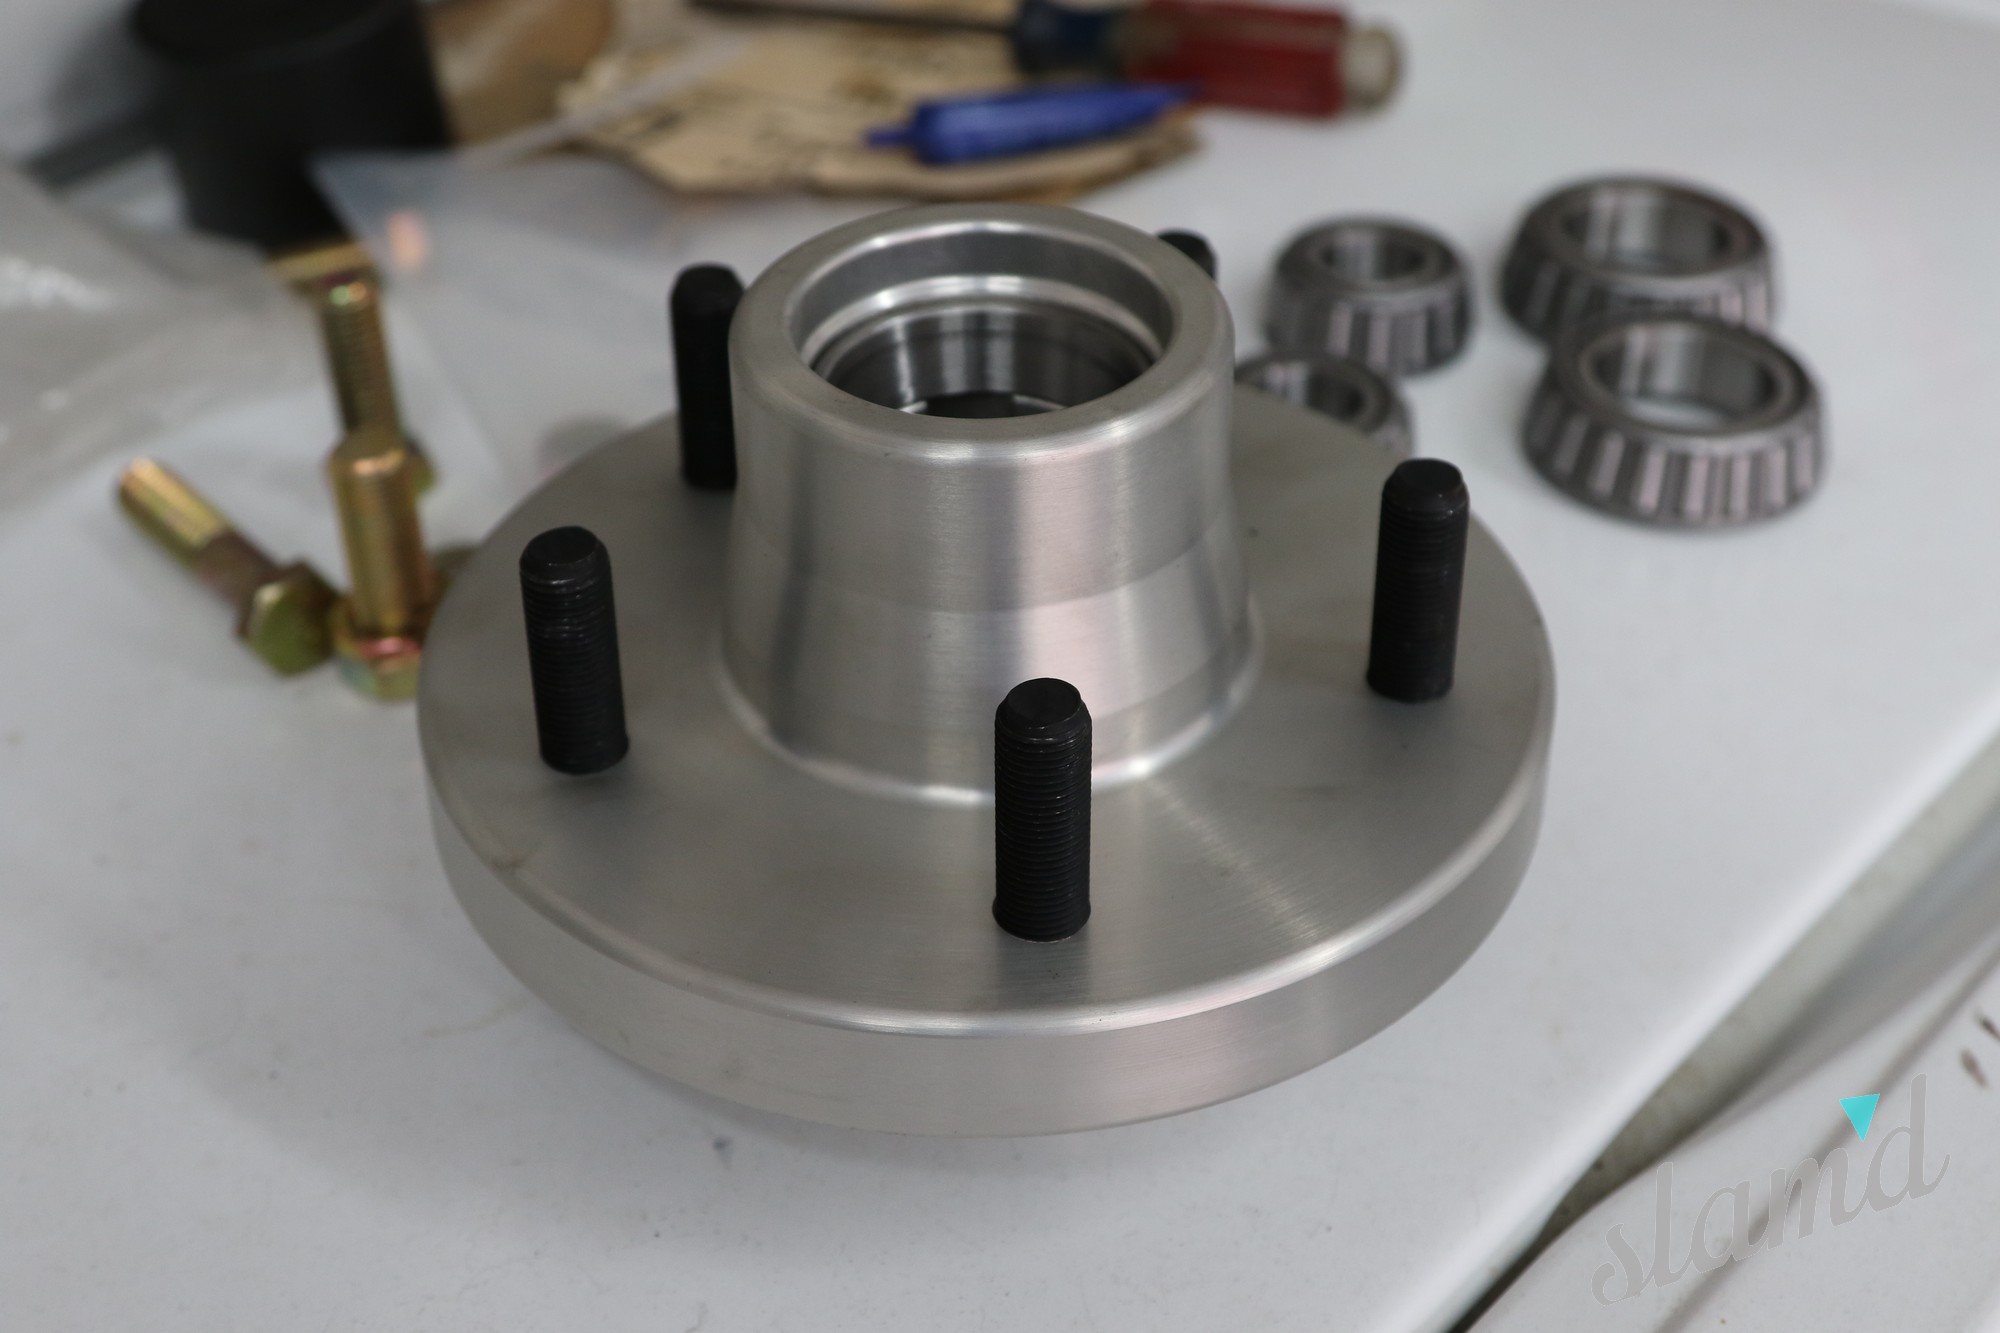
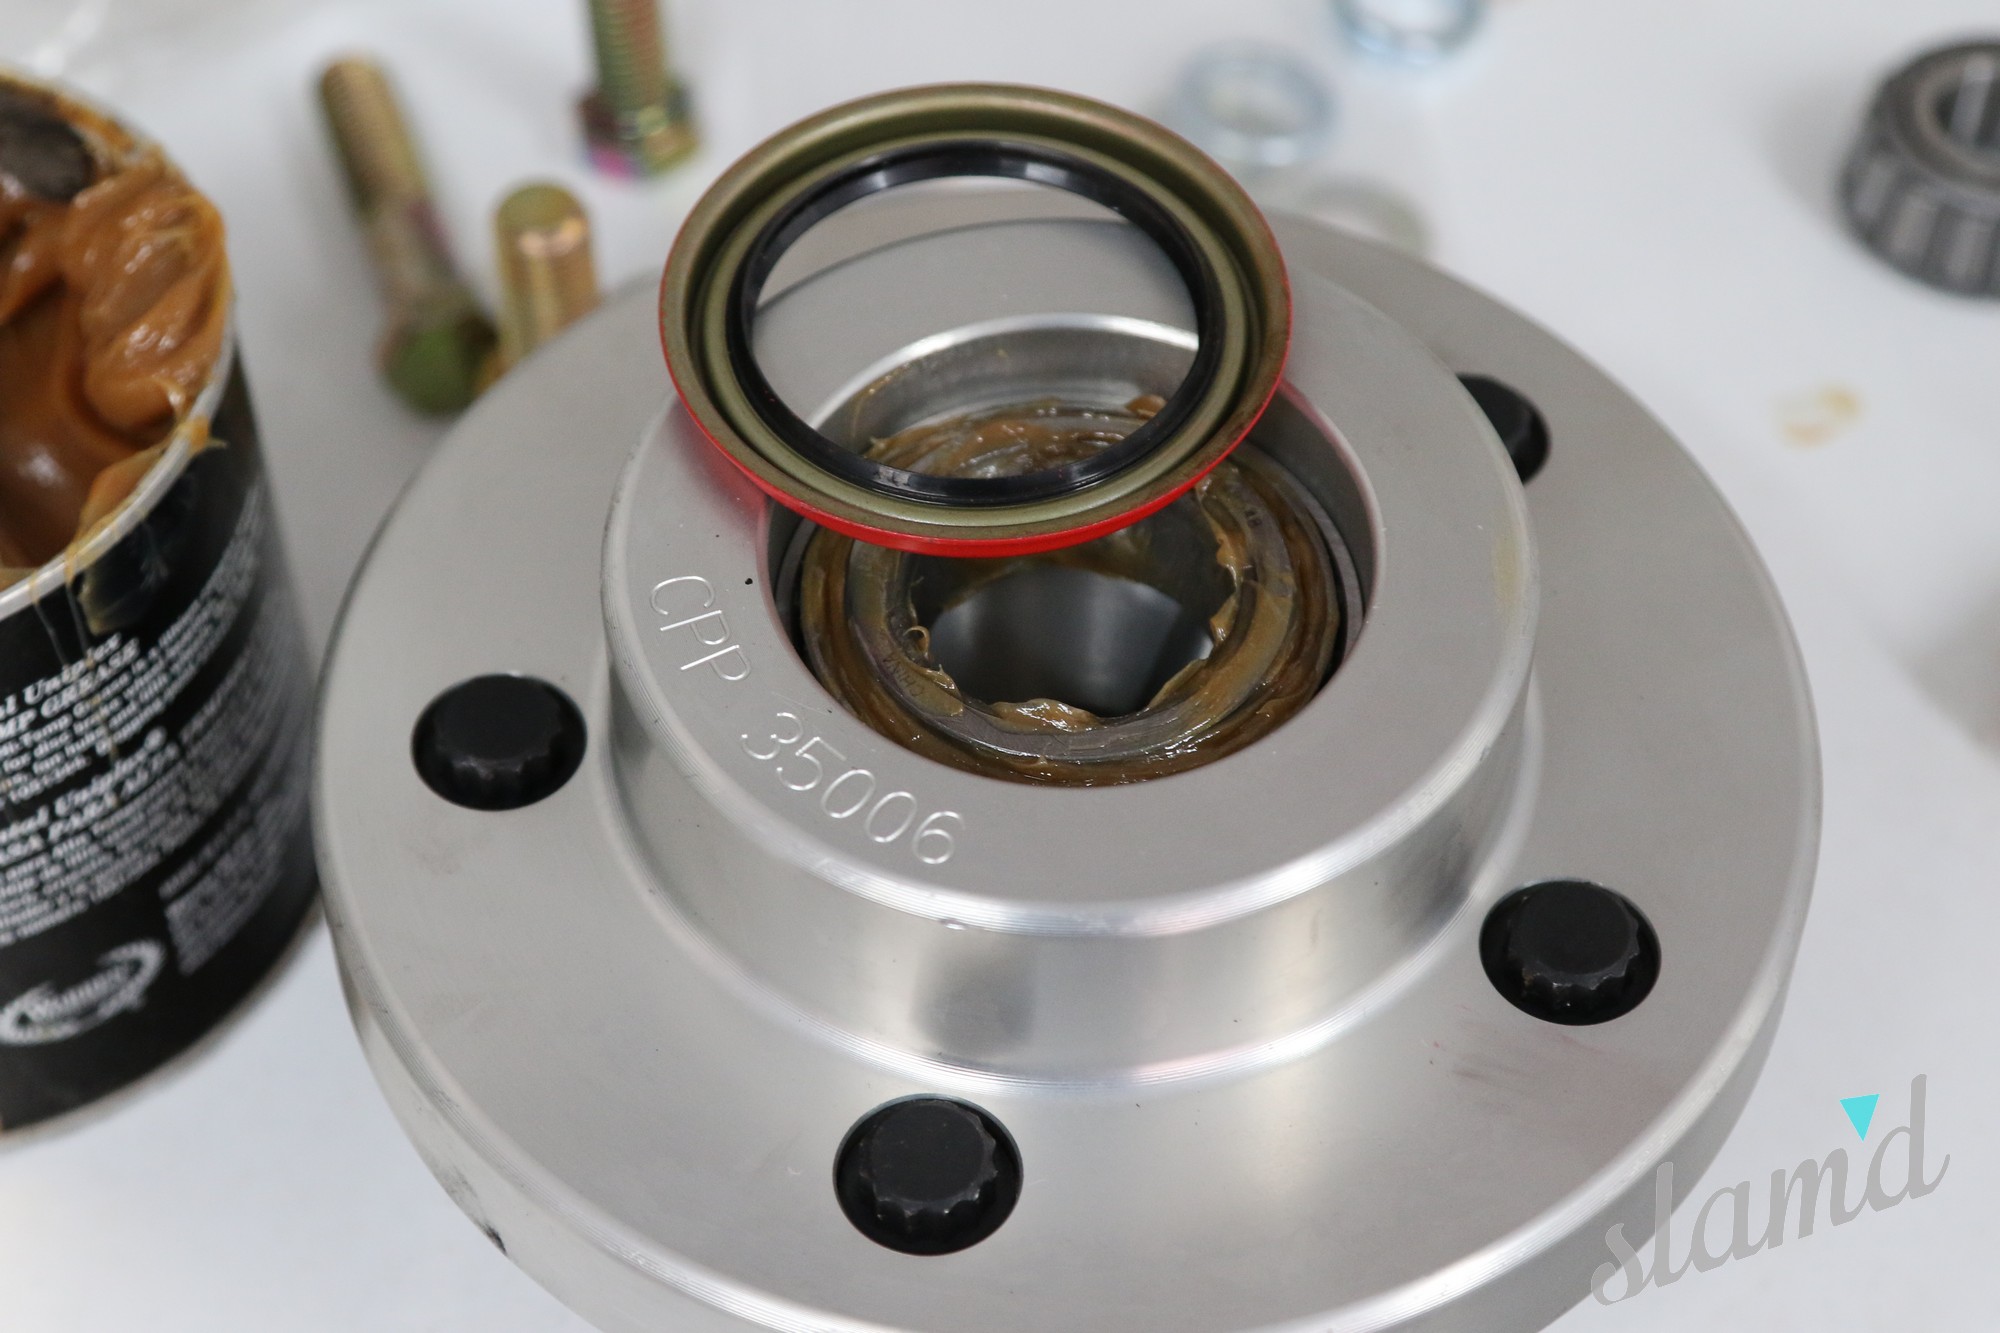
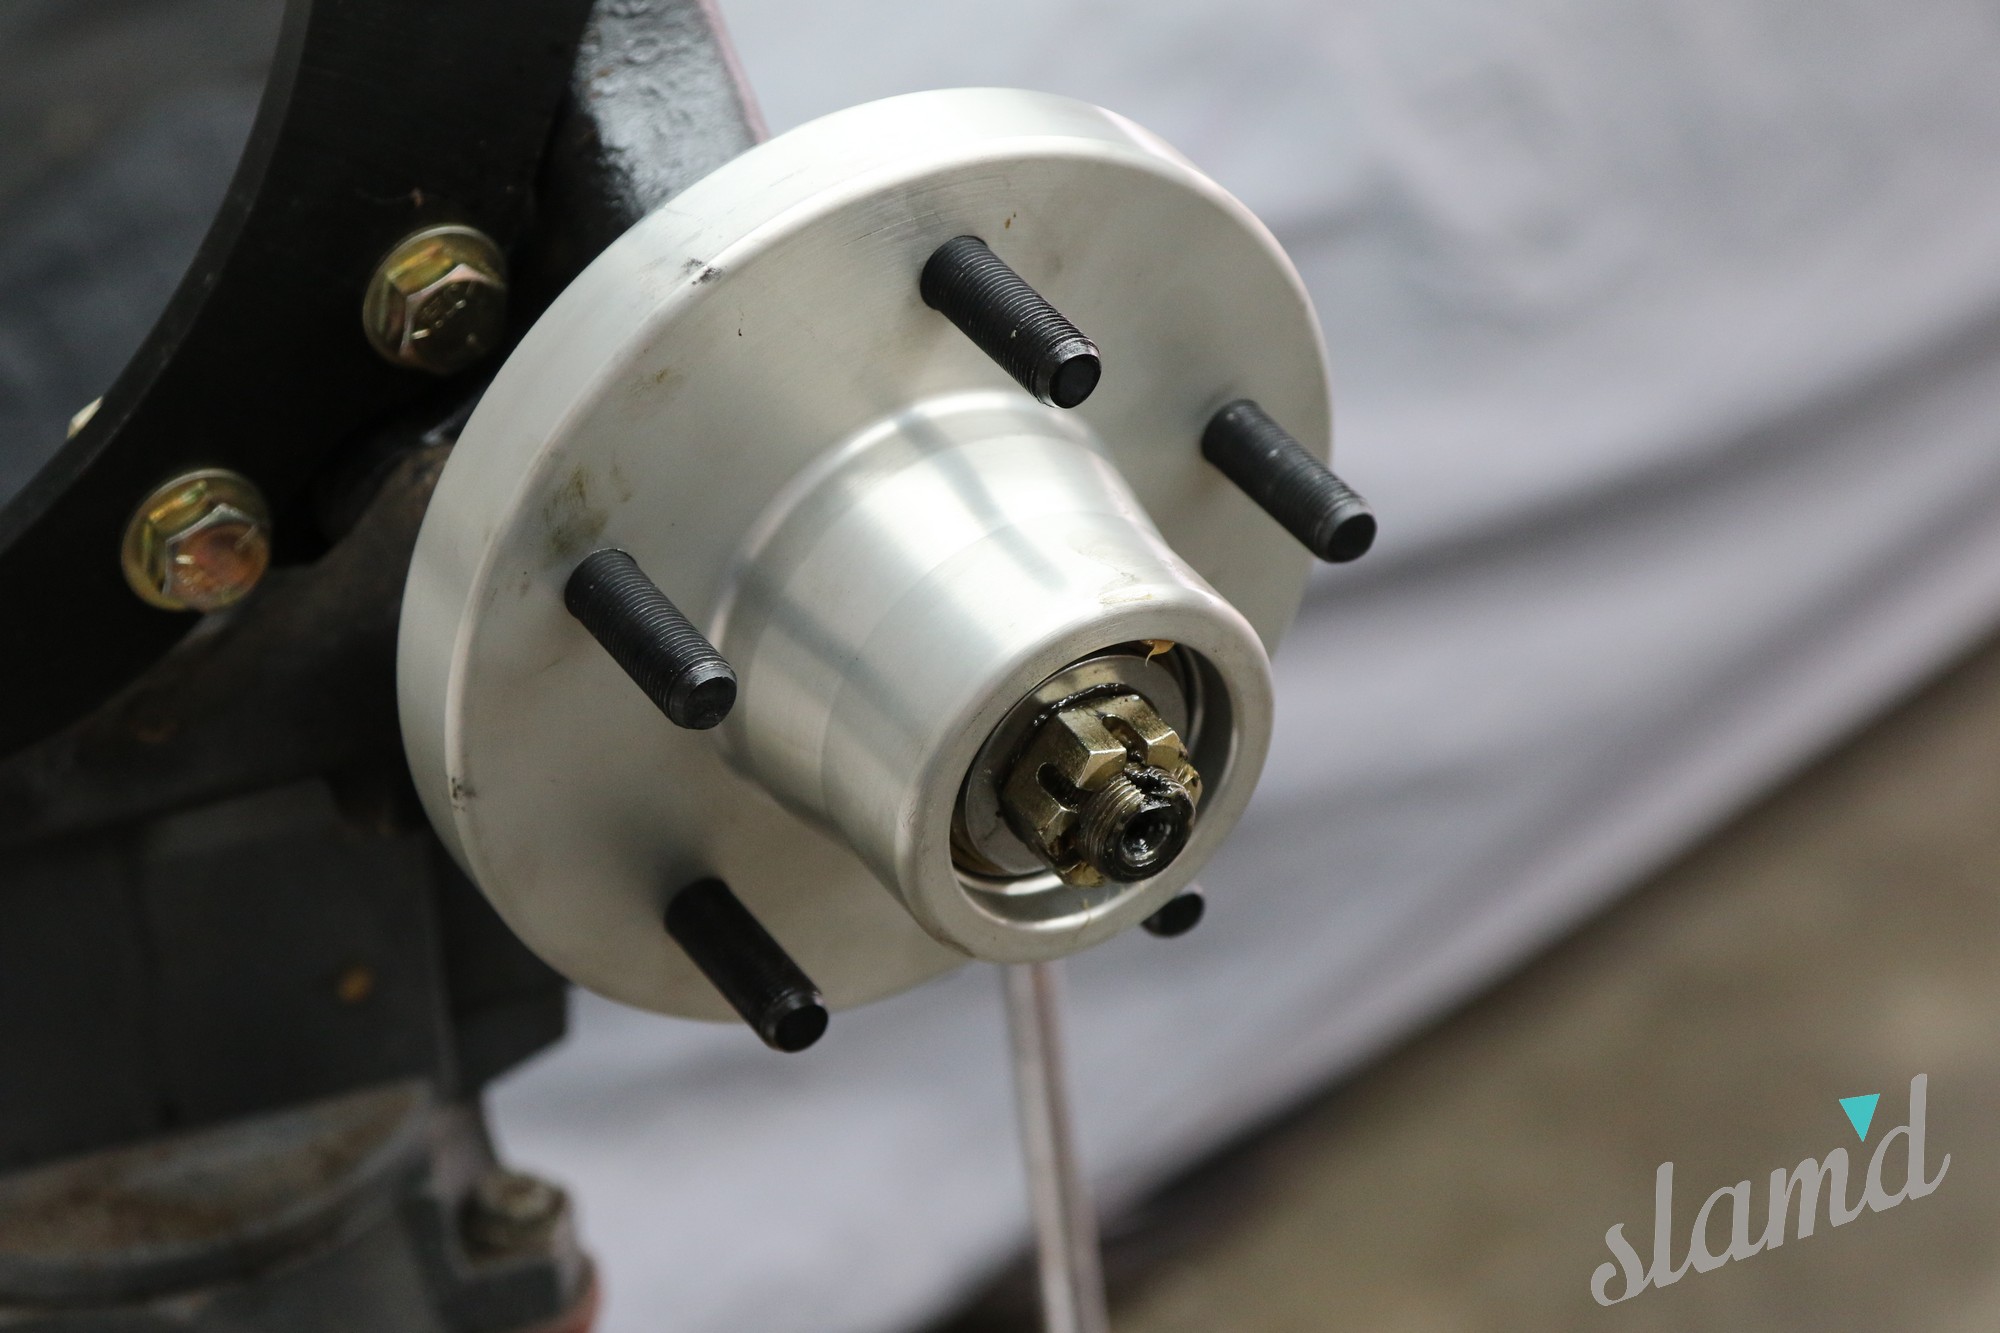
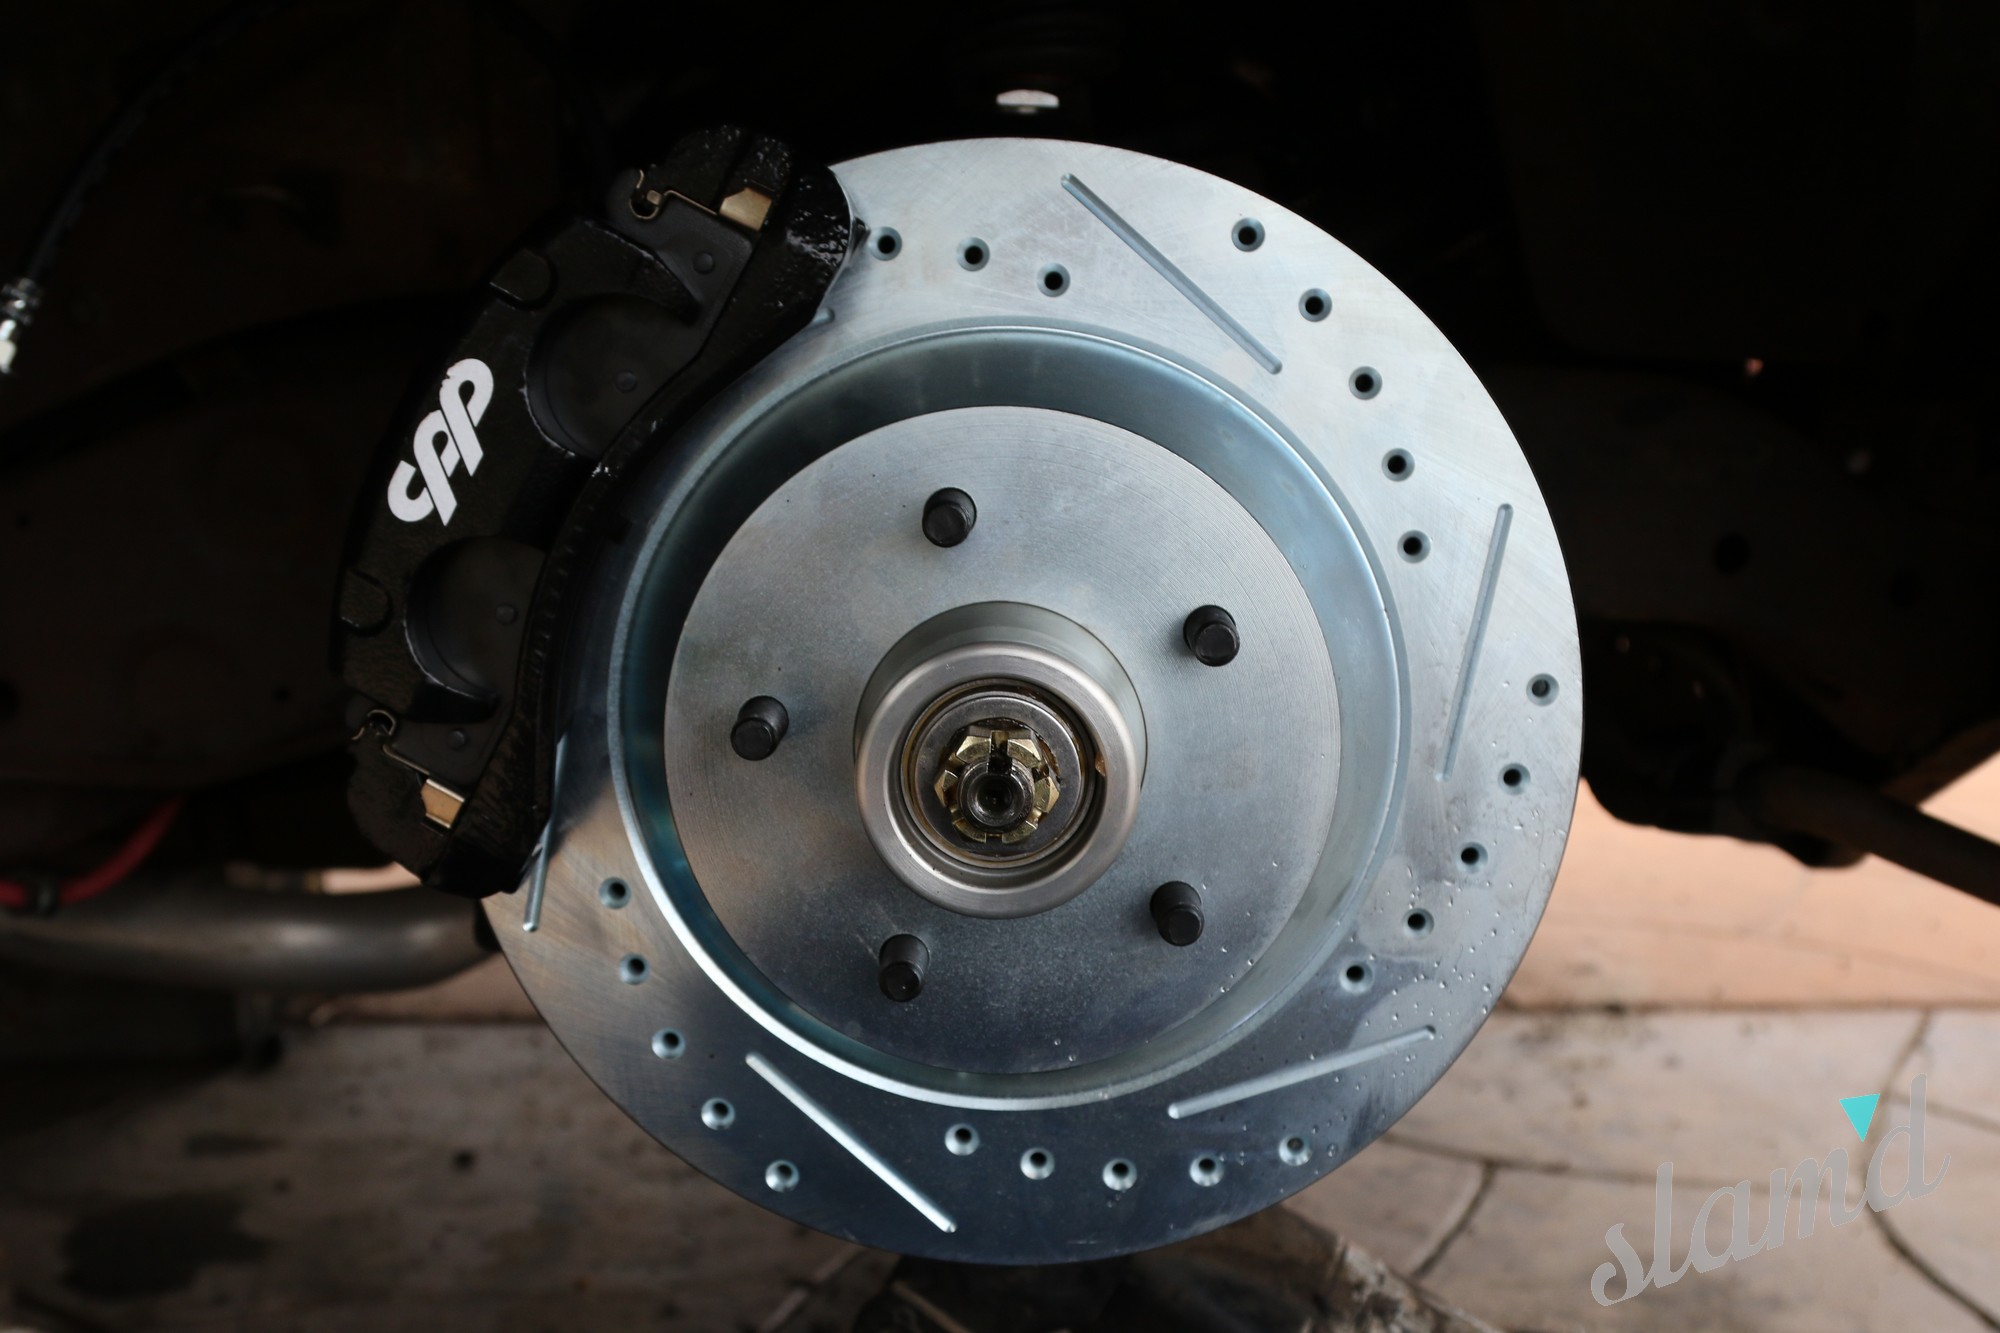
The next step was to assemble the hub. This required taking the new studs, applying some thread locker and torquing them down into the hub. Then we packed the bearings by hand and installed them into the hub and slid the hub onto the spindle. We tightened down the castle nut to seat the bearings properly, then backed off a bit and left the final adjustments for later on the car.

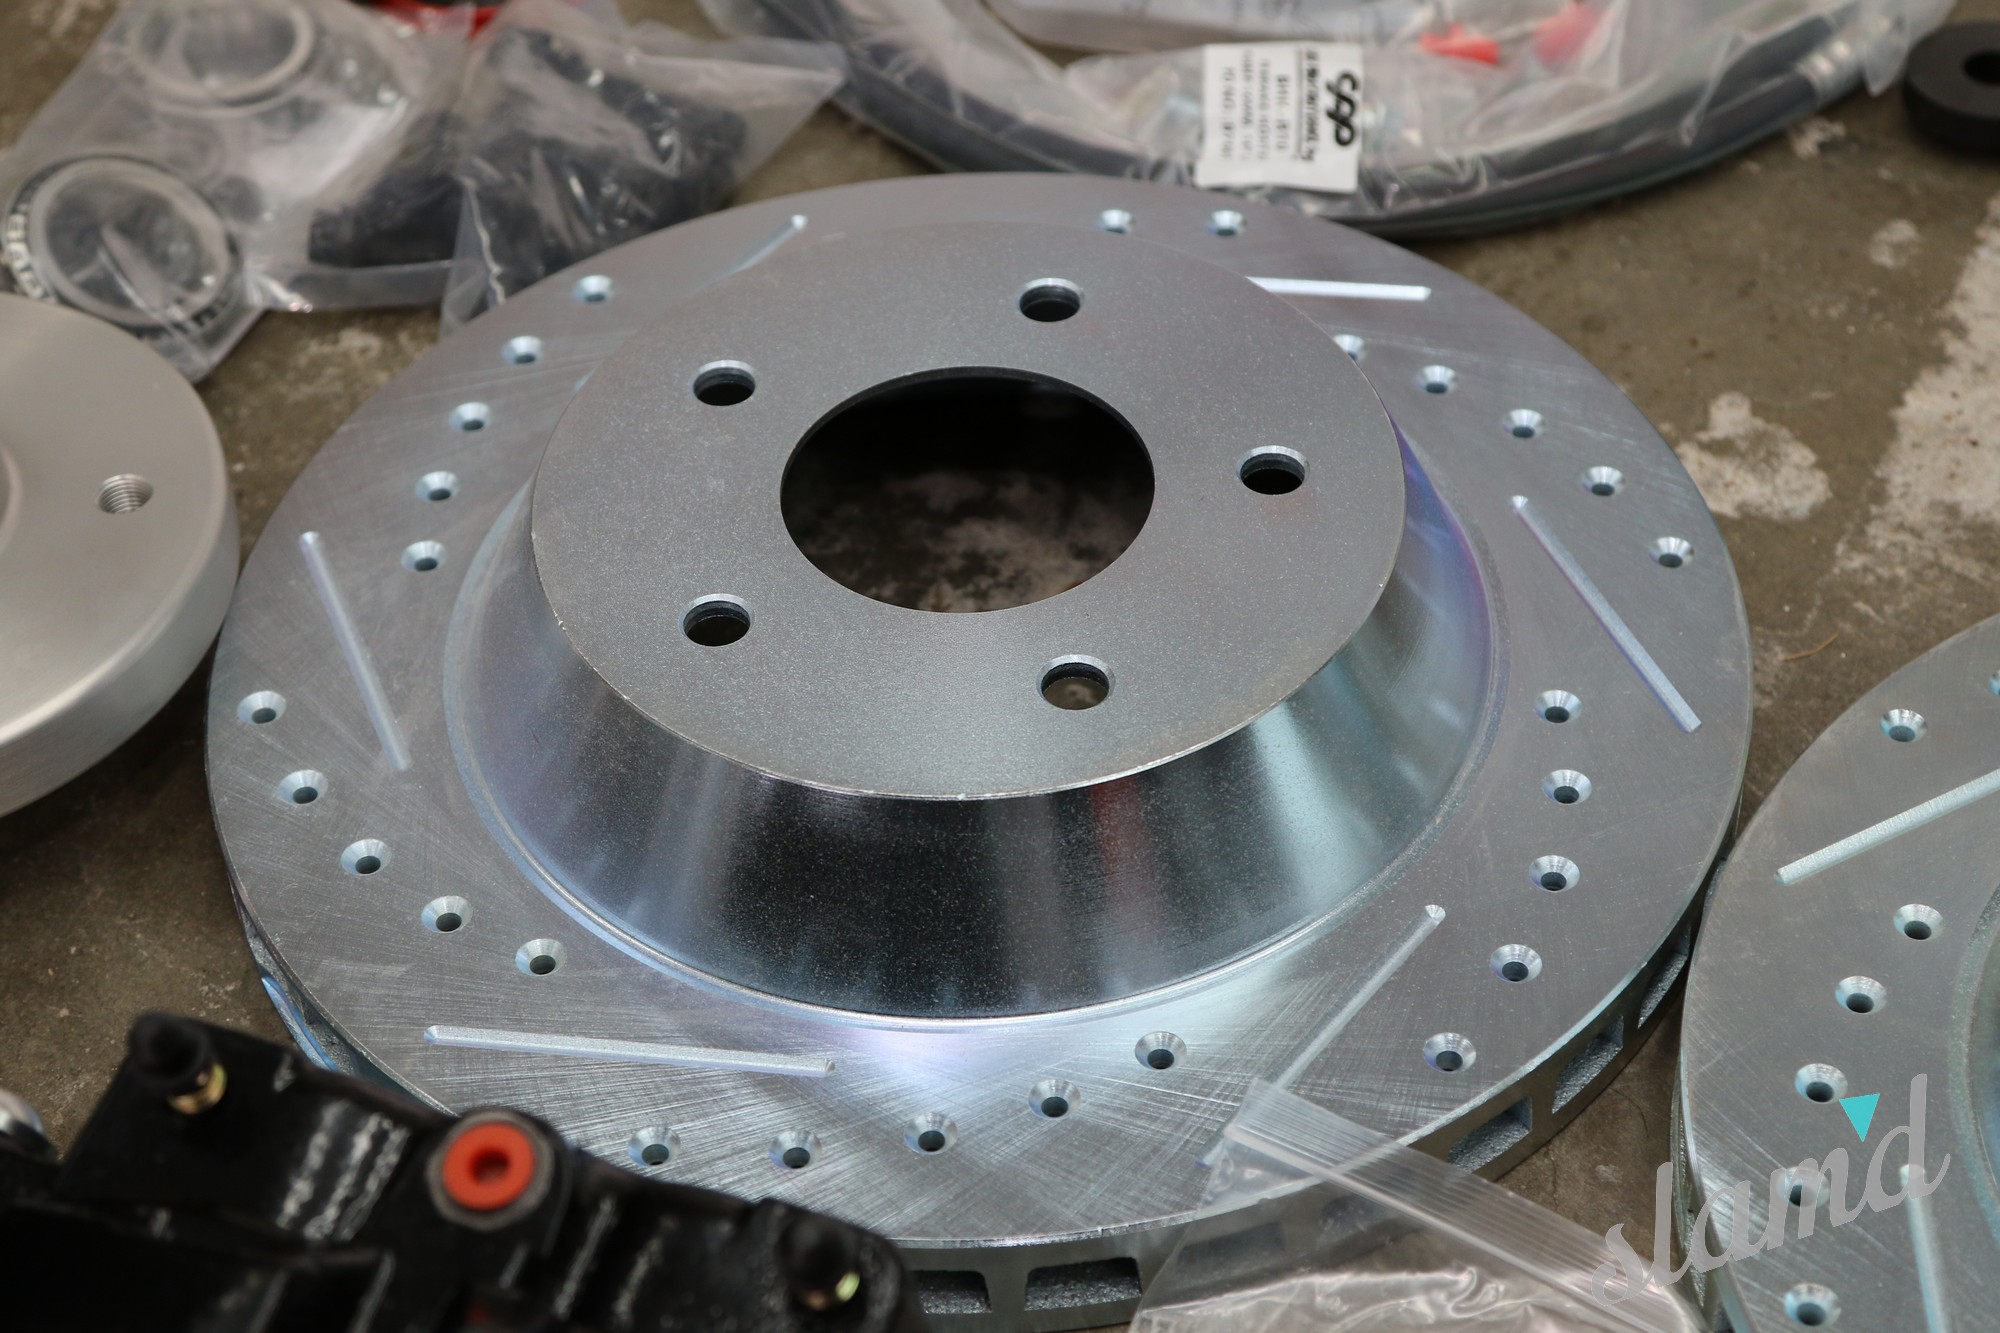
Last we slid the new rotor onto the studs and slid the entire caliper and caliper bracket onto the rotor then tightened down the two bolts. If you’ve ever done a basic disc brake conversion in the past, you could easily handle this one. What’s great about this CPP kit is that it uses off-the-shelf parts. “If you need brake pads, go to any auto parts store and order pads for a 2000-2004 Chevrolet 2500 Truck,” stated CPP. They also said they can supply new rotors if needed and the bearings are common A3 and A5 bearings.
Before we mounted the new disc brake assembly into the car we had to assemble the front suspension. We started that process by installing the lower arms. This was easy requiring only a single lower bolt along with the new rubber washers and nut for the strut arm. At this point we also installed the upper control arm since those bolts are not accessible with the coil spring in place.
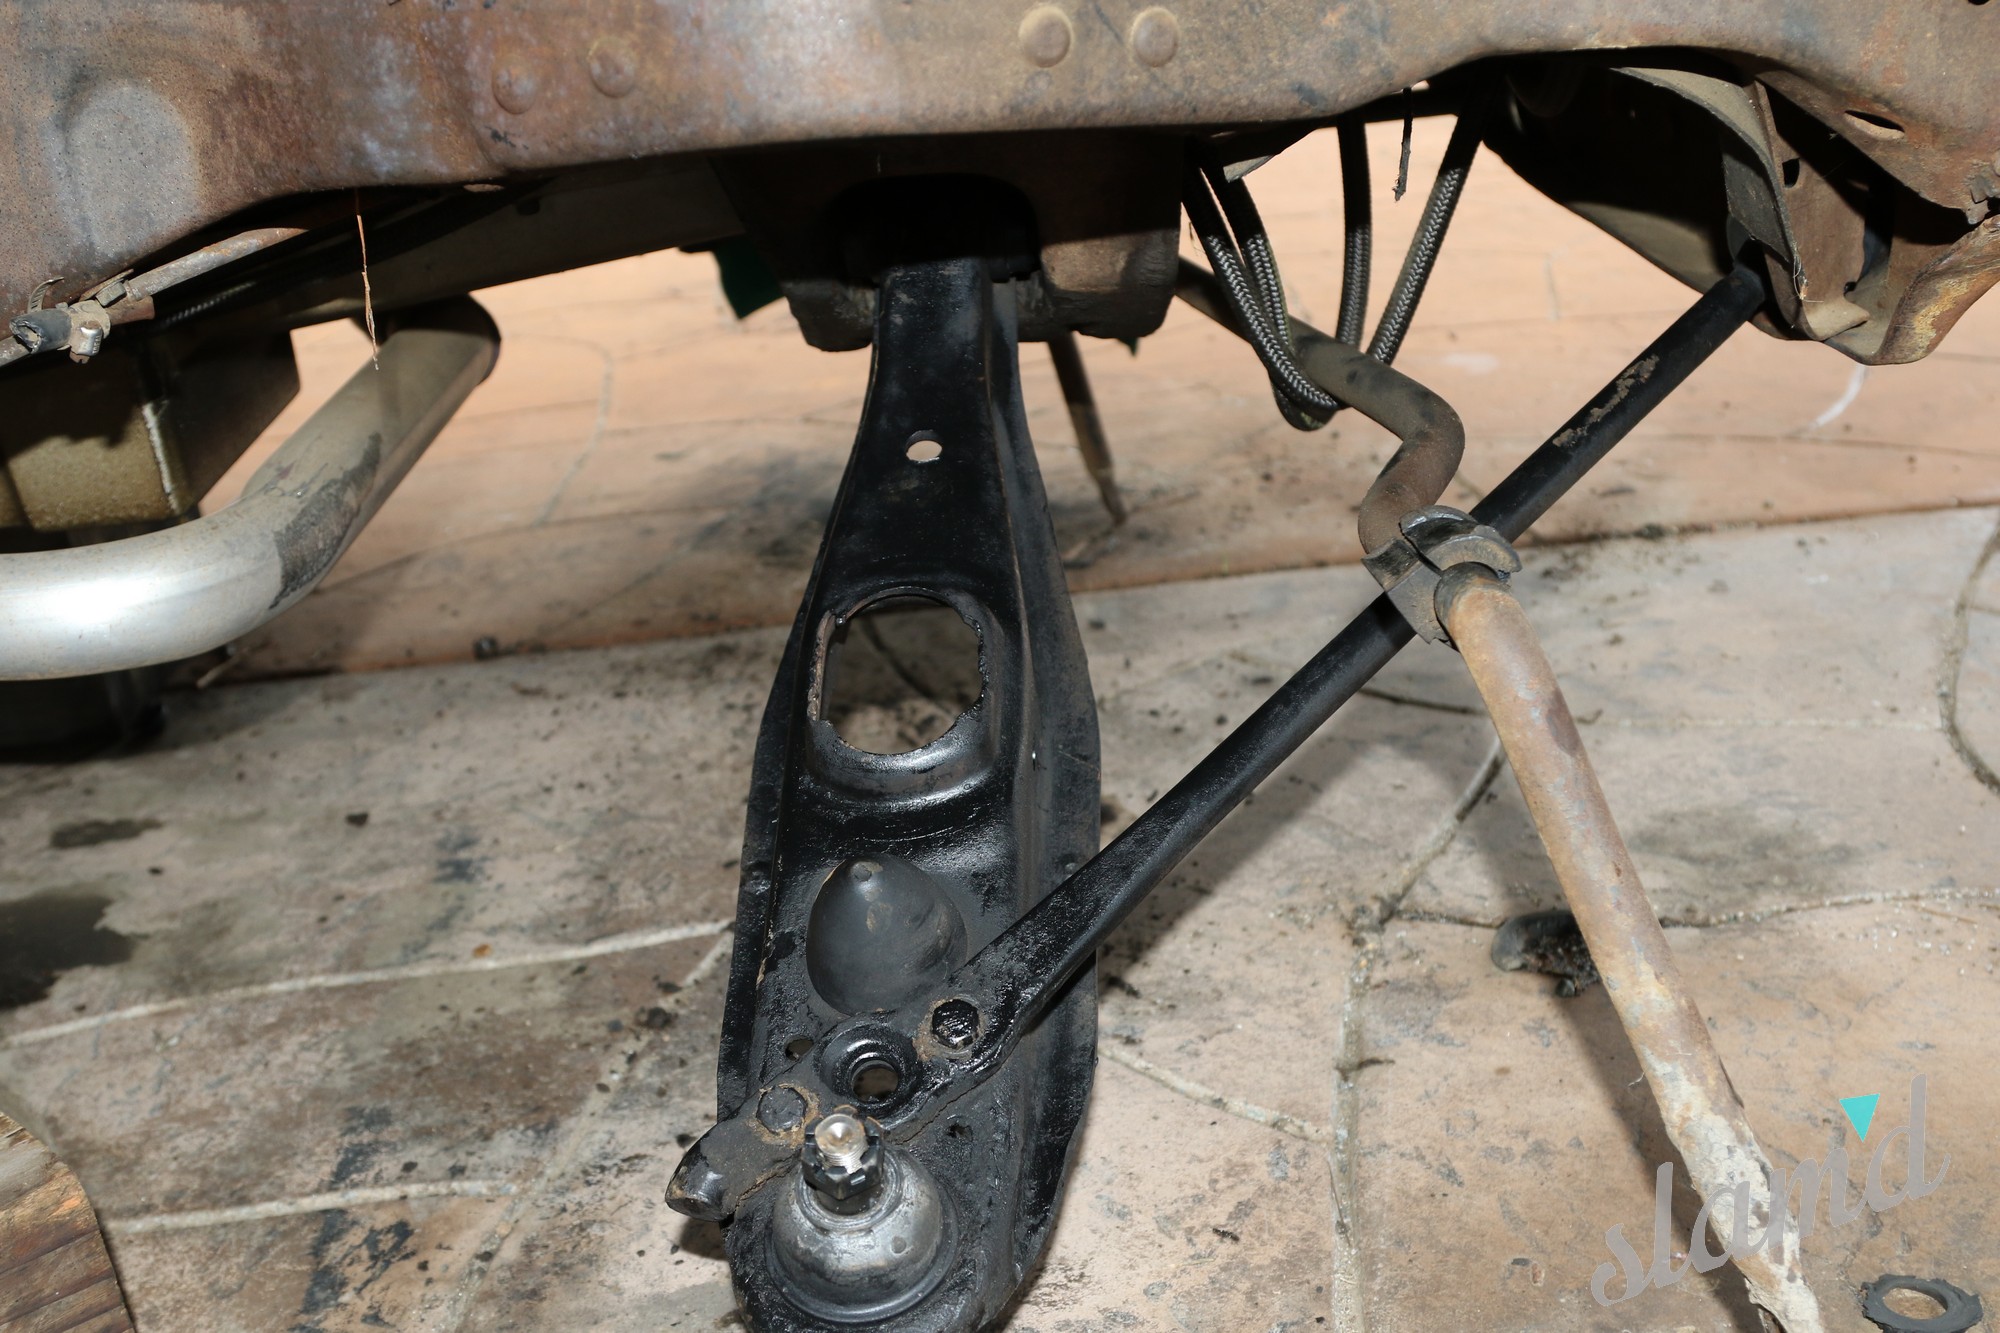
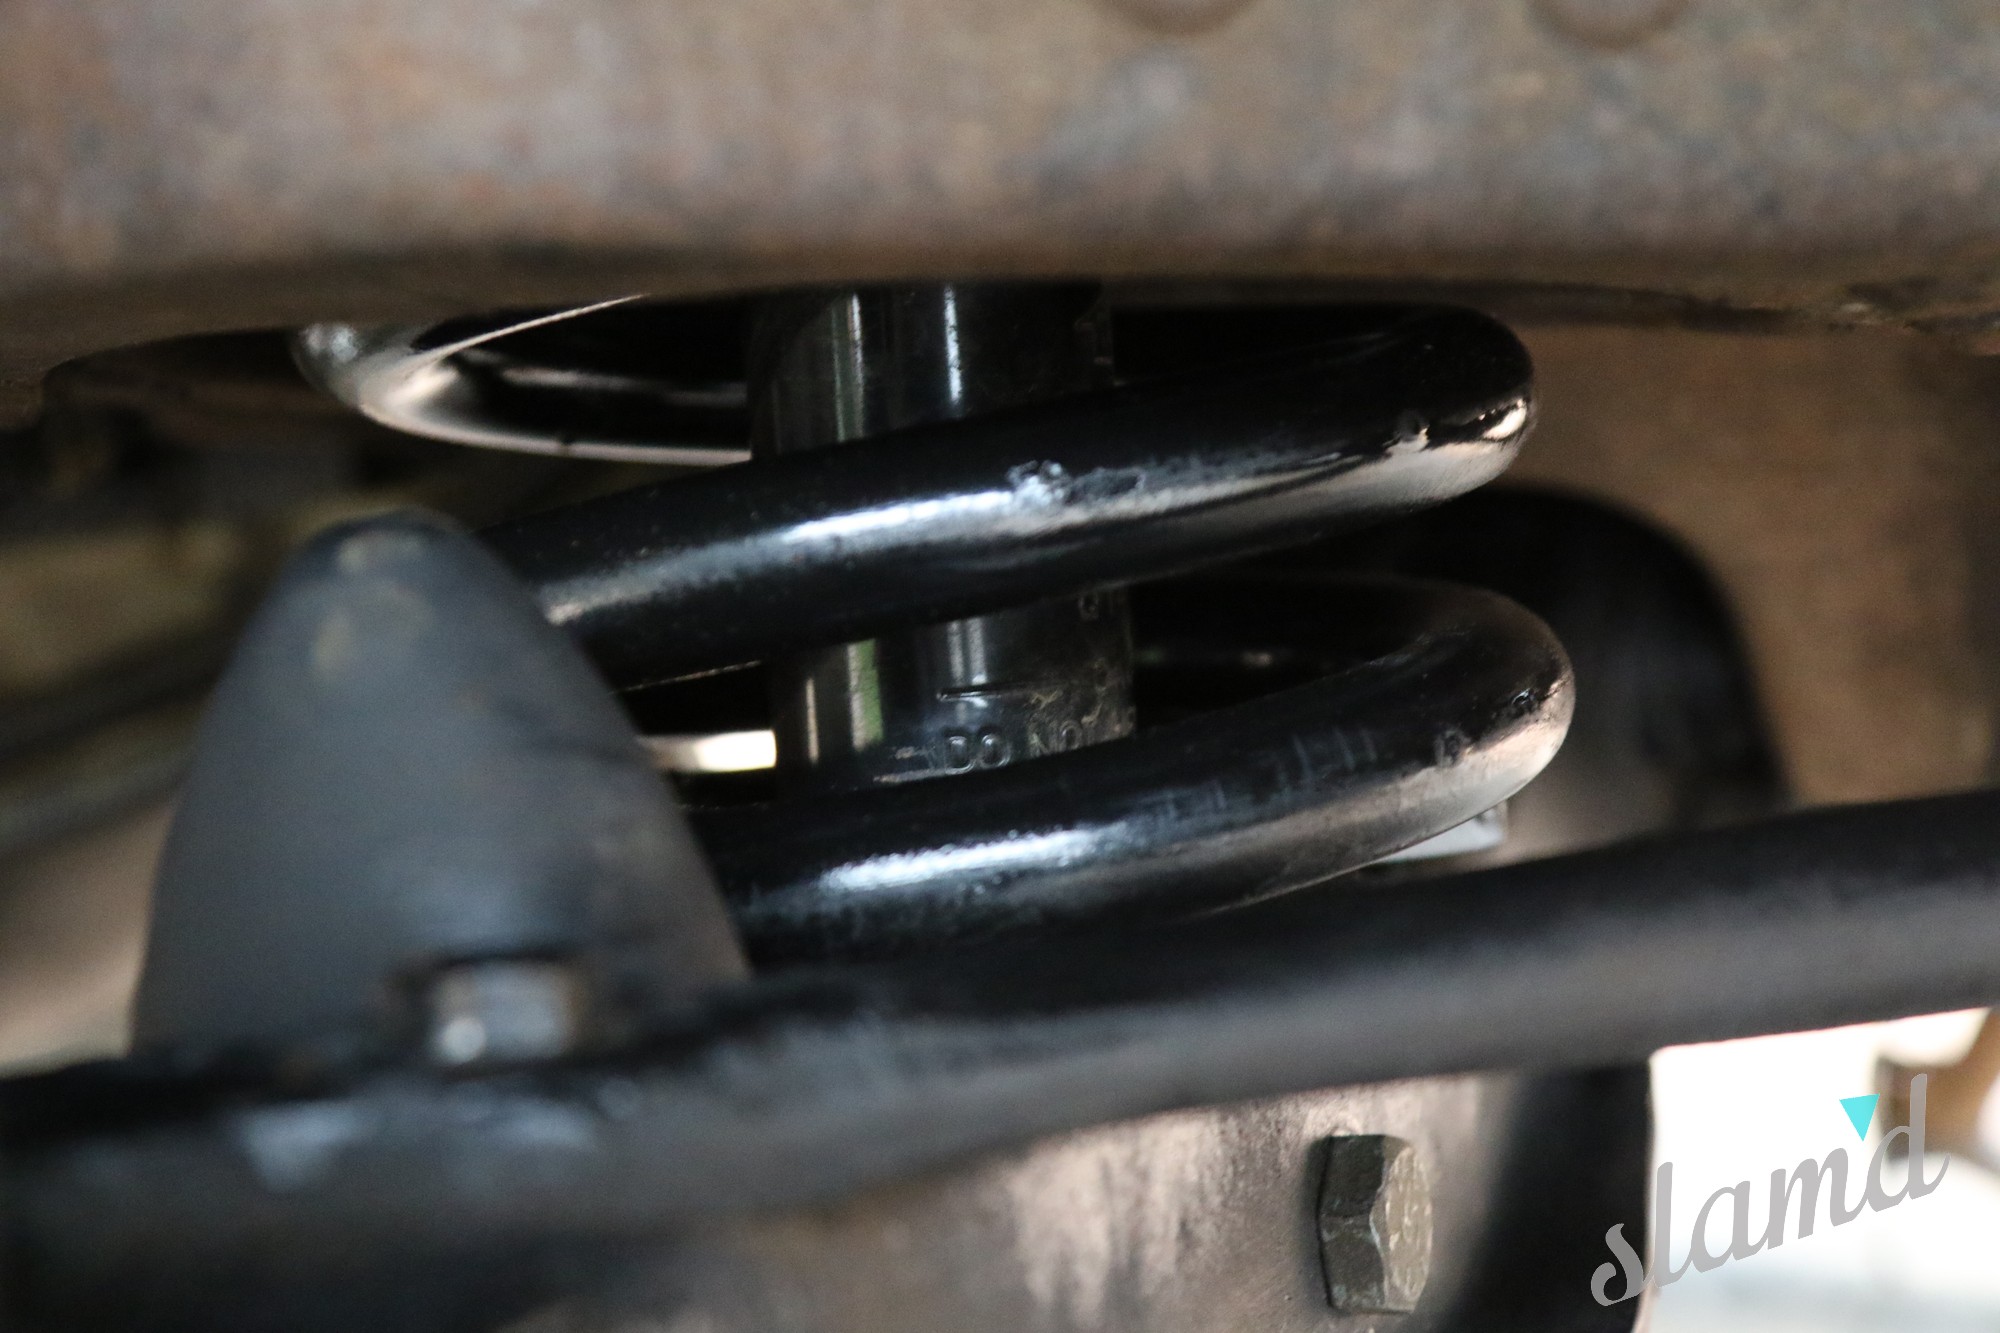
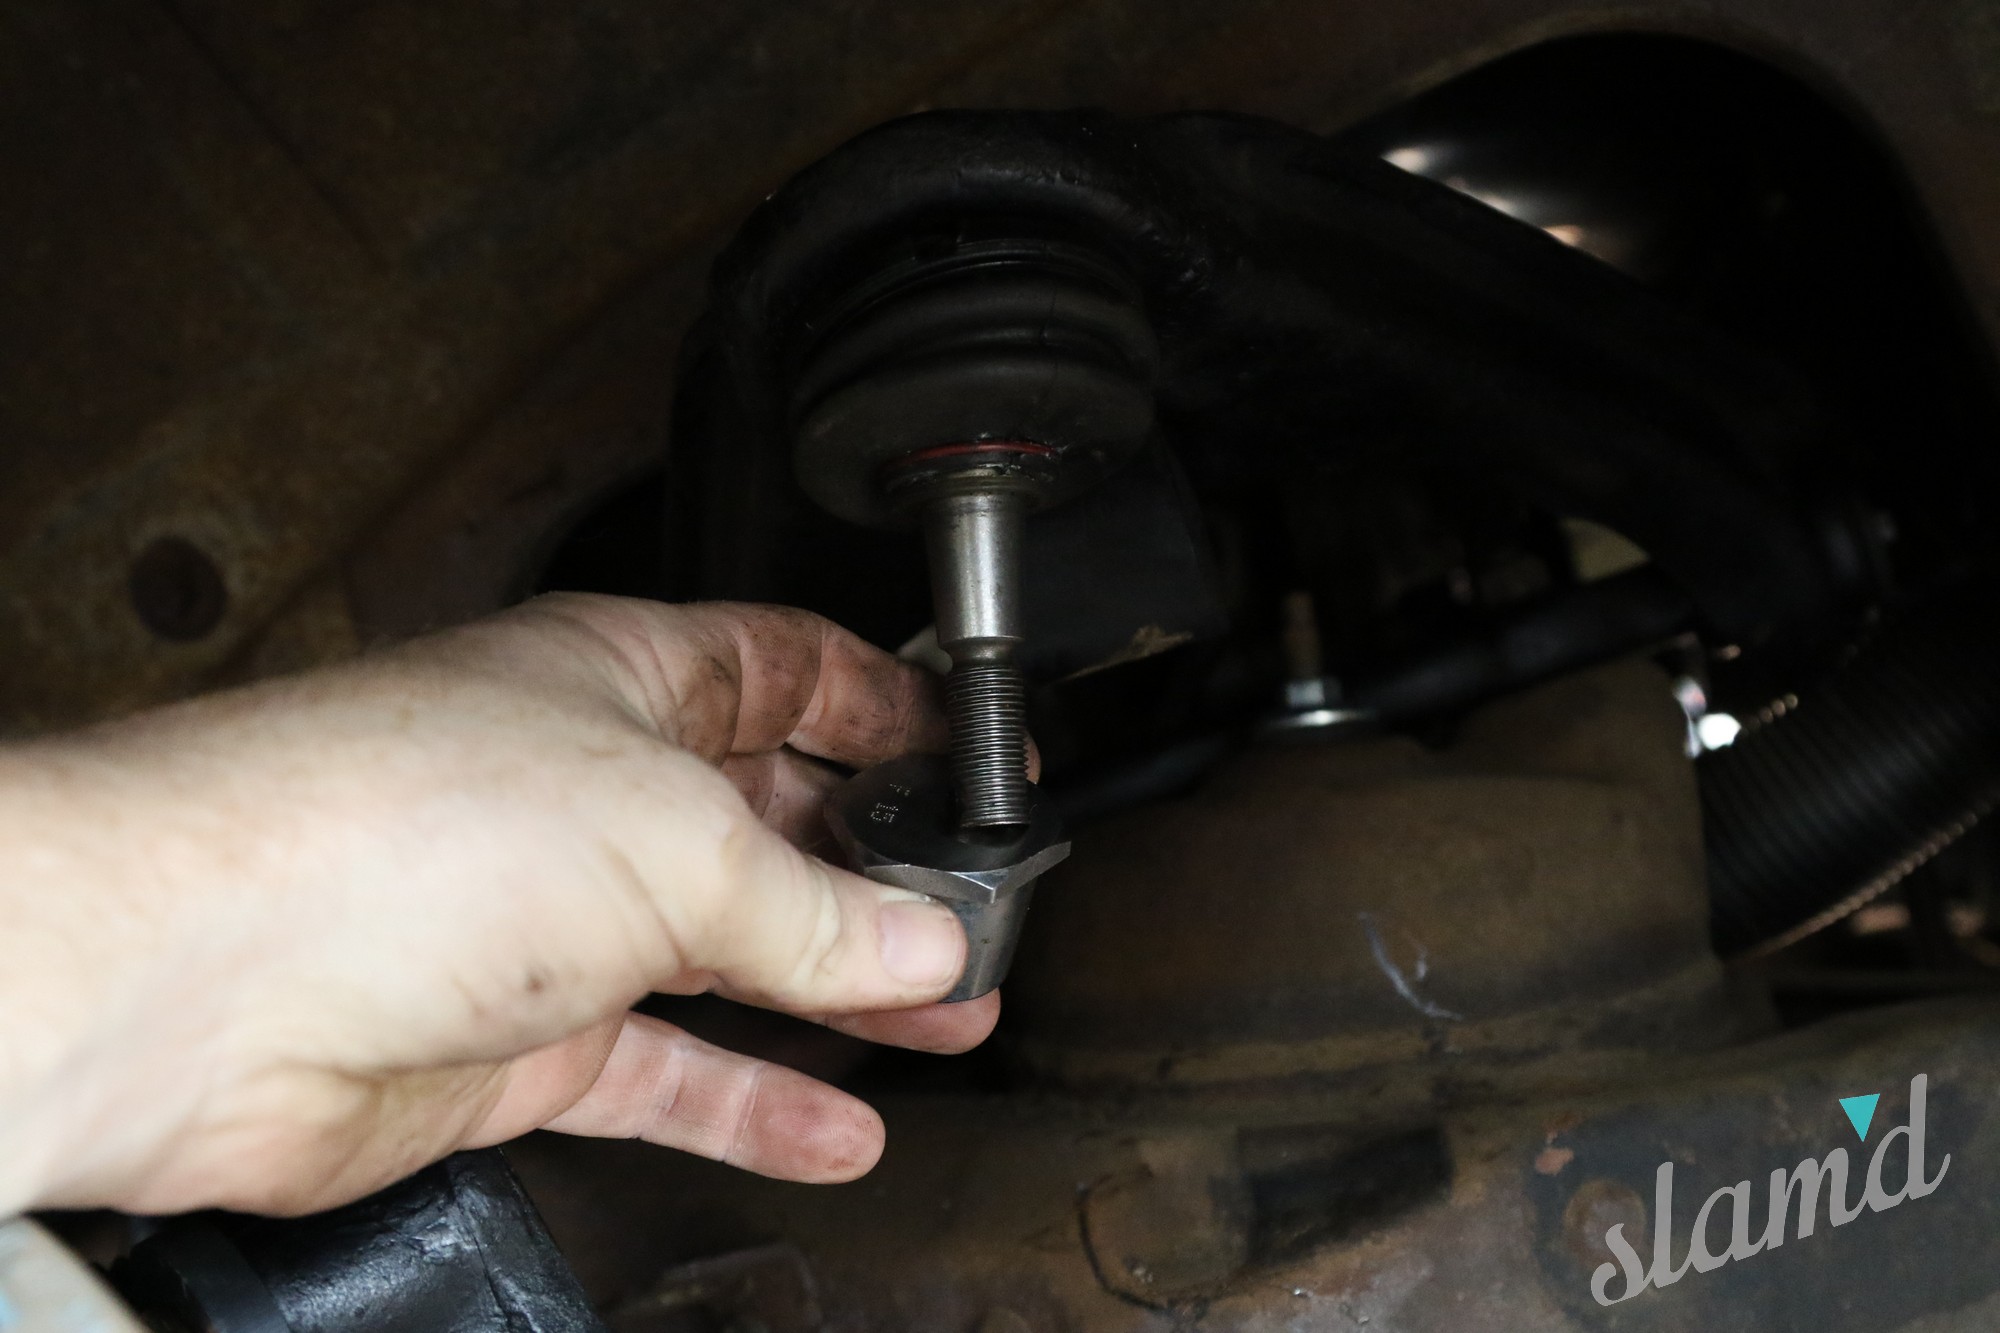
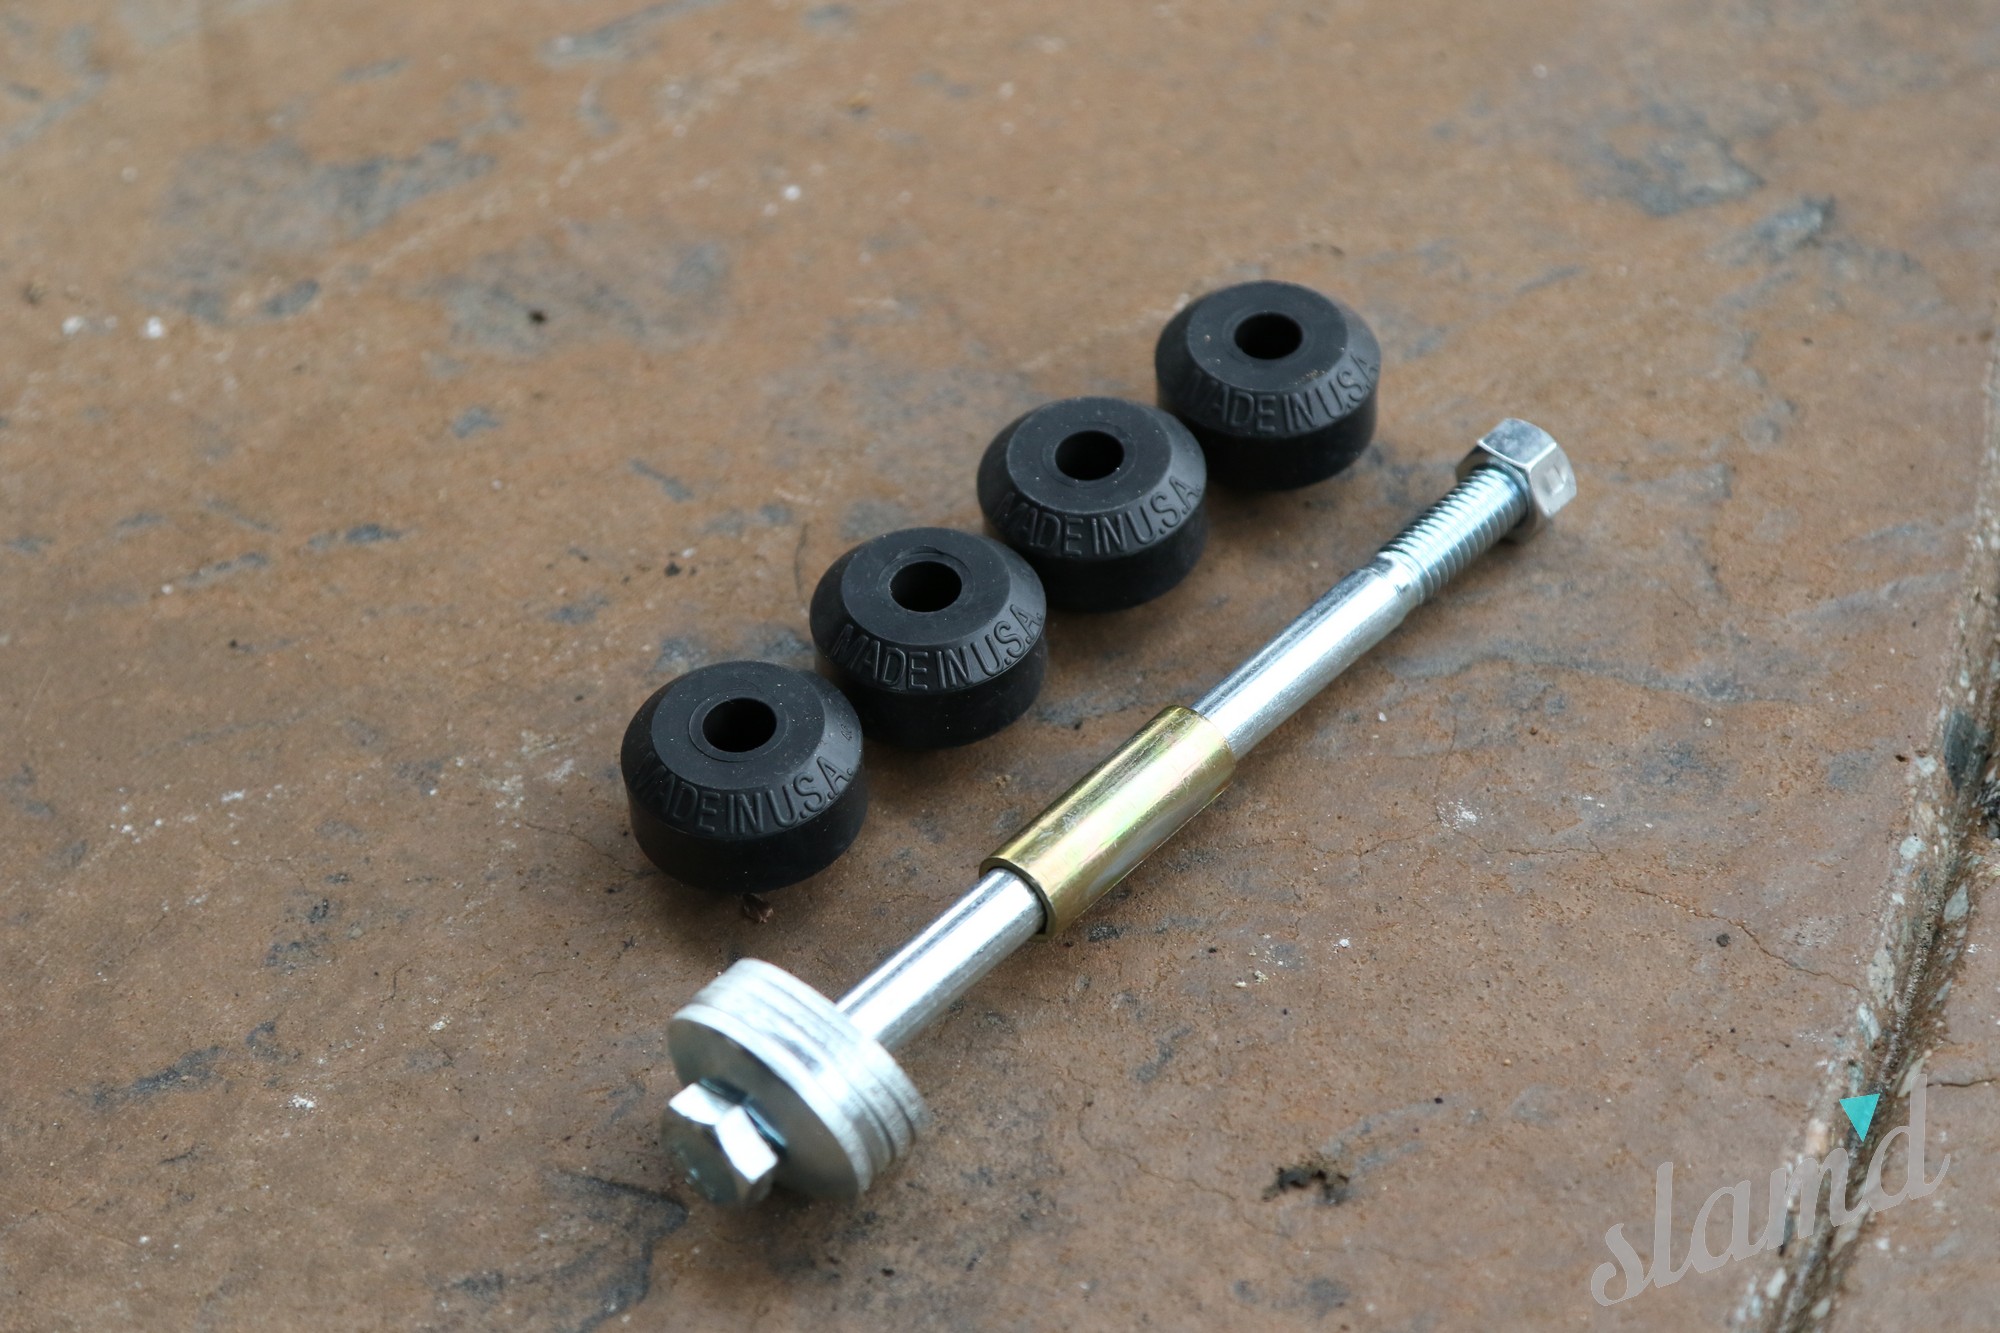
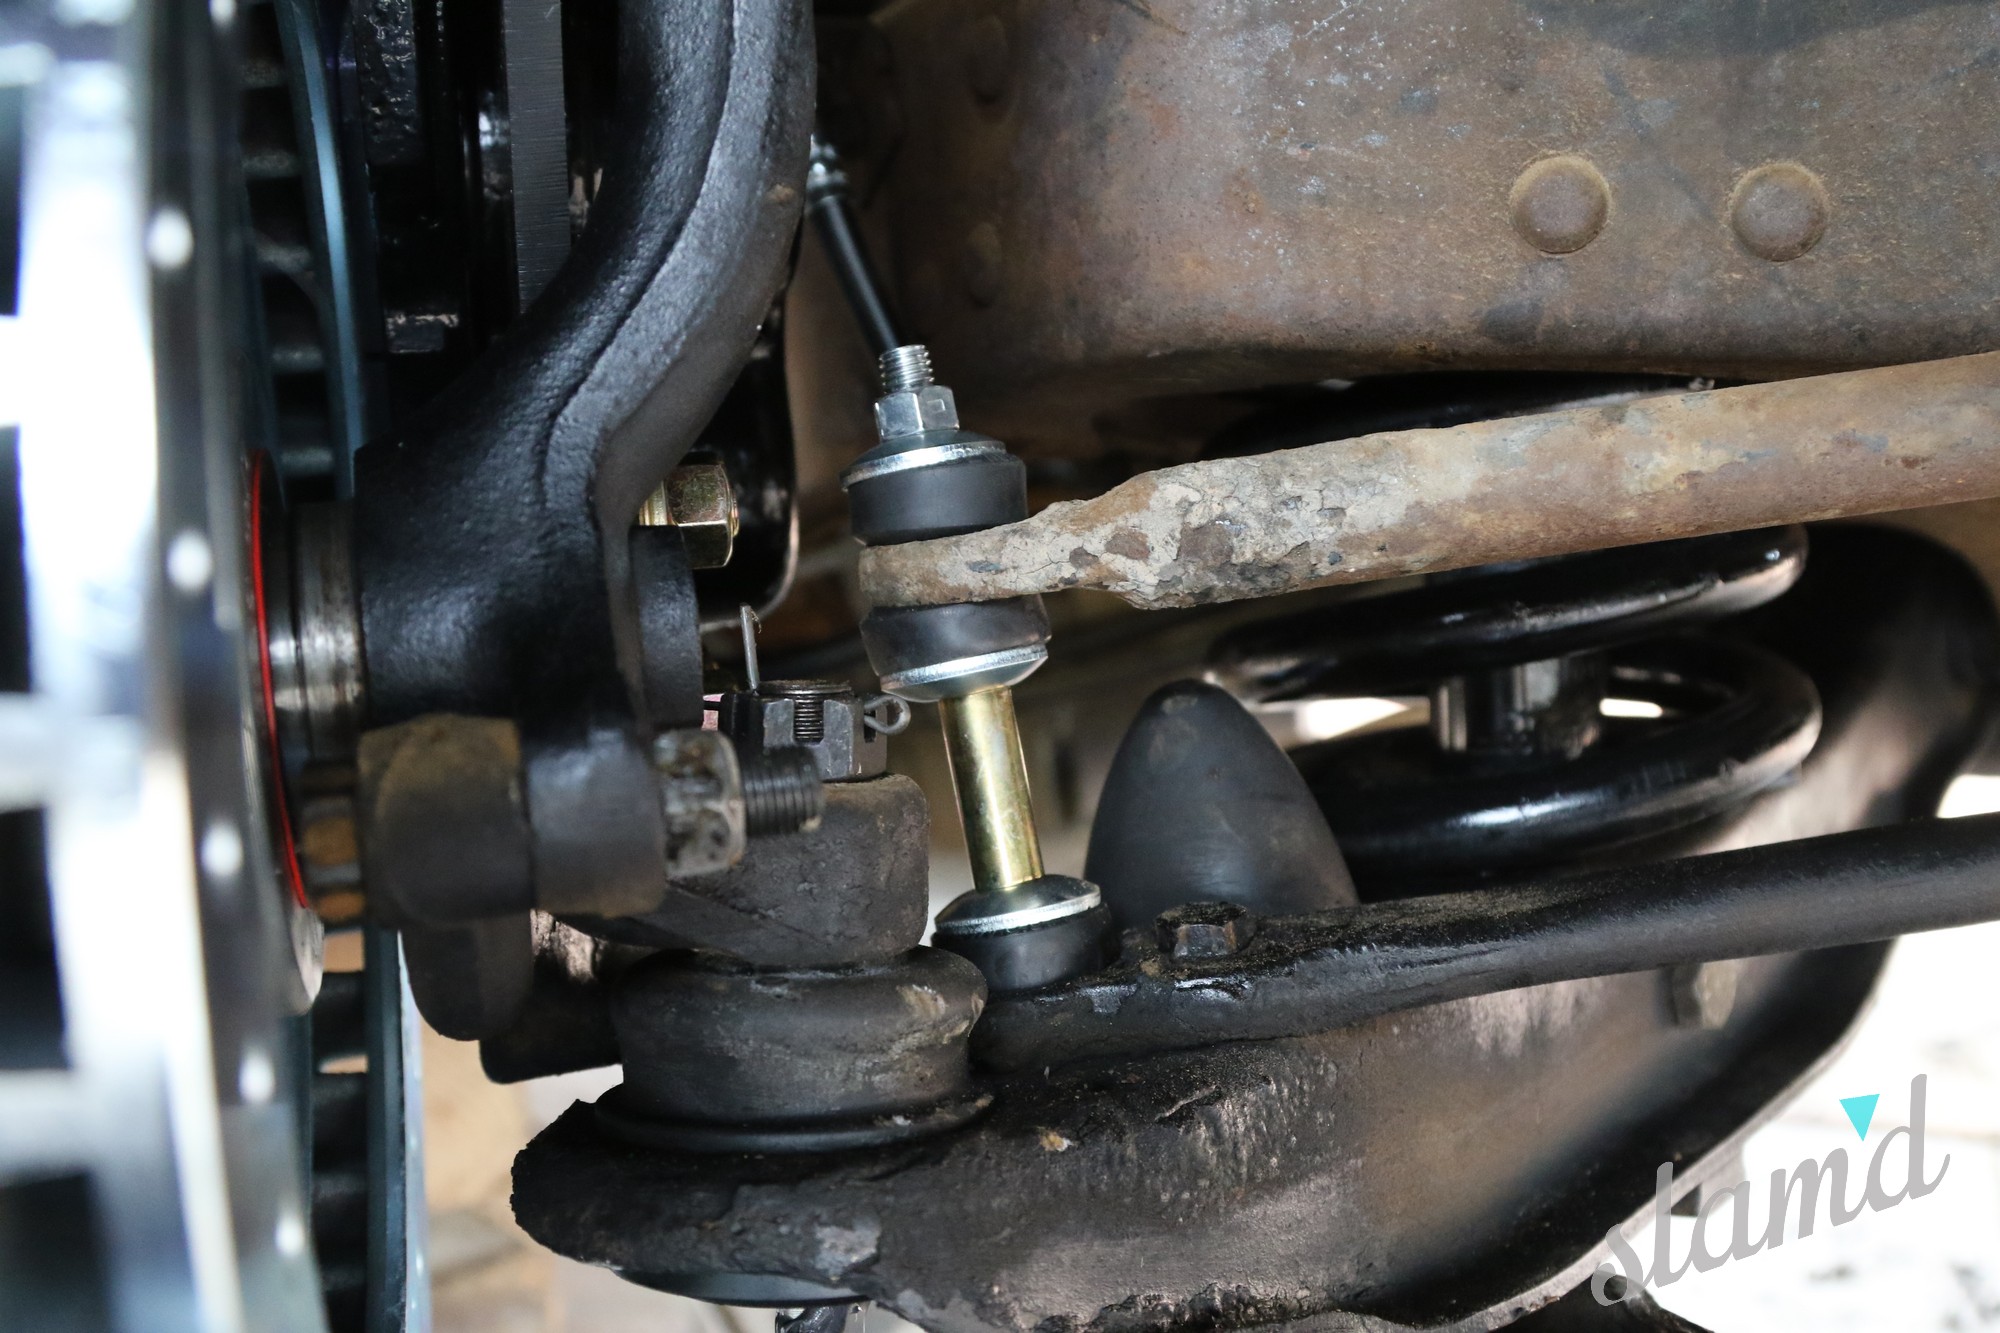
With the strut arm loose, we slid the new Jamco Suspension lowering coil into place. Placing the floor jack under the control arm to hold everything in place, we then re-installed our shocks. With the jack still in place we grabbed our spindle with the built disc brakes and slid it onto the lower ball joint. Before lowering the upper ball joint into place we installed the new camber eccentric’s from Rare Parts. The last step was to reinstall the sway bar and sway bar end links into their proper places using Rare Parts bushings and end links.
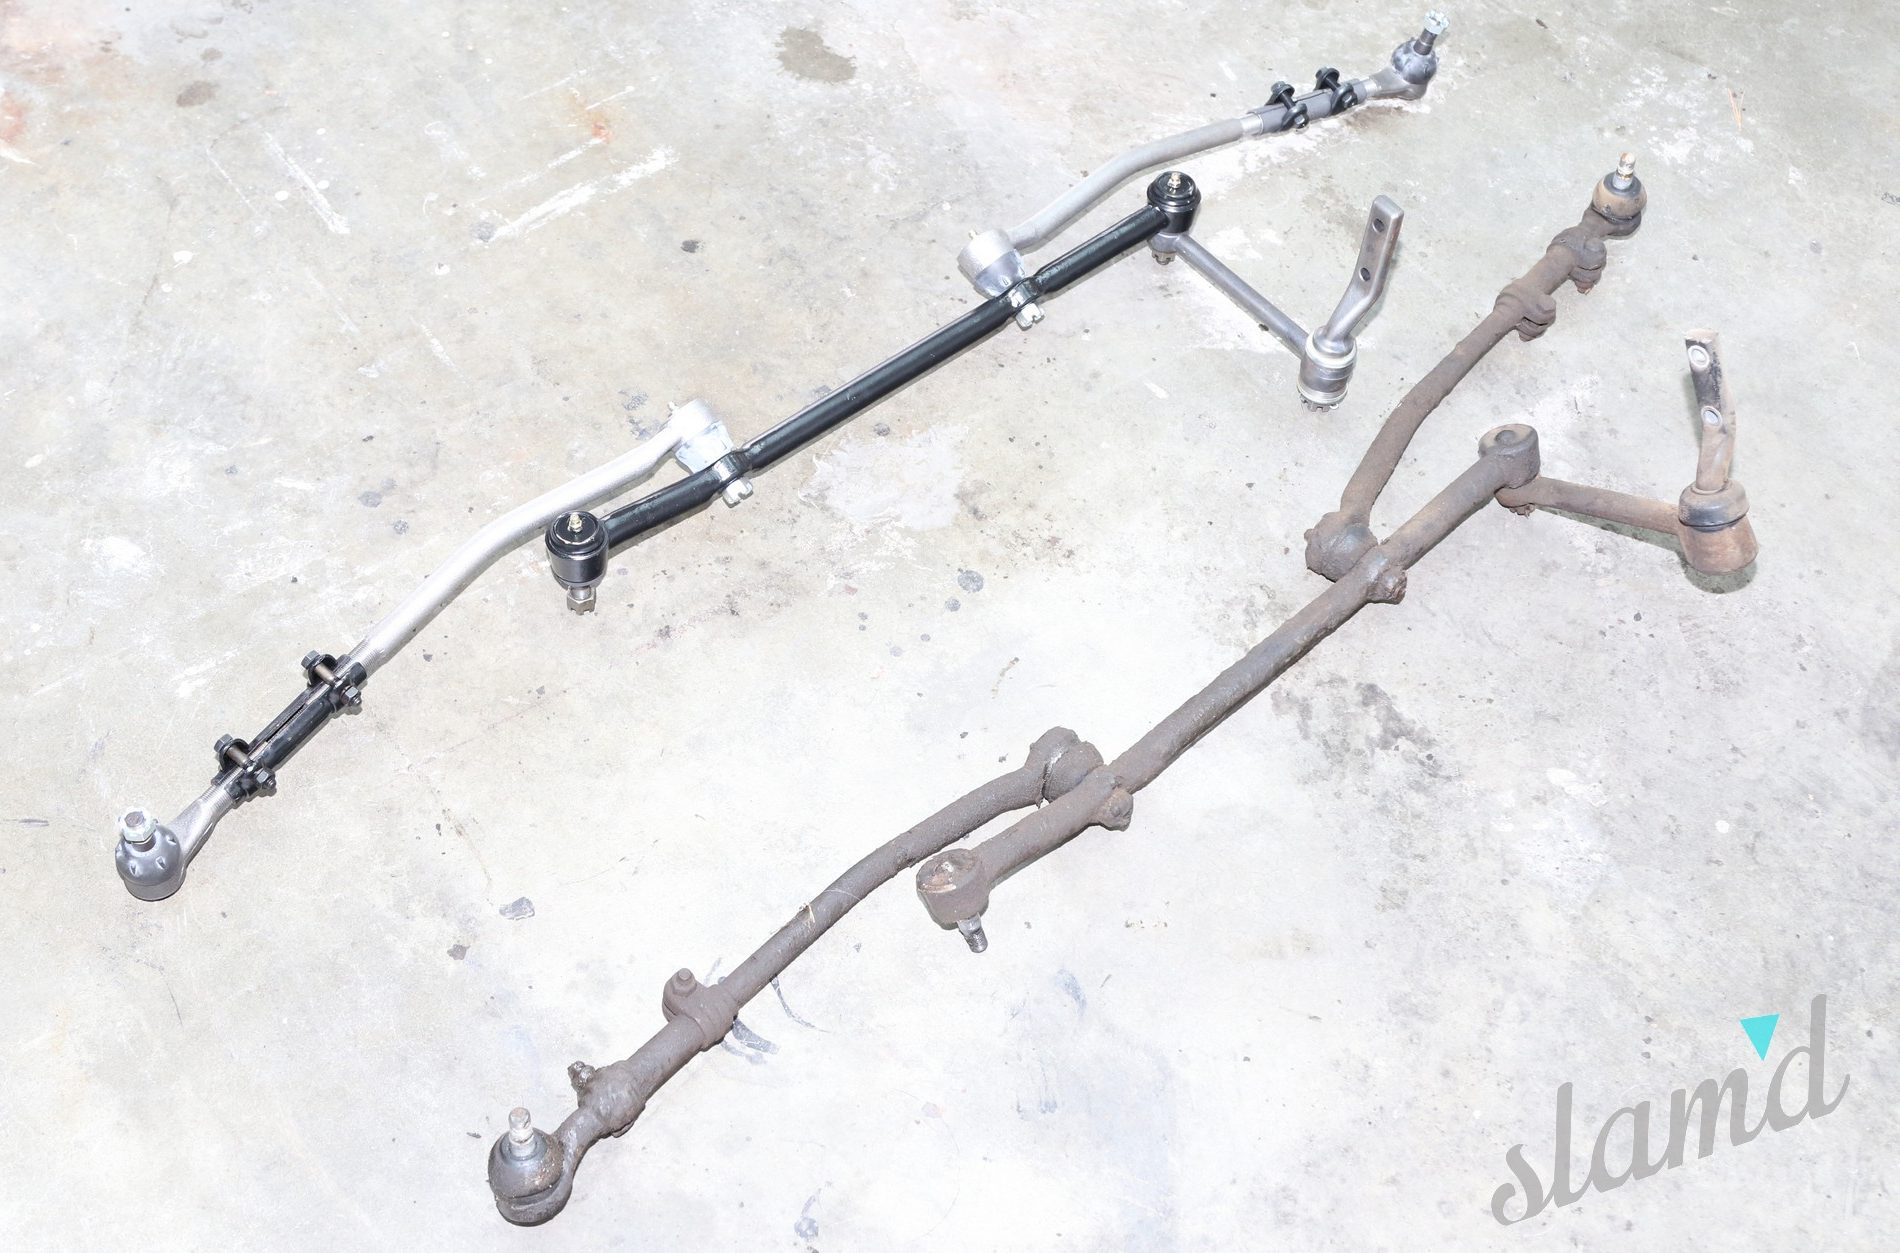
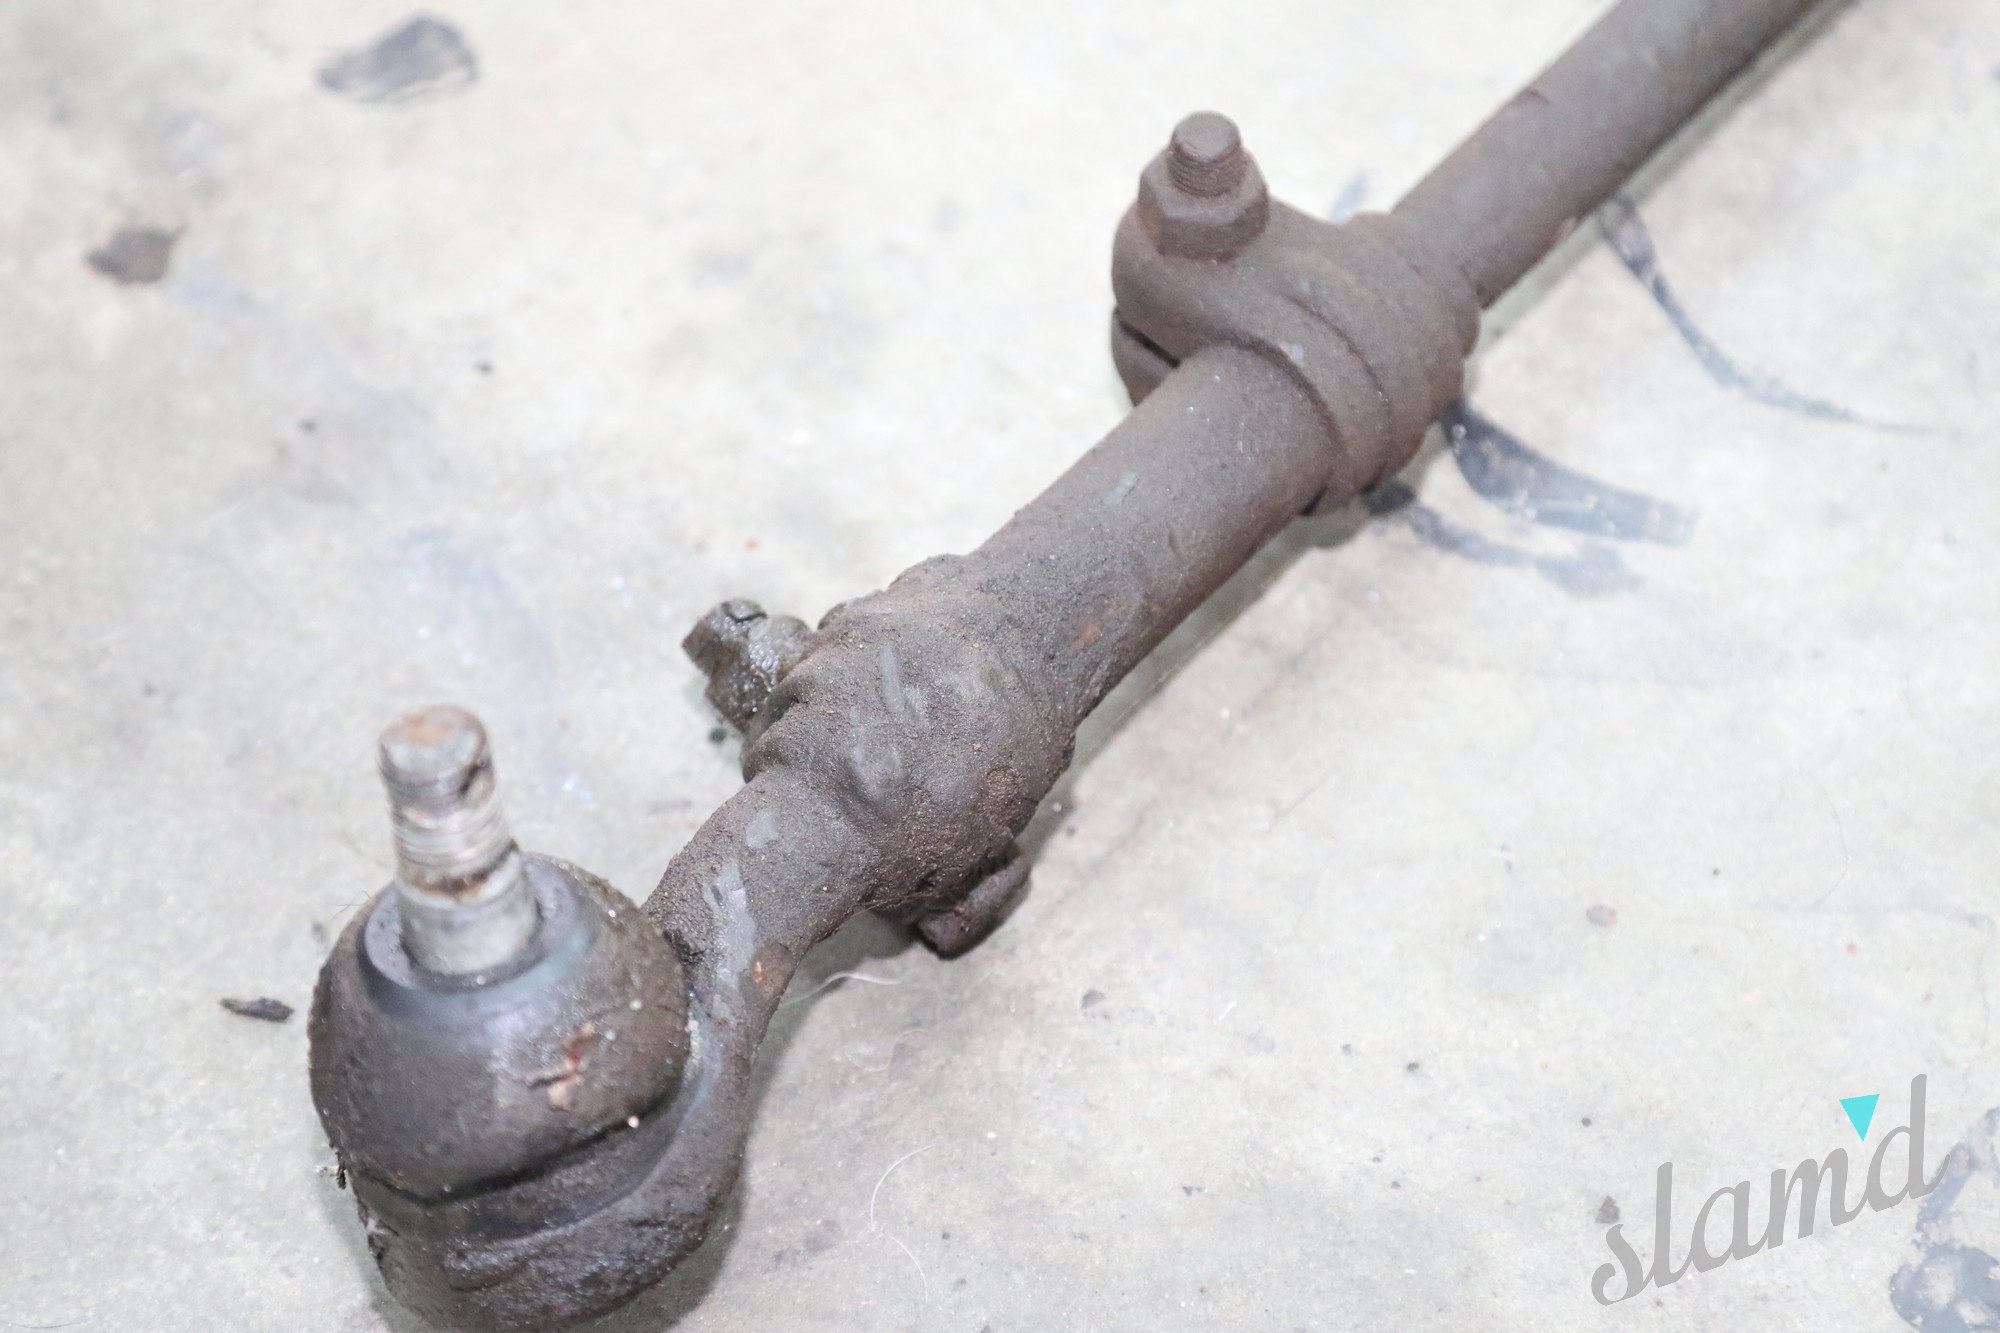
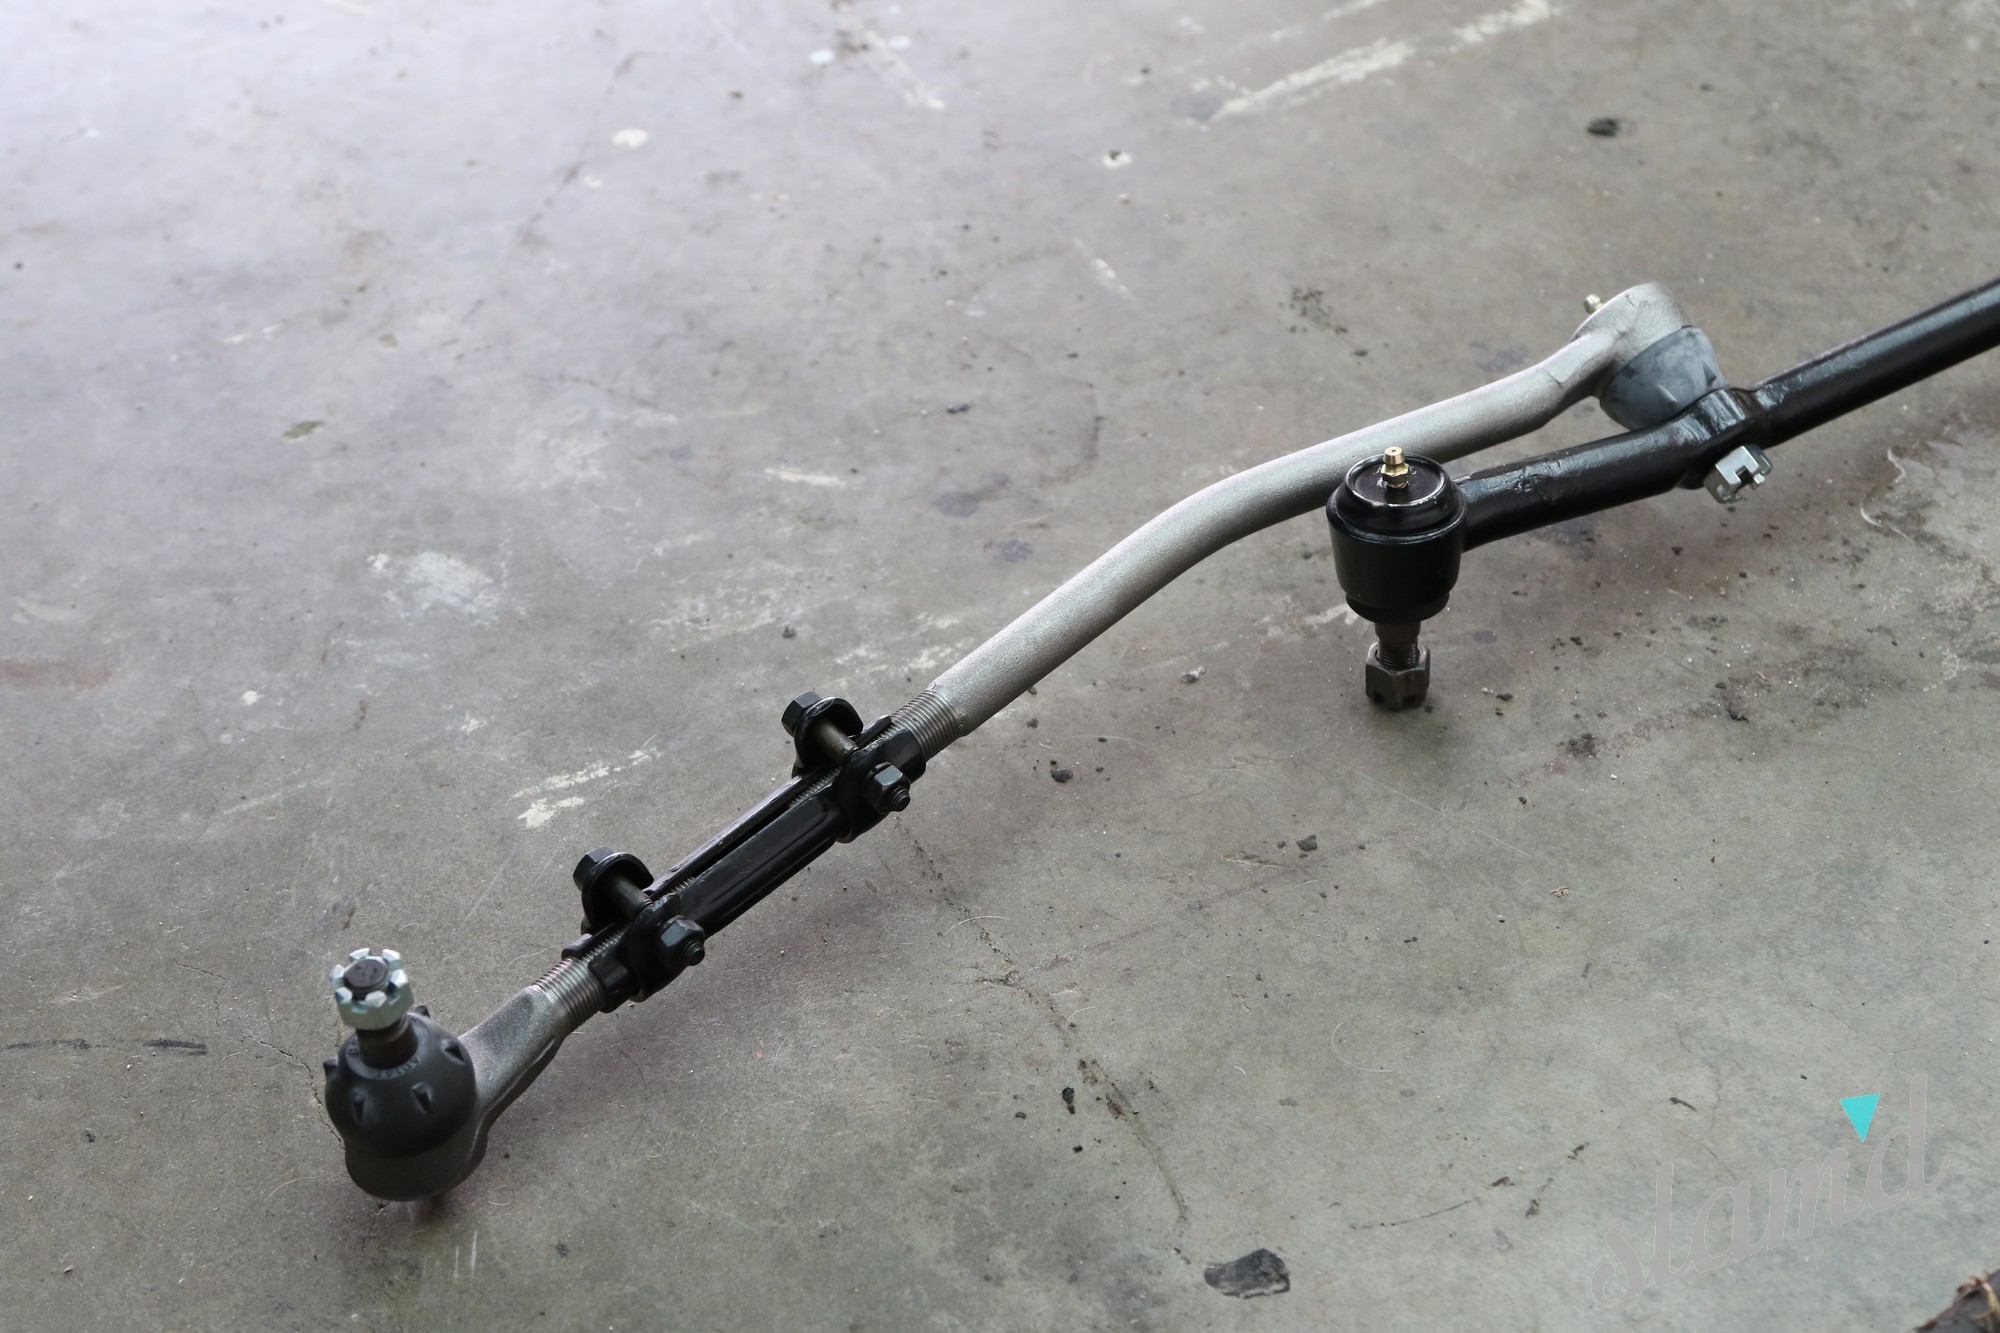
Next we moved to the steering. During disassembly we had removed the factory steering linkage and set it aside. We grabbed it and assembled all the new Rare Parts steering linkage. This included a new idler arm, inner and outer tie rods, tie rod sleeves along with the centerlink. We used the old ones as a template, trying to get the tie rods adjusted so the alignment would end up in the same ball park as the old alignment (for a good starting point). Then we simply mounted up the completed steering linkage under the car by bolting the idler arm to the frame reusing the two factory bolts and the other side to the pitman arm.
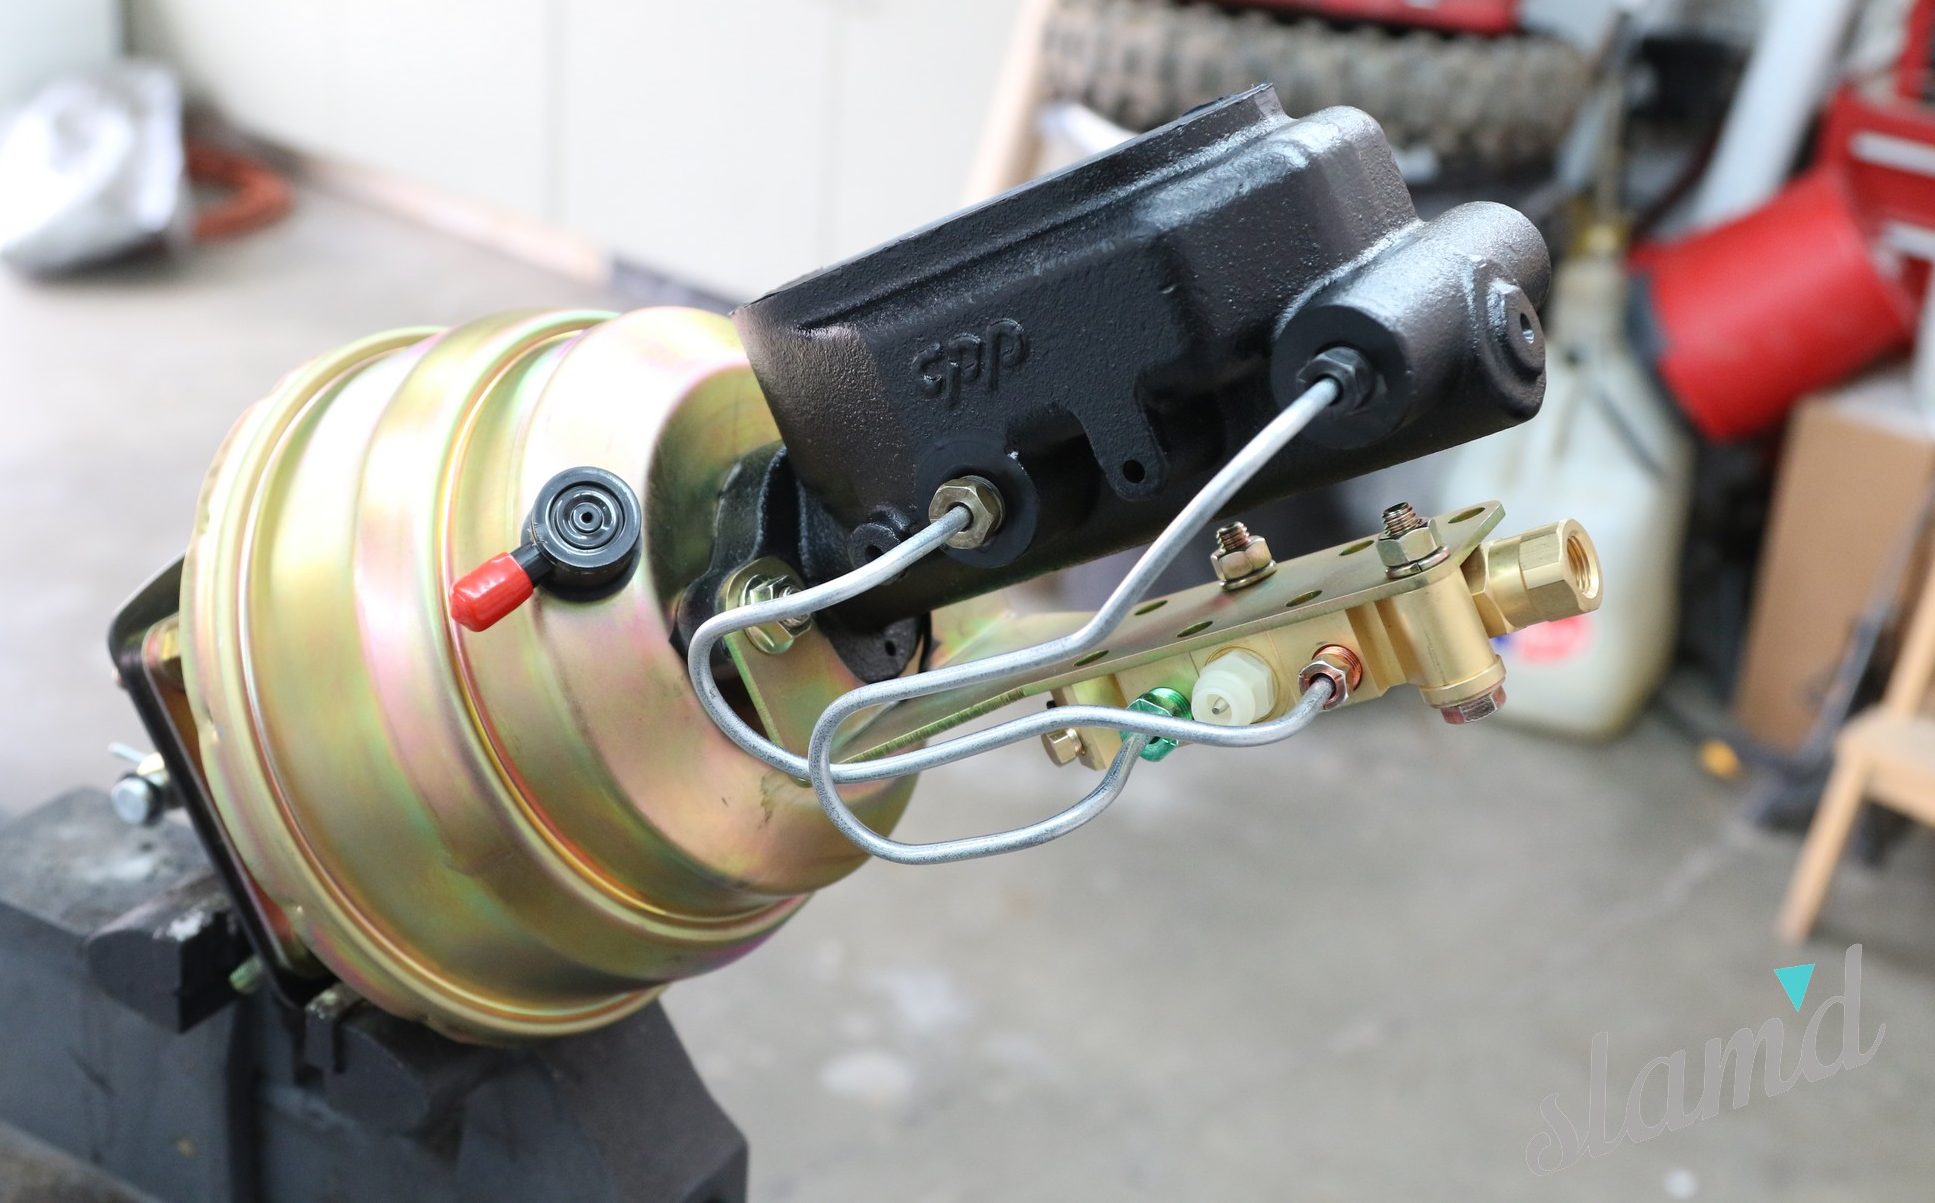
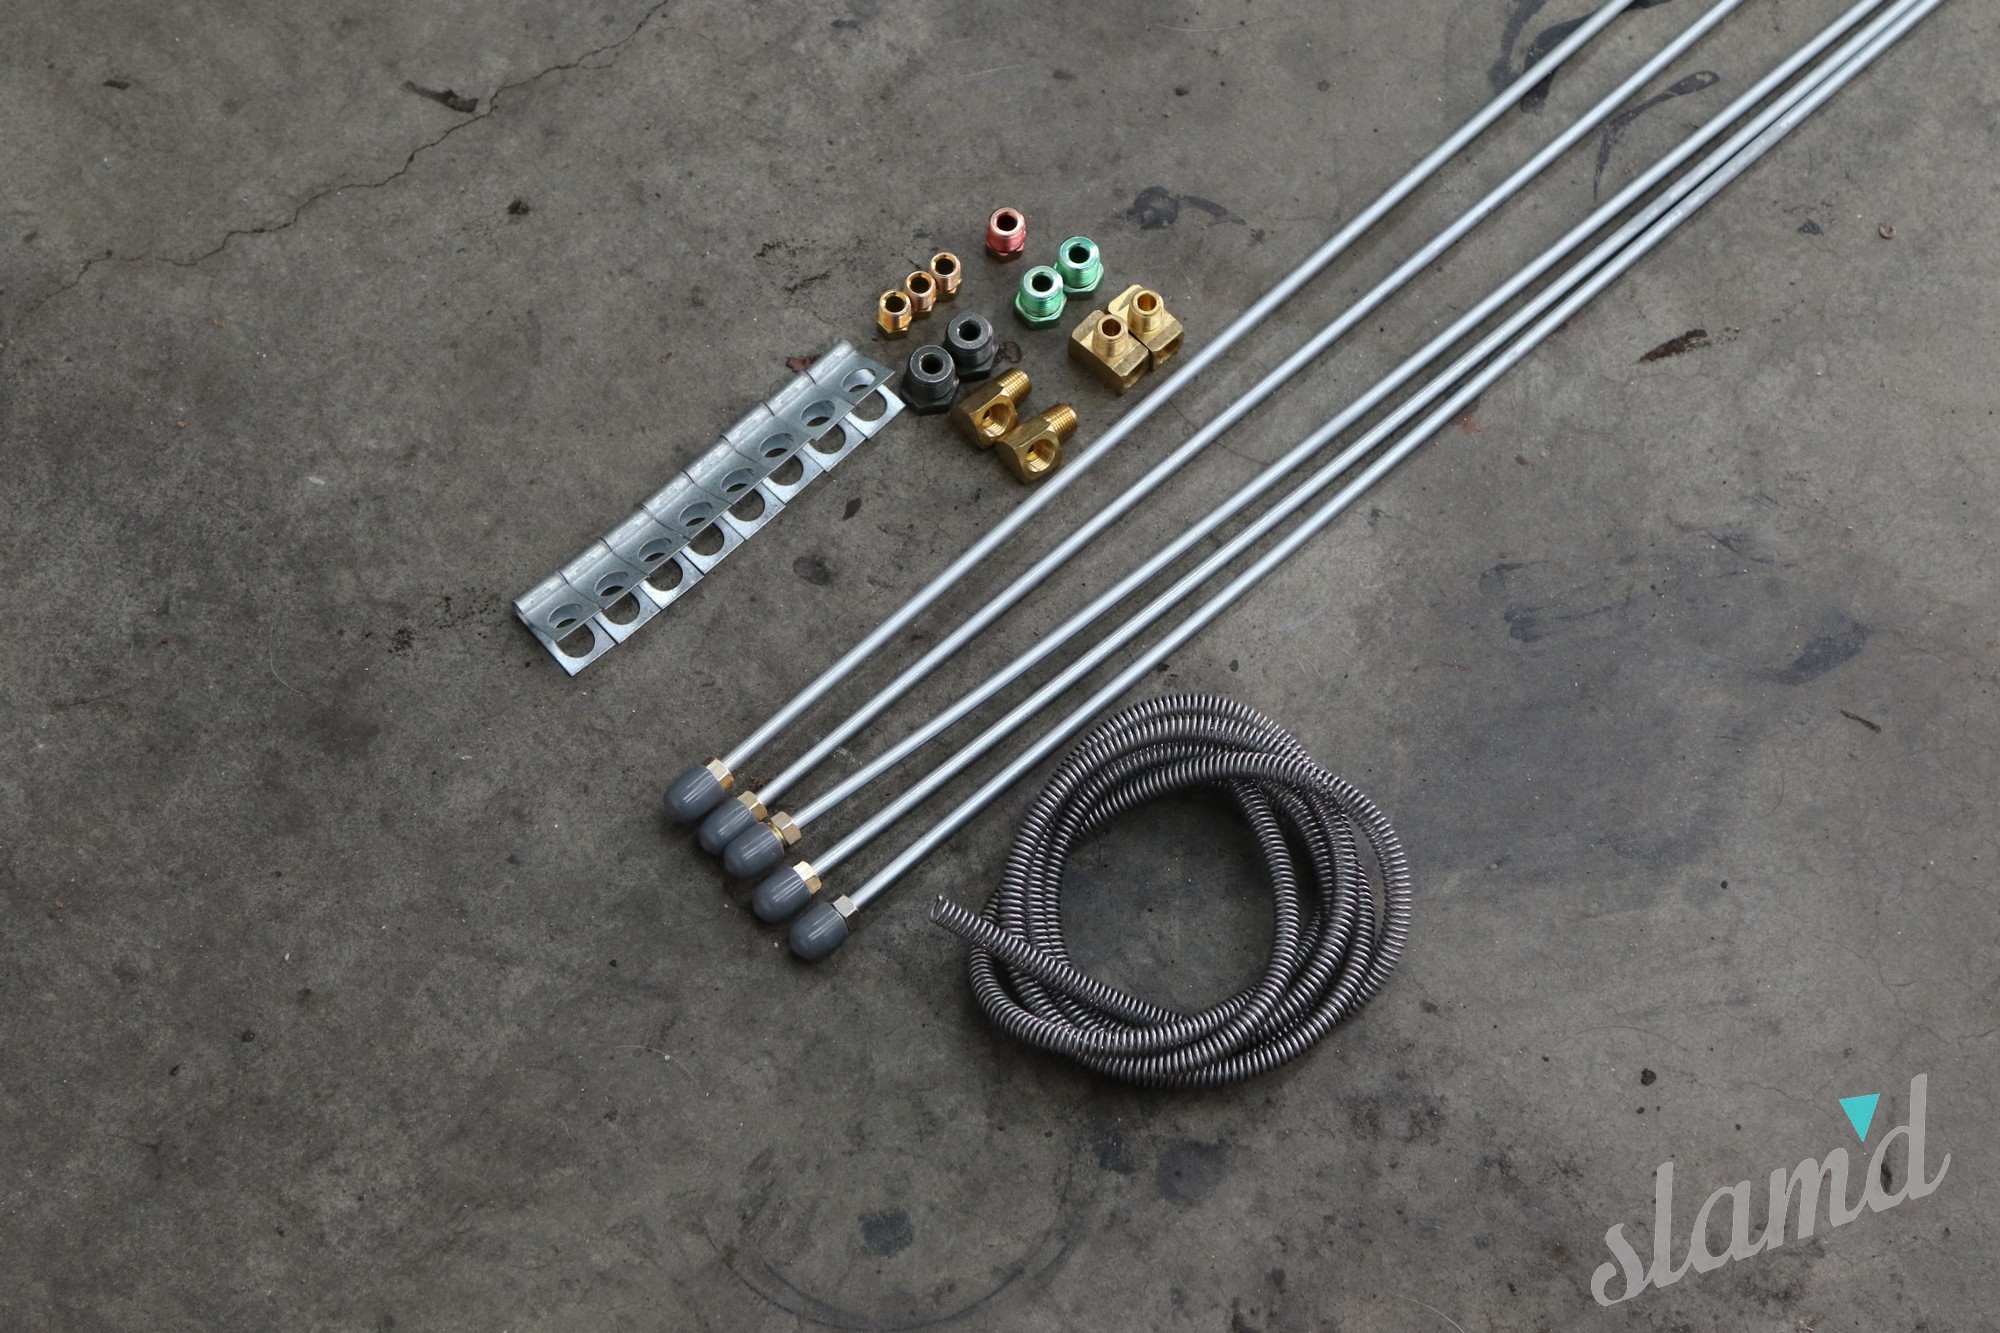
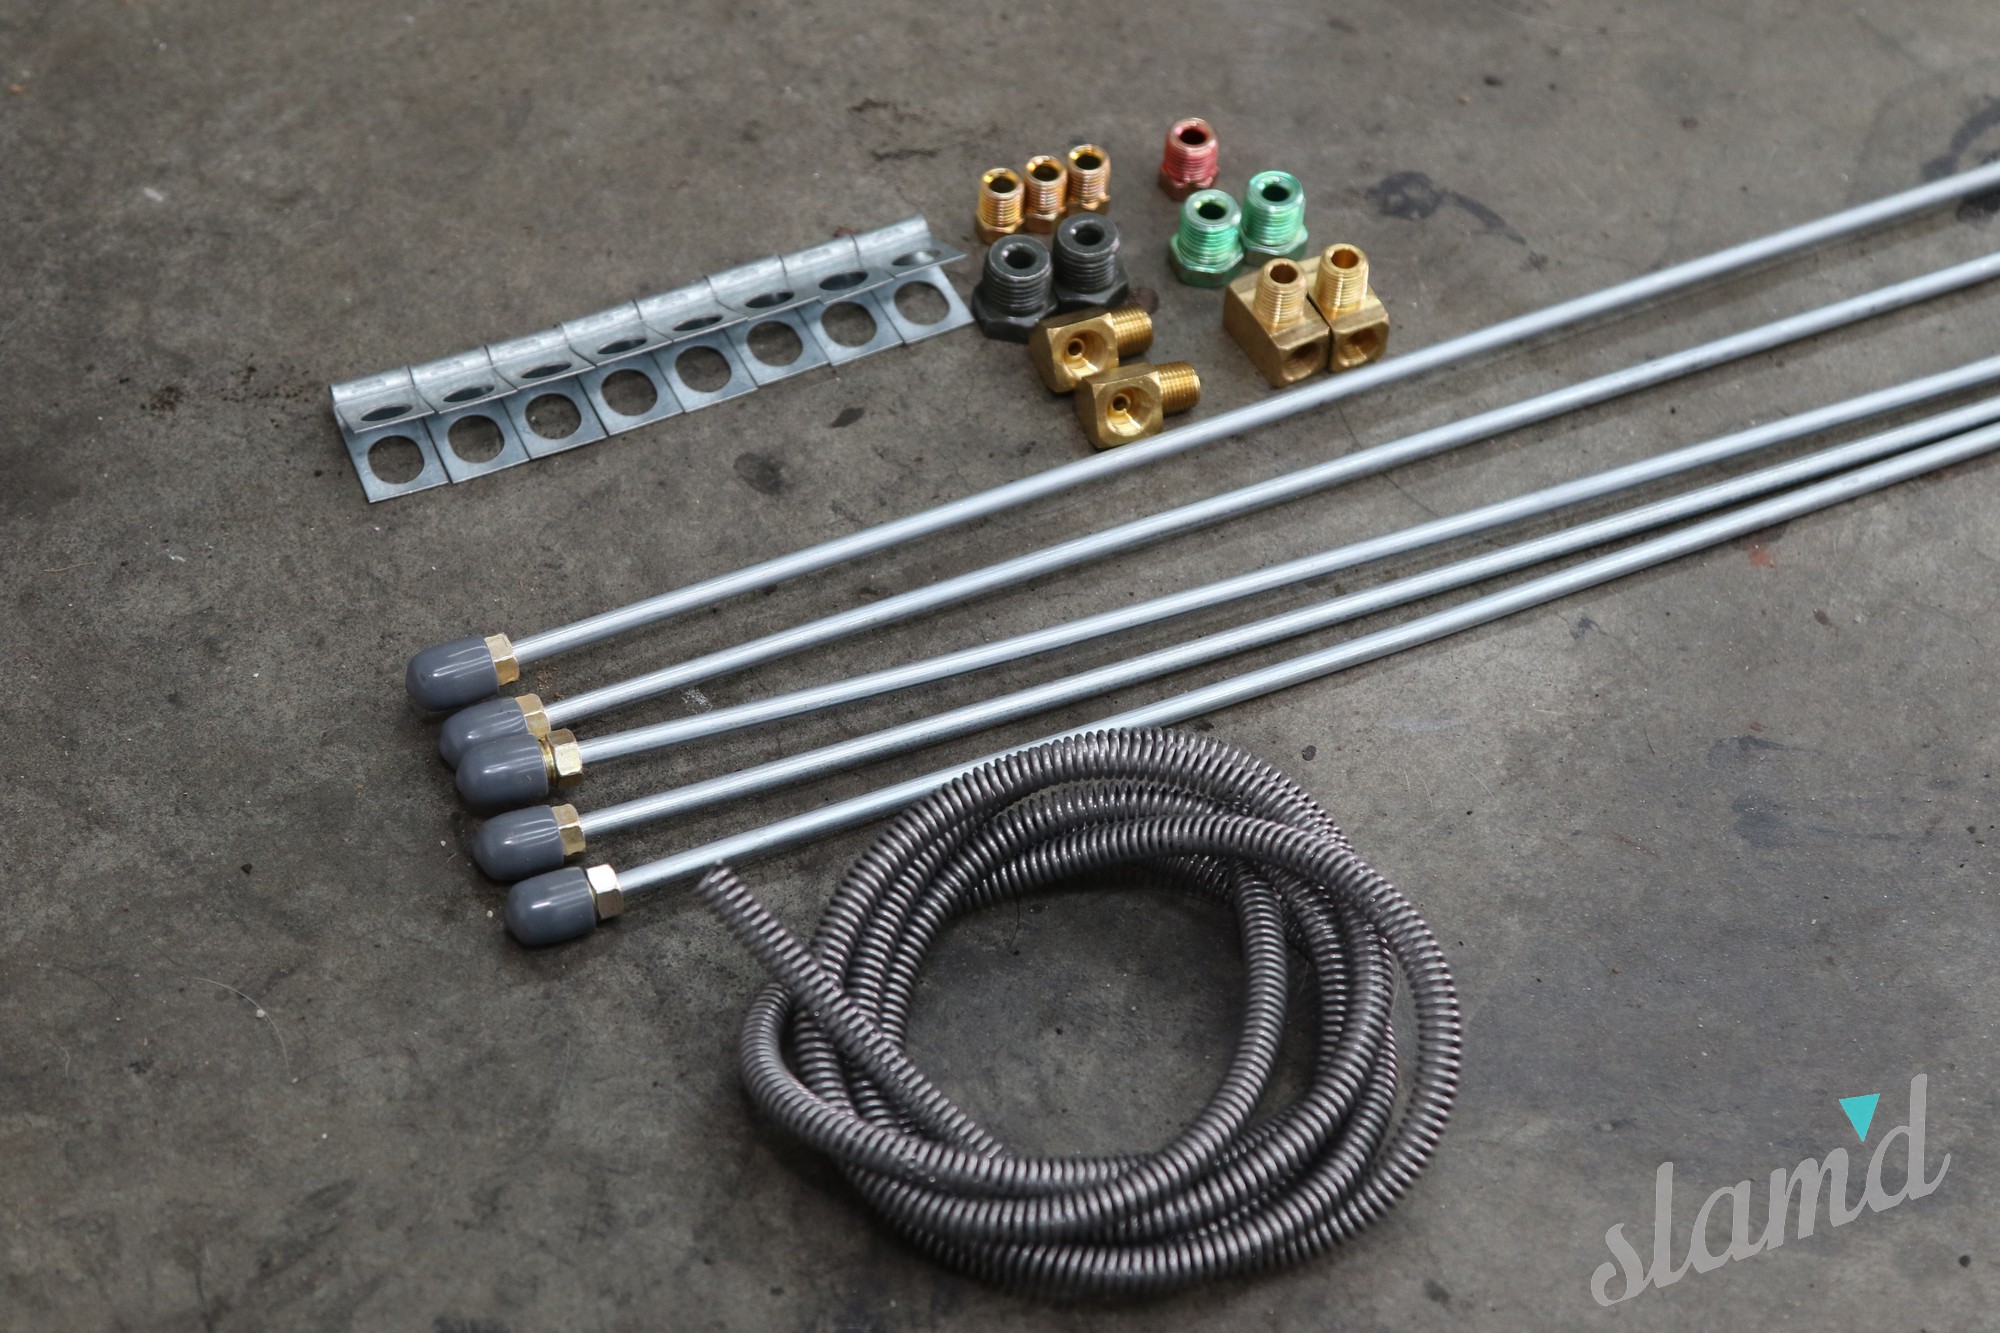
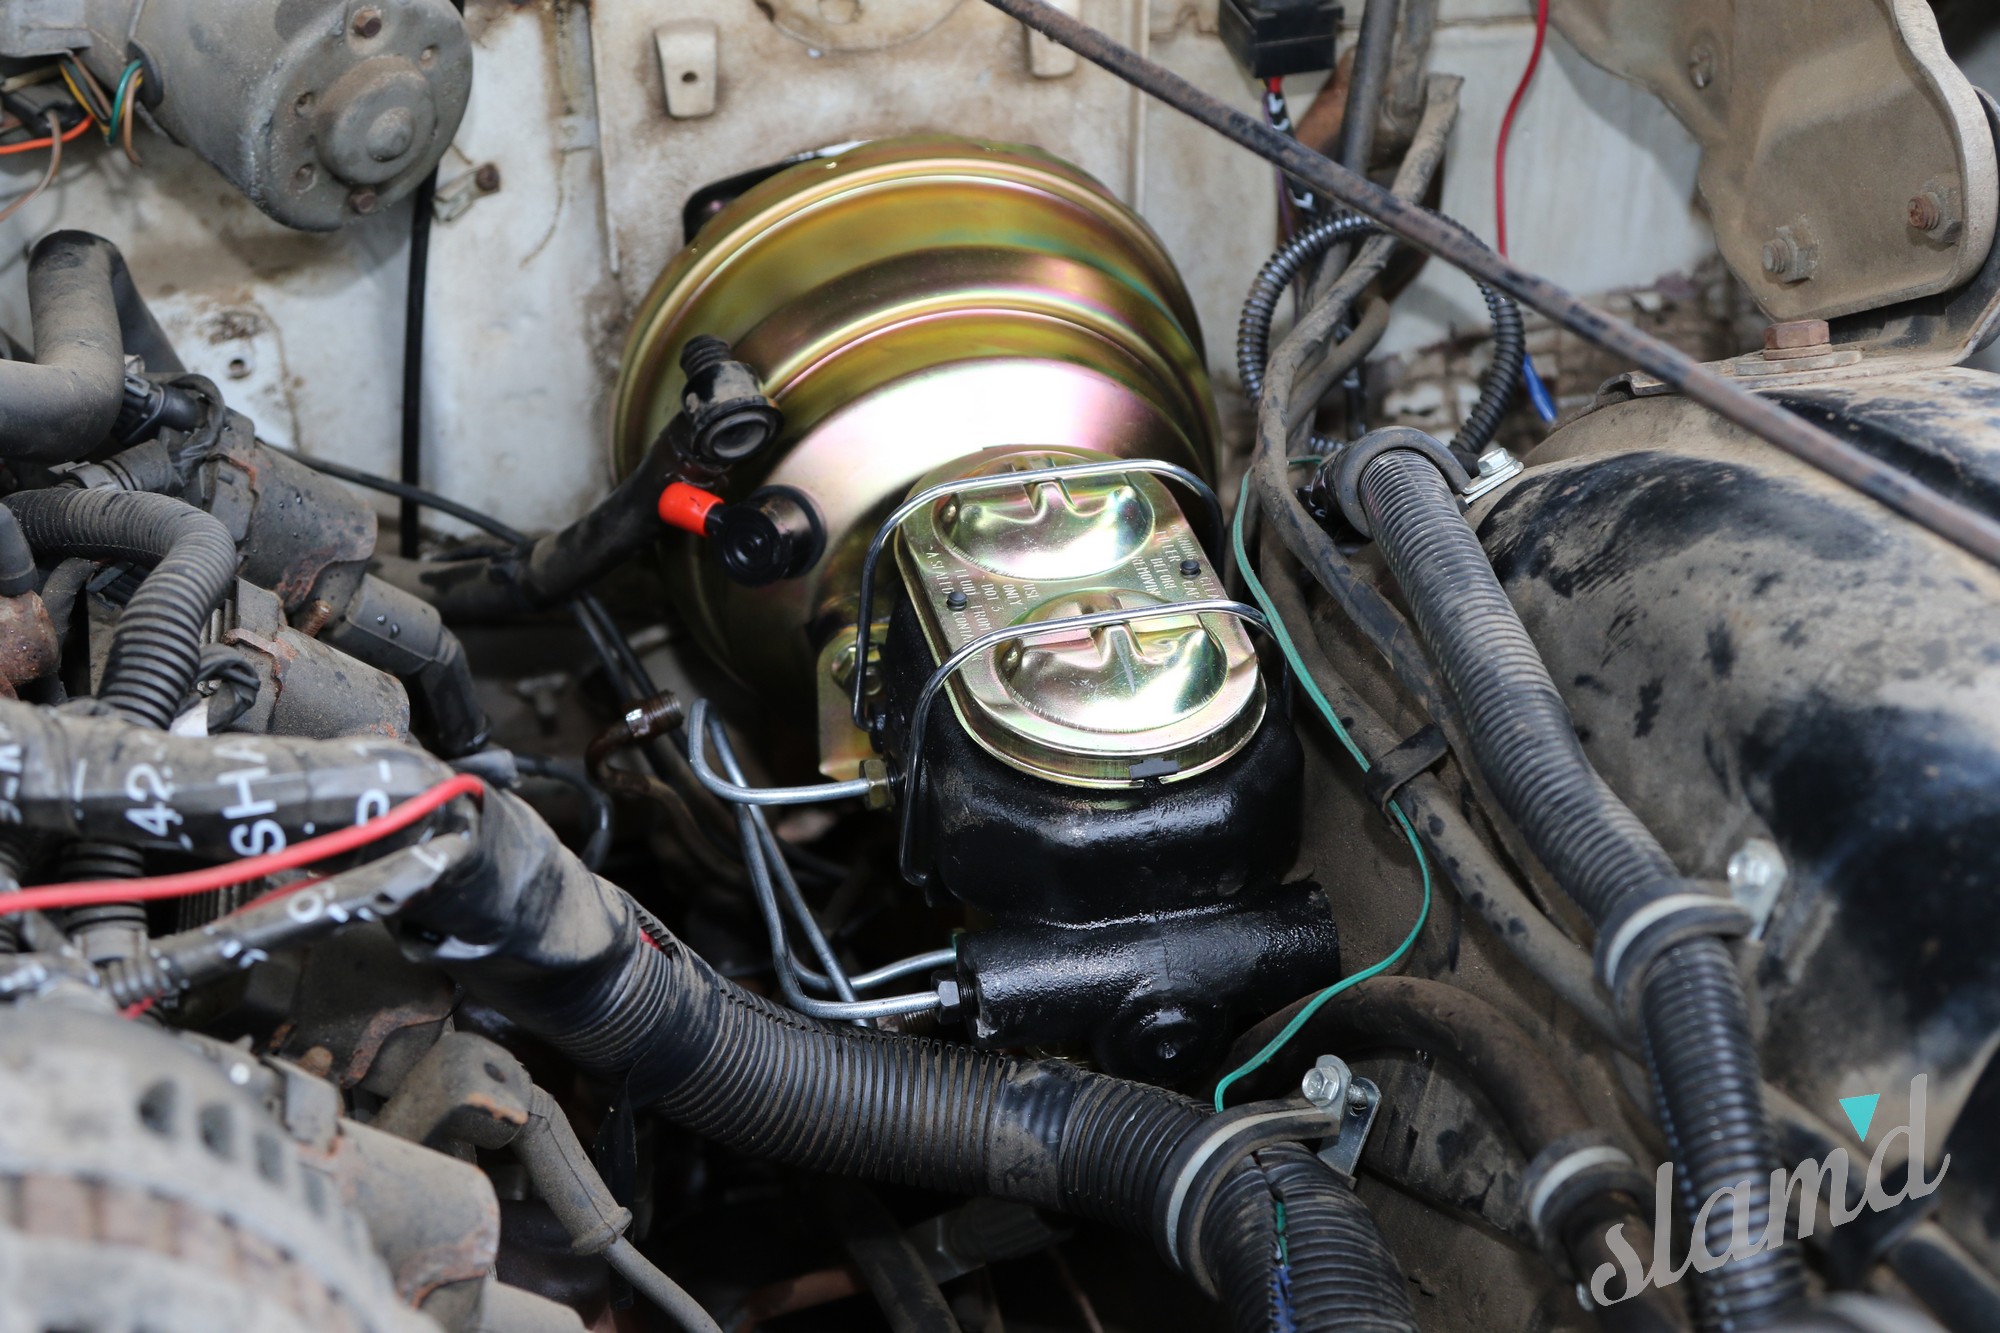
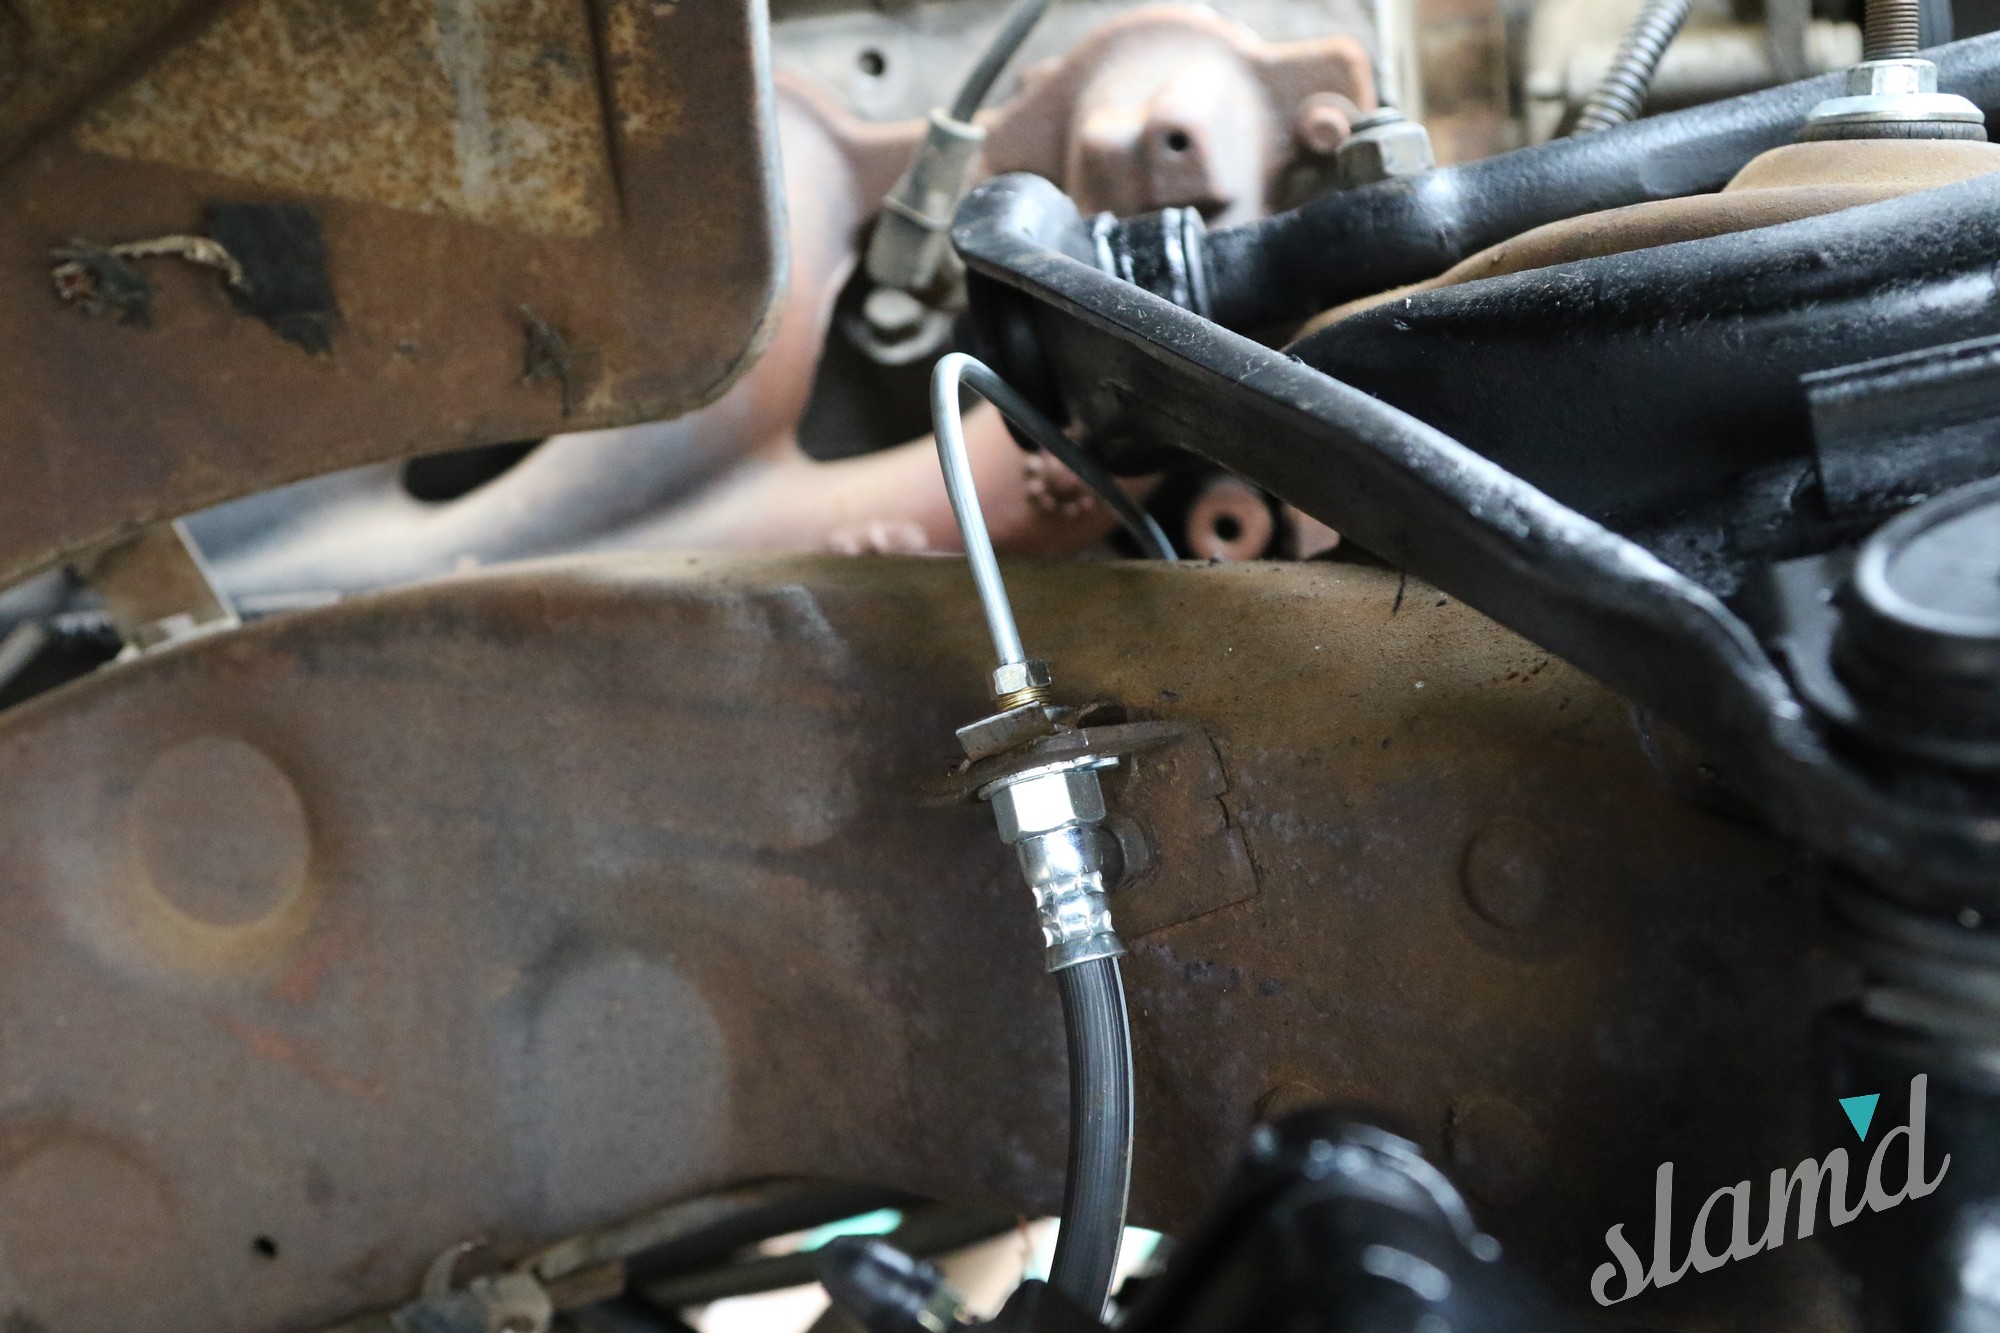
One of the last things we had to do was upgrade the booster and master cylinder for the new disc brakes. The CPP brake kit came with the new booster, master cylinder and proportioning valve. We also picked up a universal line kit to replace the front brake lines since the originals are not the correct diameter (and needed replacing anyway).
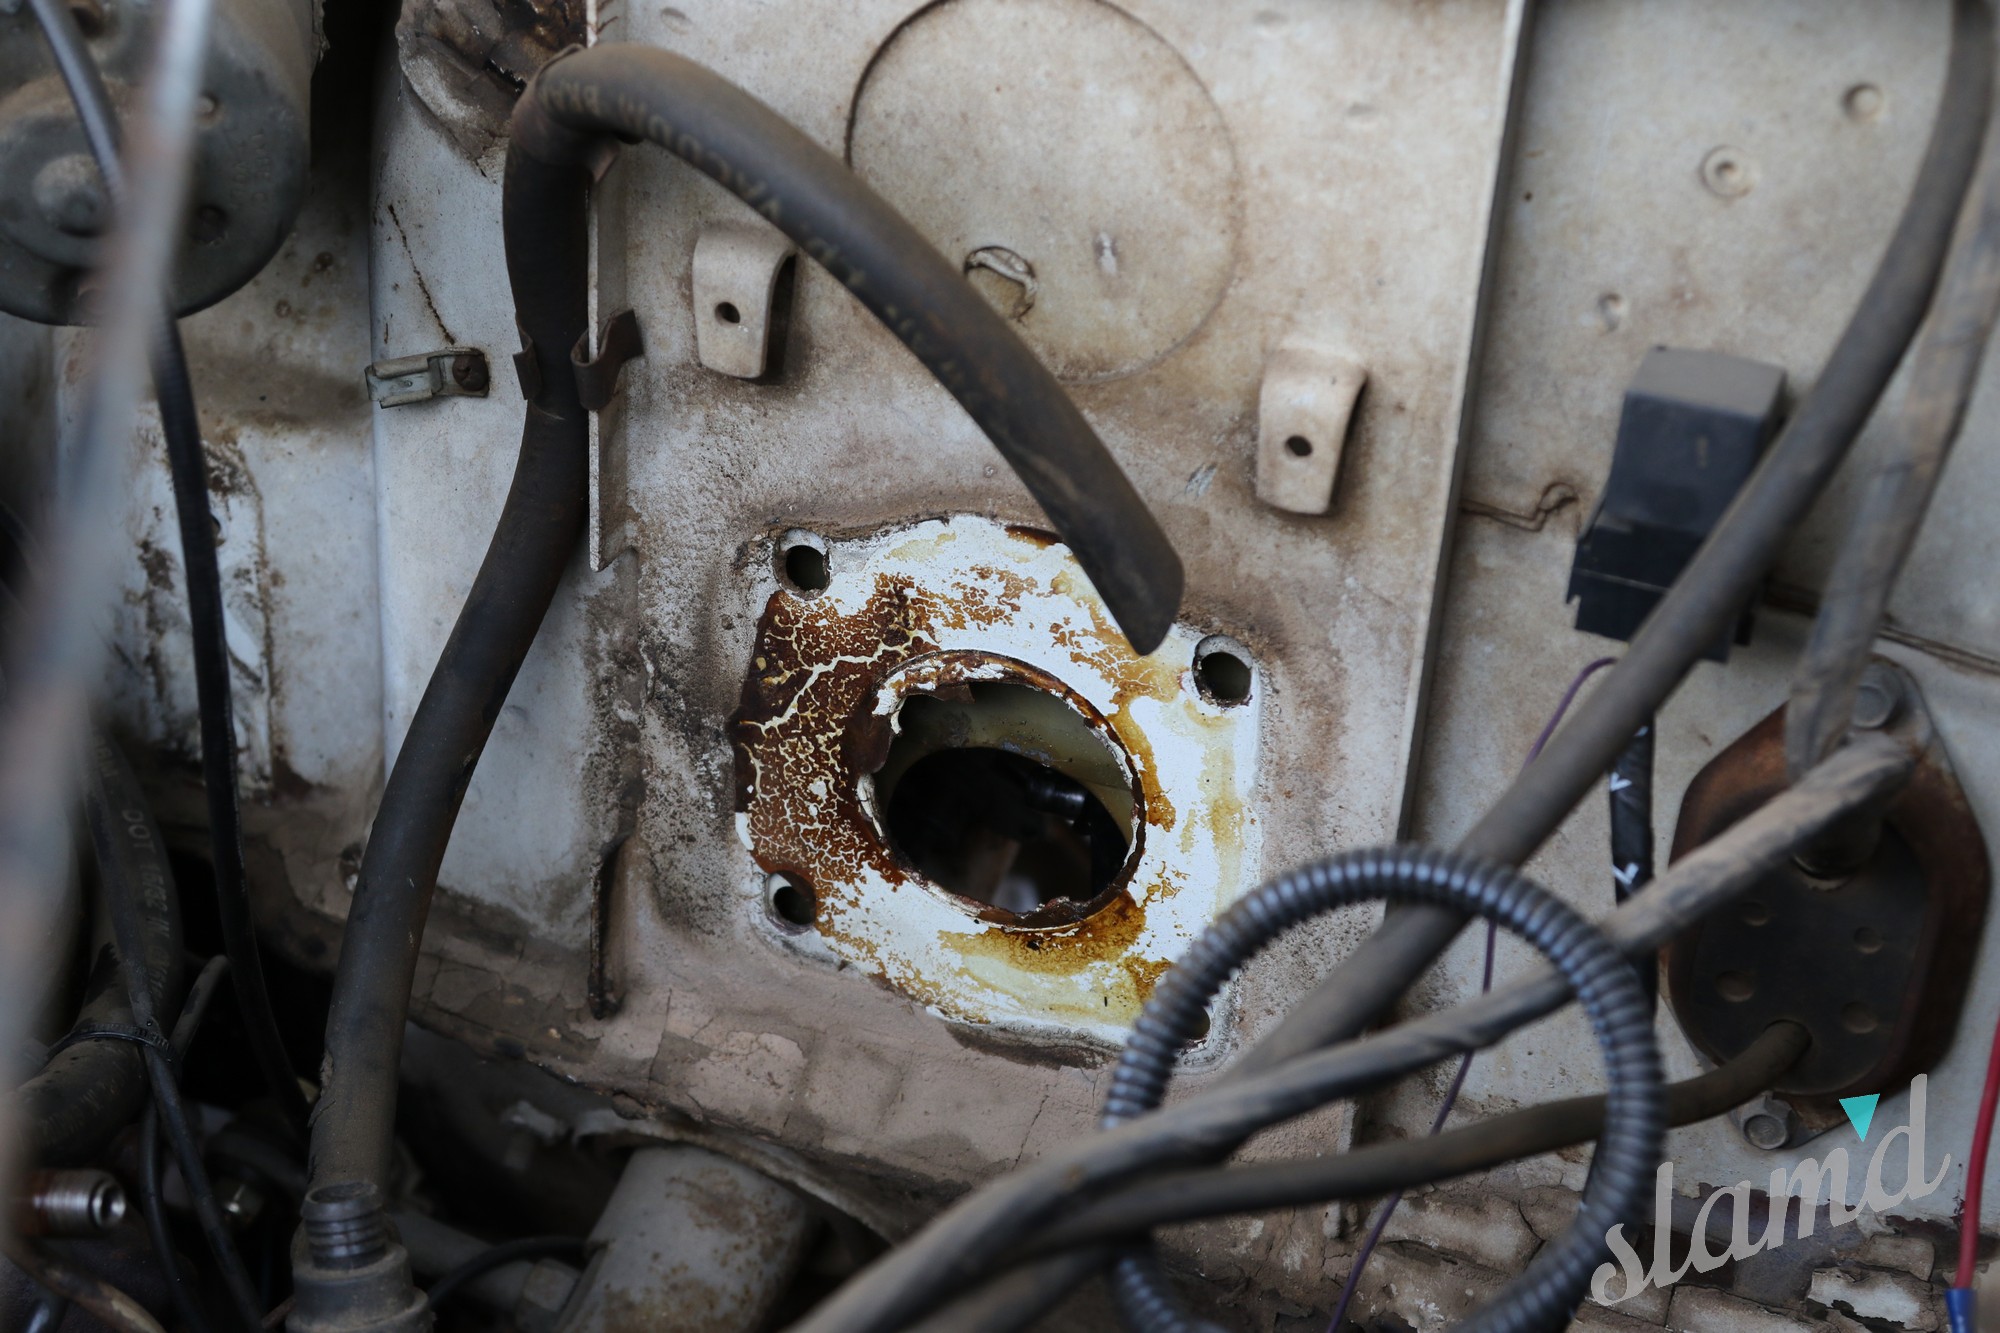
Removing the factory booster and master assembly was easy – a clip on the pedal released the rod and four nuts on the inside of the firewall under the dash removed the entire unit. Then we simply slid the new unit into place, tightened down the four nuts and installed the new rod onto the brake pedal. It’s crucial here to make sure that there is about 1/16-inch to 1/8-inch play between the pedal and it’s upper stop. If there isn’t the brakes will never fully release and could lock up on you.
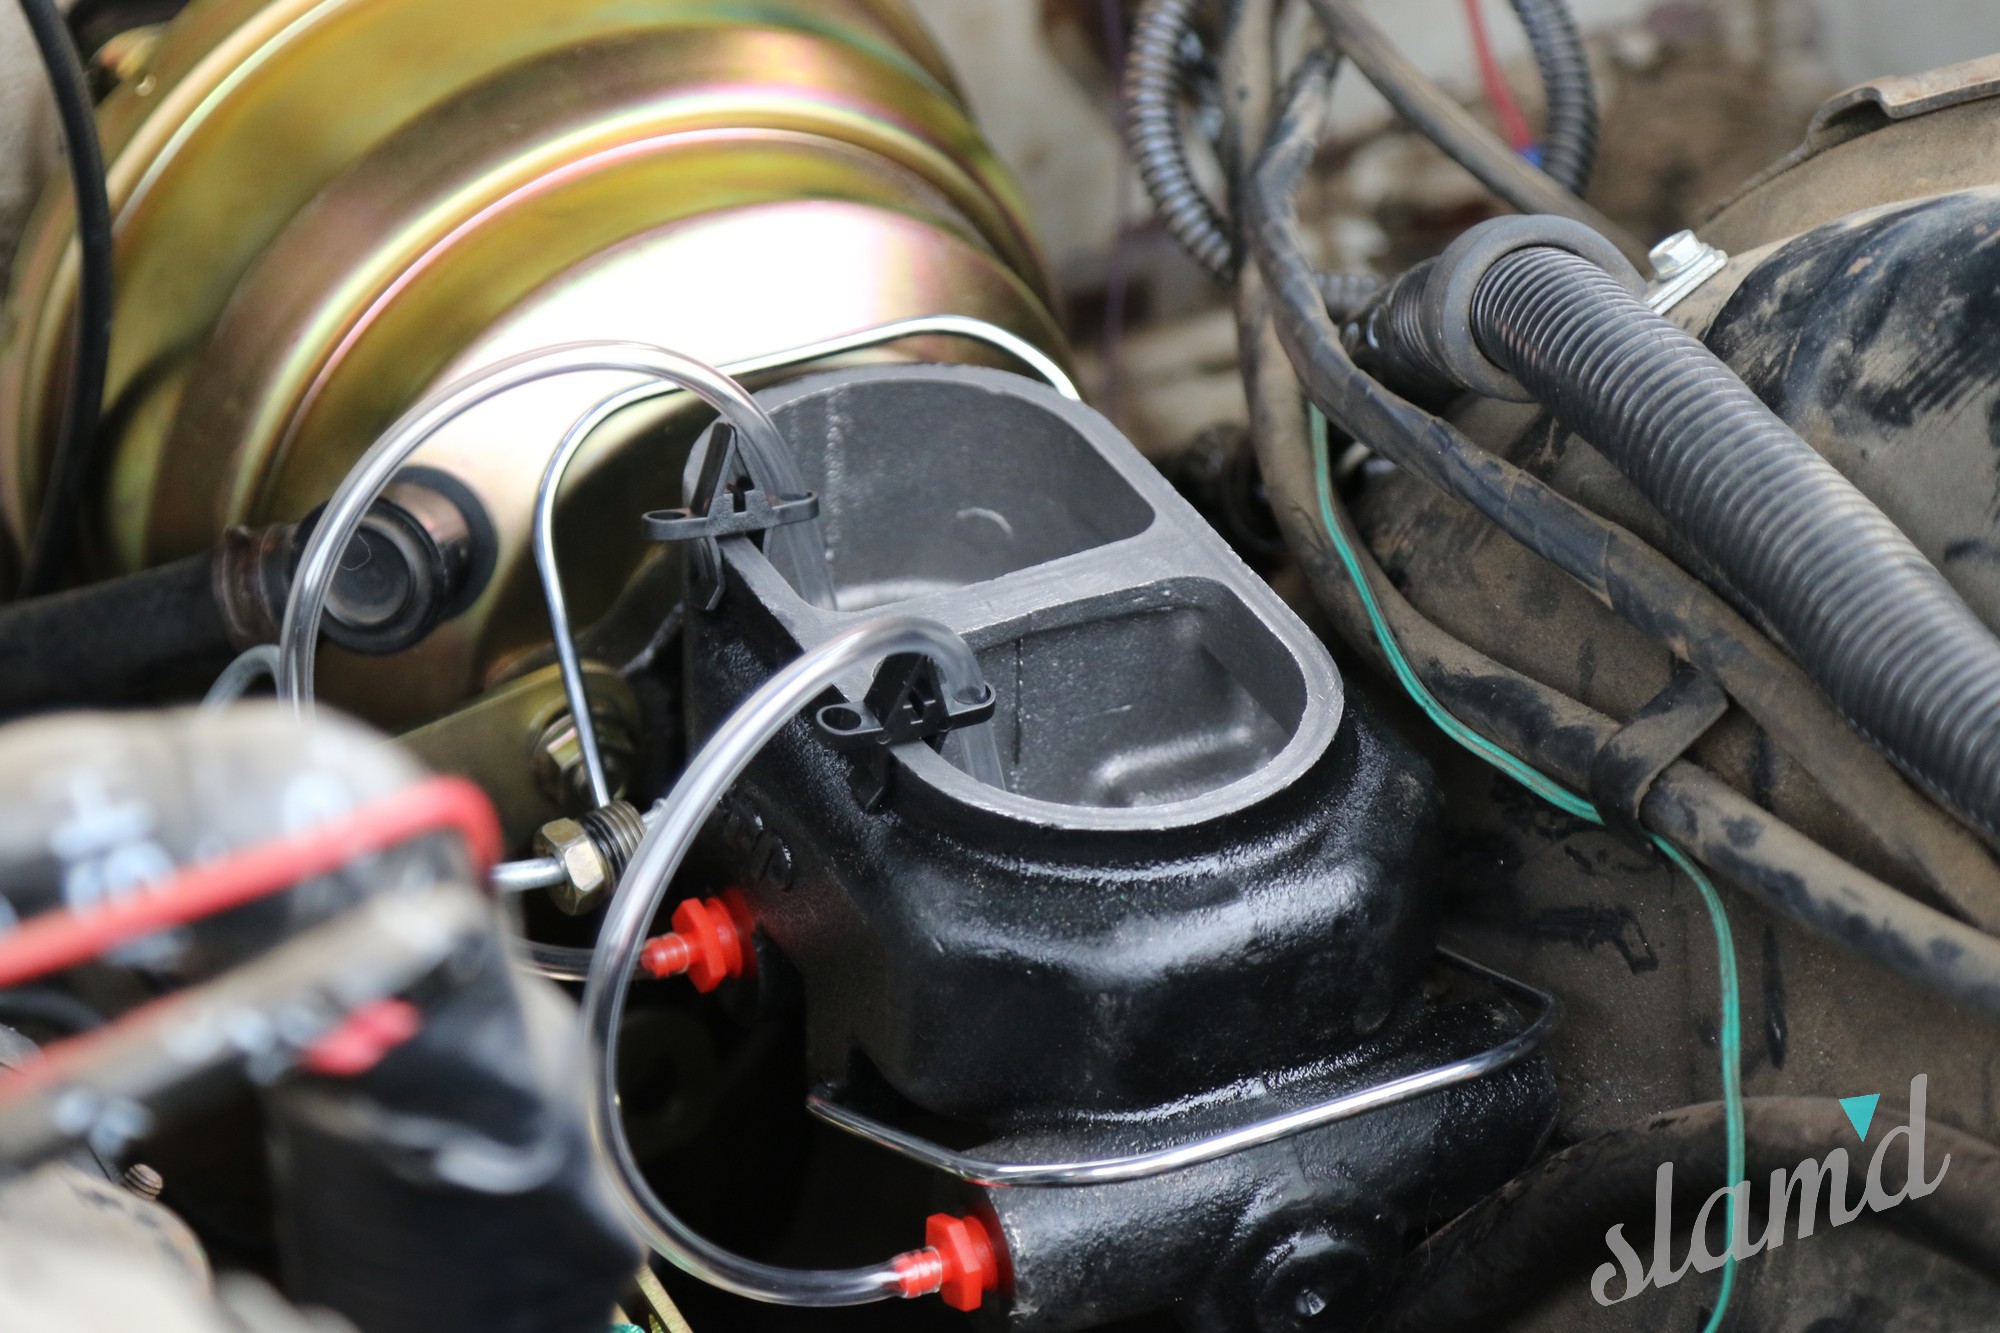
After running the new lines to the passenger and driver’s side, we took the time to bench bleed the master cylinder. This process is easy and allows the master to push out all the air. It’s not required, but if you don’t do it the bleeding process will be significantly longer. After bench bleeding we connected our two front and single rear lines to the proportioning valve.
With all the brake hoses and lines connected, we then bled the brakes. At first we did this using a hand-held Mighty-Vac trying to do it solo, but after testing the brakes we knew we had a bubble somewhere. After grabbing an extra set of hands, we did it the old fashioned way by pumping up the brakes and releasing the bleeder, starting at the corner furthest away.
Rollin’ Along
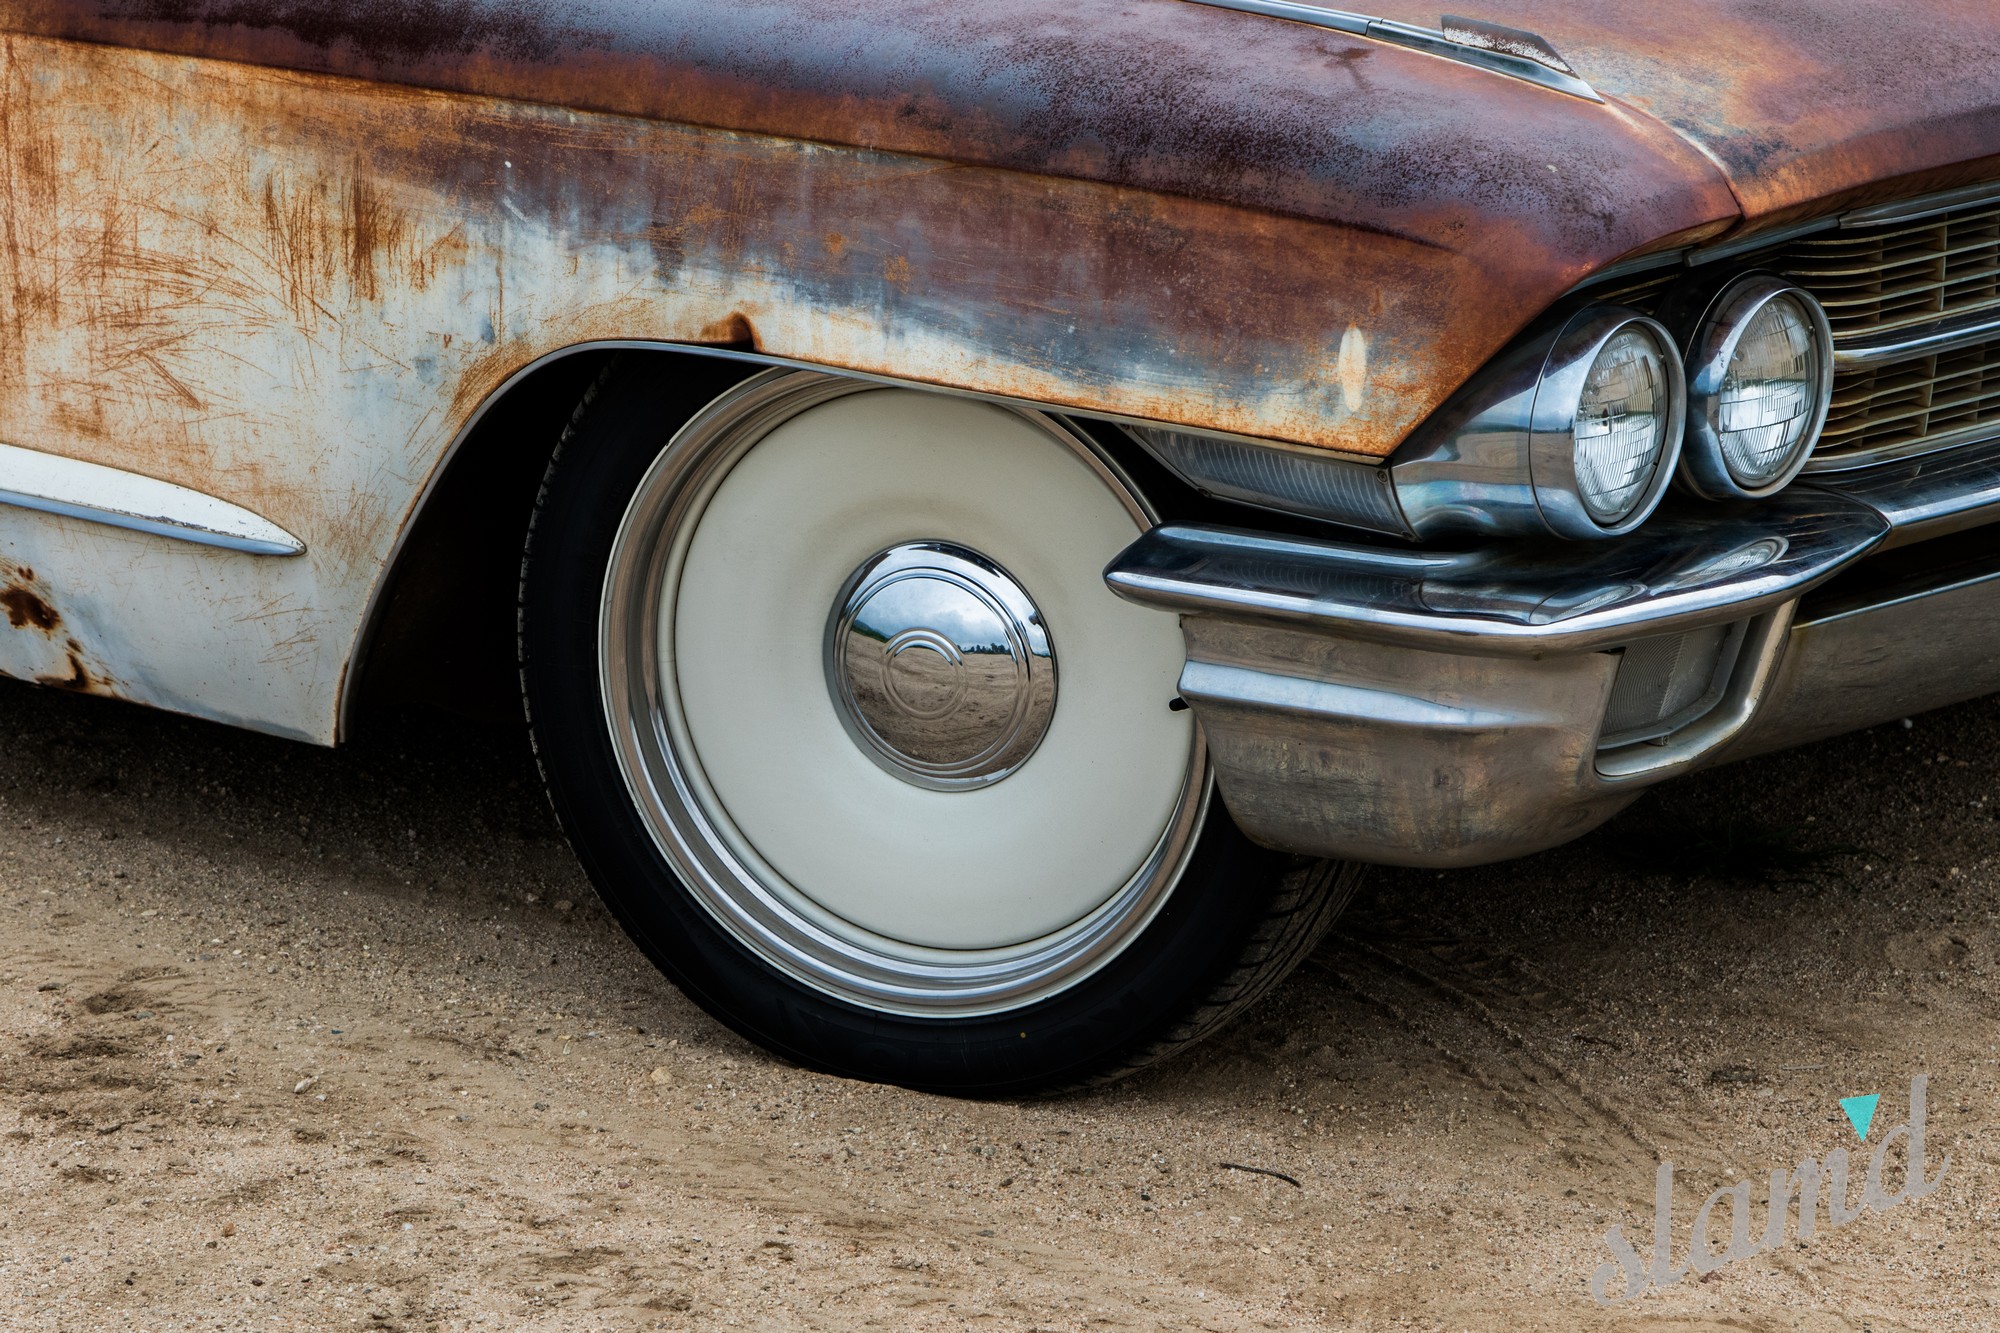
The last step of the stance and appearance upgrades was to install our new smooth Detroit Steel Wheels. We chatted with Adam Genei of MOBSTEEL to find out a little bit more about the history of the Detroit Steel Wheels and why in a day and age of exotic looking rims, did he go with something so classic and smooth. “MOBSTEEL was building these beautiful cars and when it came time for a wheel choice, our only affordable option was an imported cast aluminum wheel that was poor quality and lacked the characteristics that fit our builds. We wanted a wheel that was organic looking, something that looked period correct but more modern to fit the larger diameter wheels. There were no products available like this at the time and the more we looked, we realized that so much manufacturing had been lost overseas. It was then that we realized a new priority for our company, bringing back manufacturing to the United States. MOBSTEEL made it our mission to start manufacturing a quality, economical wheel made here in the USA.”
“The design, prototype and testing was done rather quickly but as far as ramping up manufacturing here, that would be a true challenge. Detroit Steel Wheel was formed and we started focusing our efforts on finding manufacturing equipment and partnering with US vendors to supply us with material. By fall 2012 we debuted the wheels at SEMA and by Q1 2013, we rolled out production of our 18-inch and 20-inch smoothie wheel. For the next two years we invested in additional tooling and launched additional diameters and widths. In 2016 we launched the artillery style wheel and 2017 has planned rollouts for additional style wheels as well as products for the 4×4 and metric markets,” shared Adam.

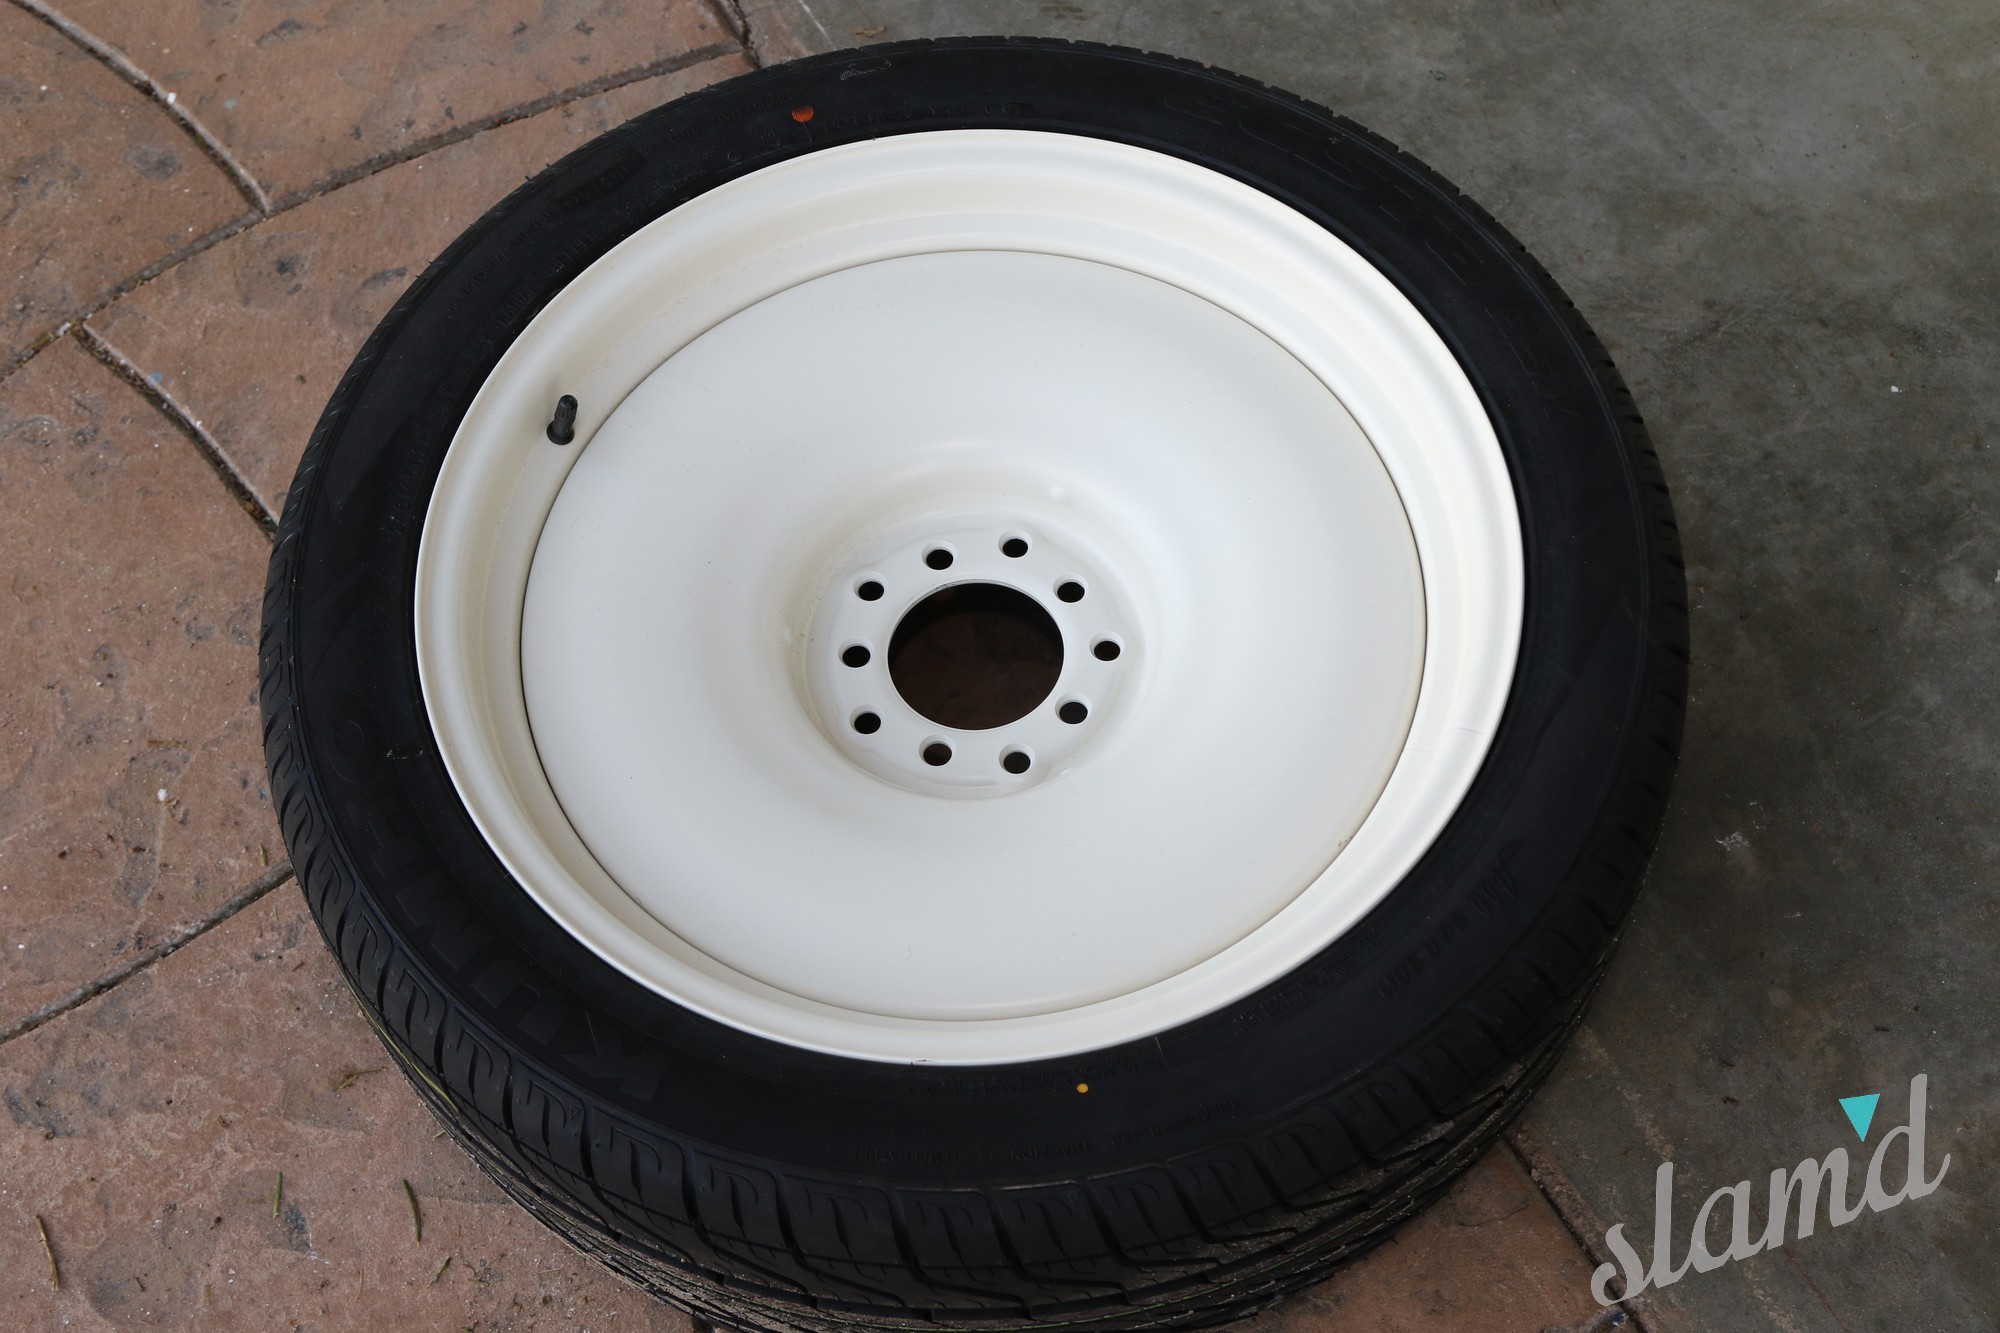
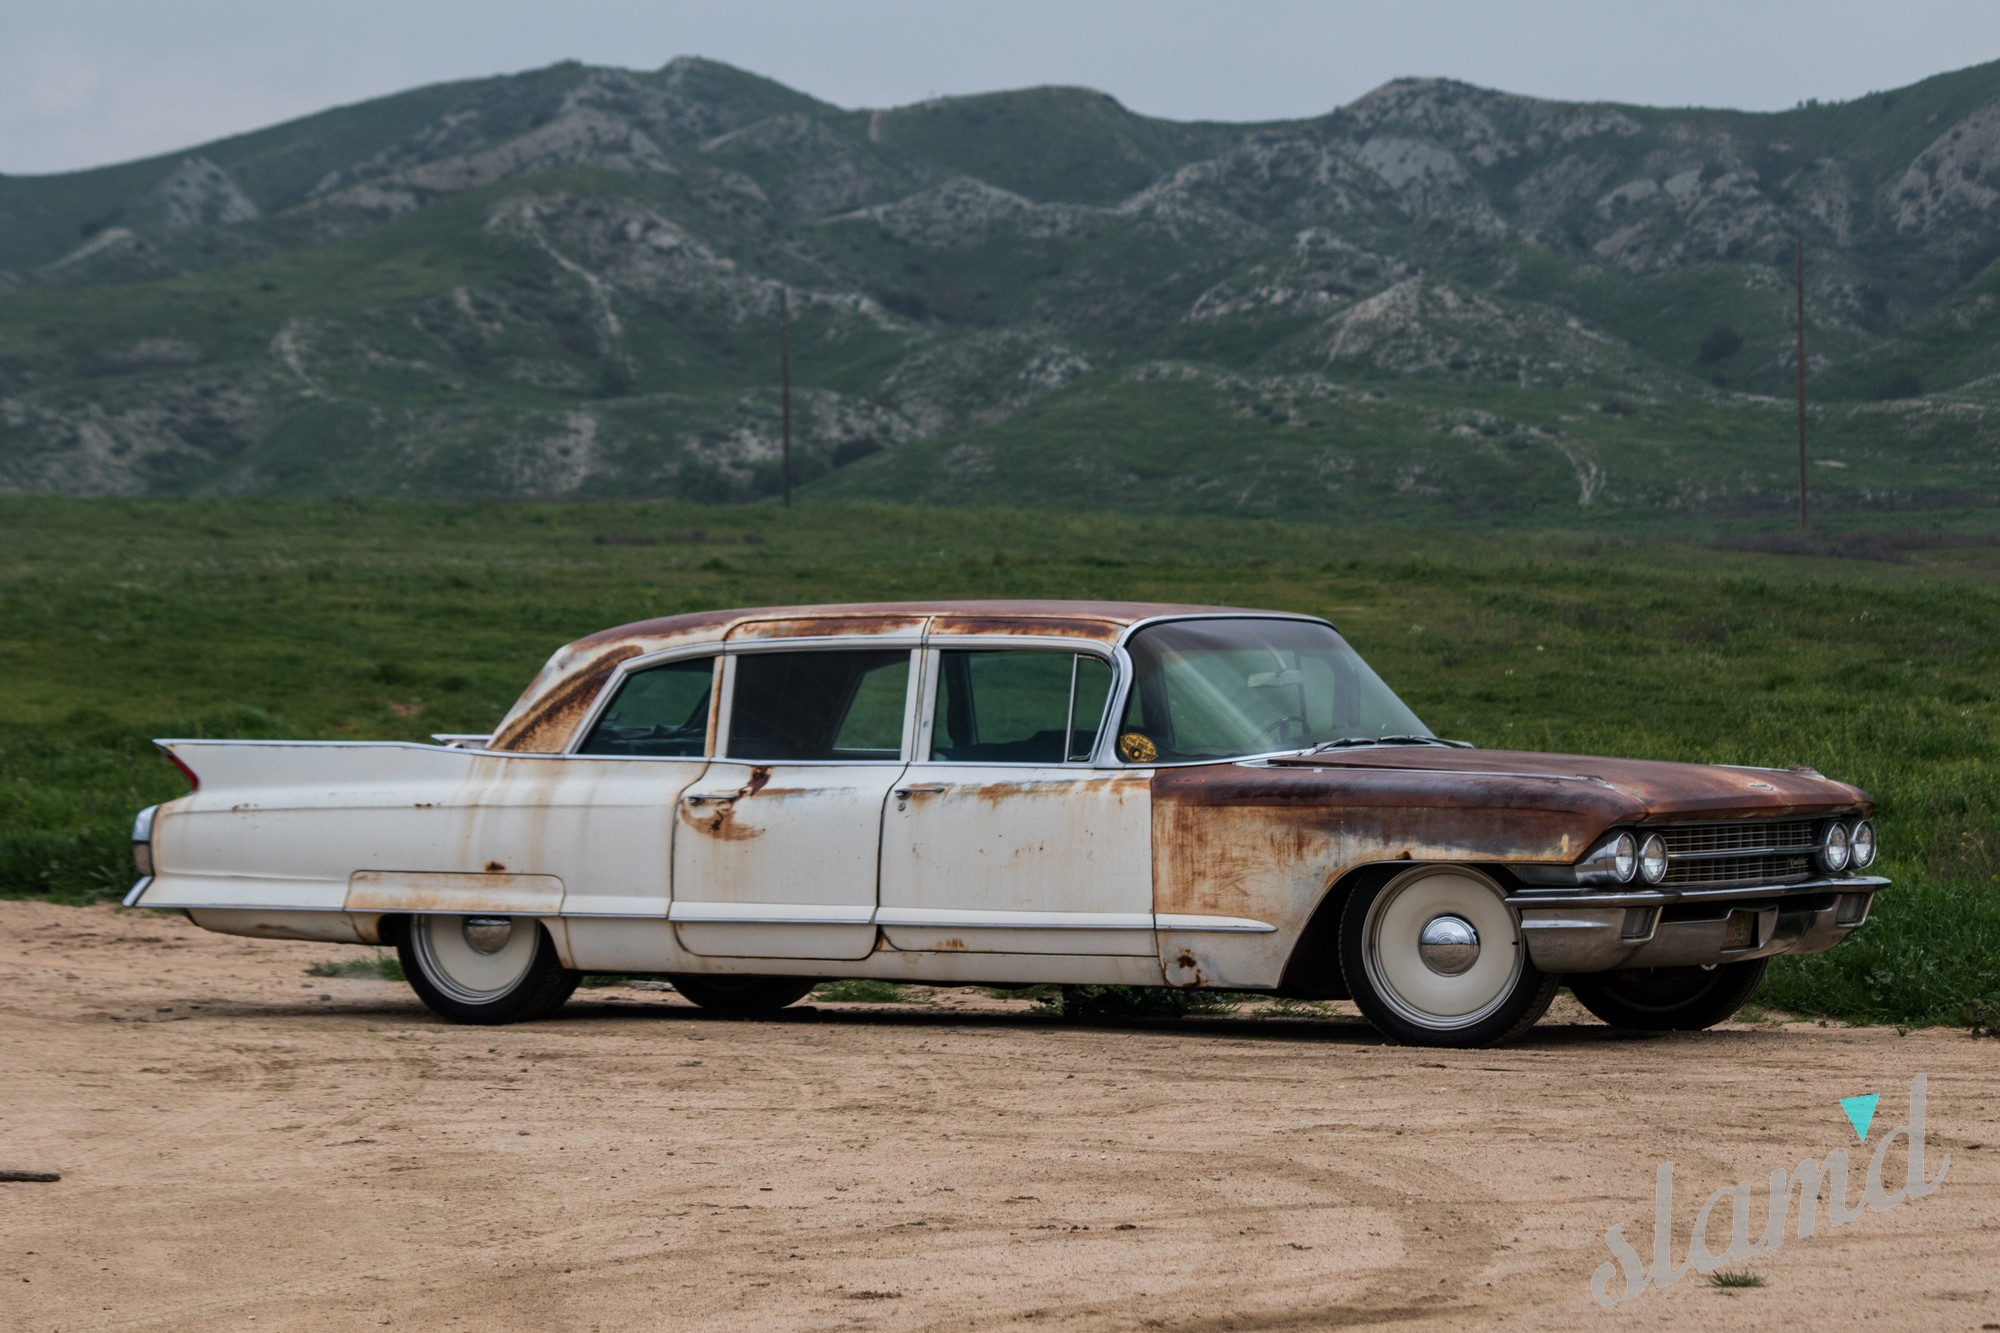
We decided that the smoothies with trim rings and basic center caps would compliment this car the best. Since we plan on keeping the patina on it, an off white powdercoat color was chosen to help blend in with the paint. We decided to go with a 20×8-inch wheel. This would give us a more modern look but allow us to run a decent sized sidewall to keep the ride quality. We also knew that after lowering it we didn’t want the fronts to rub too much. Detroit Steel Wheels does offer a wide variety to fit just about any project you’re working on as well with 18×8, 20×8, 20×9, 20×11, 20×14, and 22×9-inch options in the smoothie or artillery style. They have a few different options for powder coating as well from white or black, in either gloss or low gloss finish or even in raw steel to paint to match your needs.
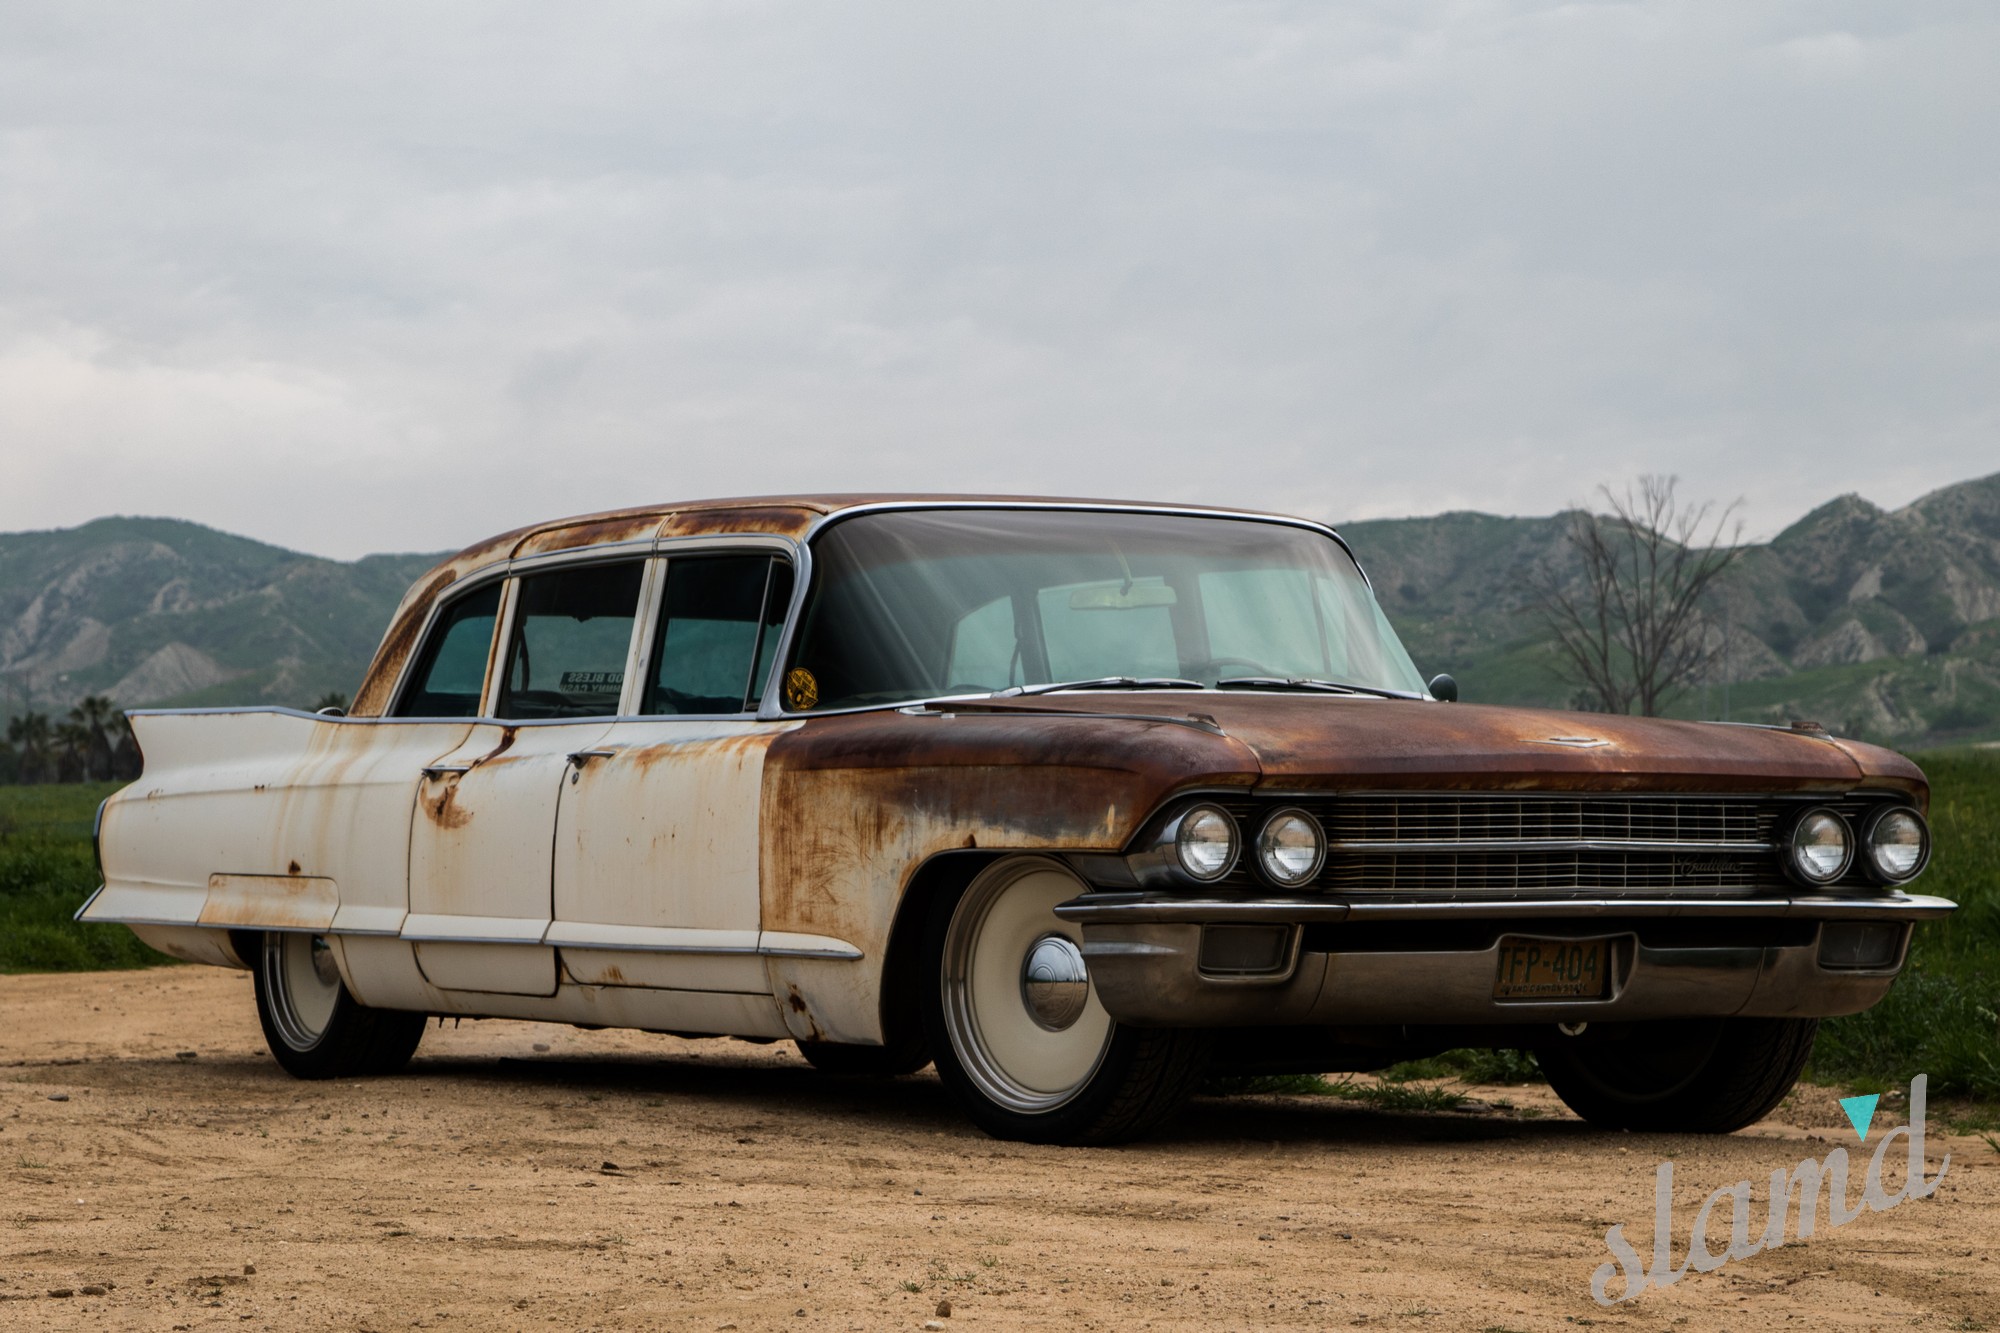
After bolting on the wheels, we lowered down the car and took it for a quick drive around the block to let things settle. Then we did a quick alignment on the car to get the camber, caster and toe dialed in. Our very last step was to hop in, slide down in the seat a bit and cruise. Since buying the car more than seven years ago and putting thousands of miles on the car, we knew how it drove from the factory. Sort of like a ship in a stormy sea – smooth but rocked back and forth, that classic “rides like a Cadillac” statement (which isn’t necessarily a good thing). The new suspension made this tank handle absolutely amazing. The ride is super tight but still soft making a world of difference.
The steering is also incredibly crisp now and it doesn’t wander all over the road. Before it would grab any groove or rut in the road and follow it. Now the car tracks true and drives effortlessly. Another massive improvement was the upgrade to the disc brakes. The car stopped decently before, for being a 5,500lb land yacht. The new brakes allows it to stop much more like a modern car and in a controlled fashion. Before it would wander from one side to another during braking and want to lock up on you. Now you can slam on the brakes and it comes to a very controlled, complete stop every time.
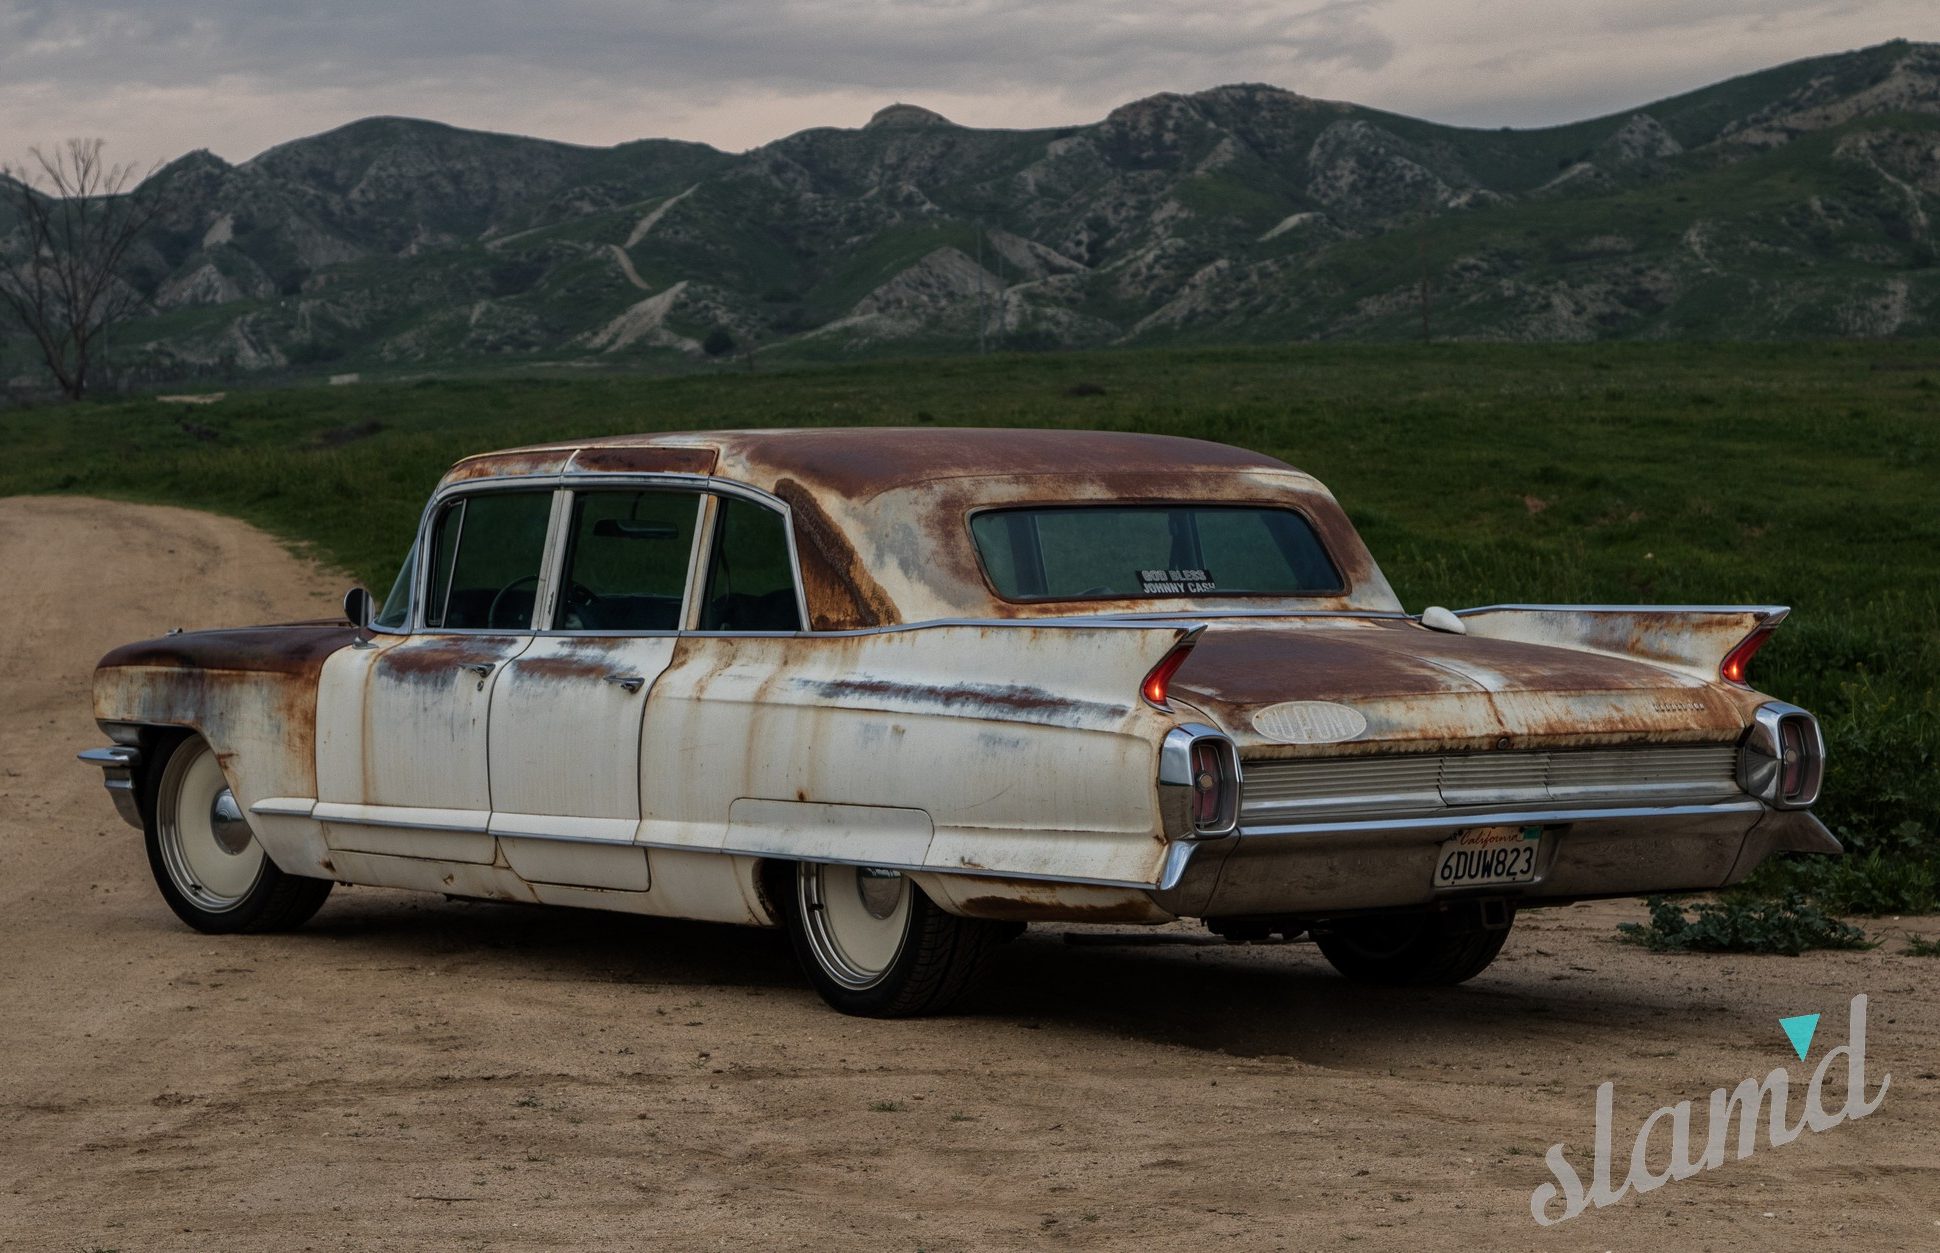
The other half of the equation of course, is how badass the car looks now – the perfect old-school cruiser. Losing a few inches made a world of difference to the appearance and paired with the new Detroit Steel wheels really complimented the looks of the car while giving it a bit more of a modern look. We still have to look twice when walking away from the car in a parking lot, so we know we did good!
SOURCES:
- Detroit Steel Wheels (810) 333-6100
- Jamco Suspension (877) 549-9551
- Rare Parts (800) 621-2005
- Classic Performance Products (800) 522-5004
Check Out The Full Slam’d Gallery HERE: